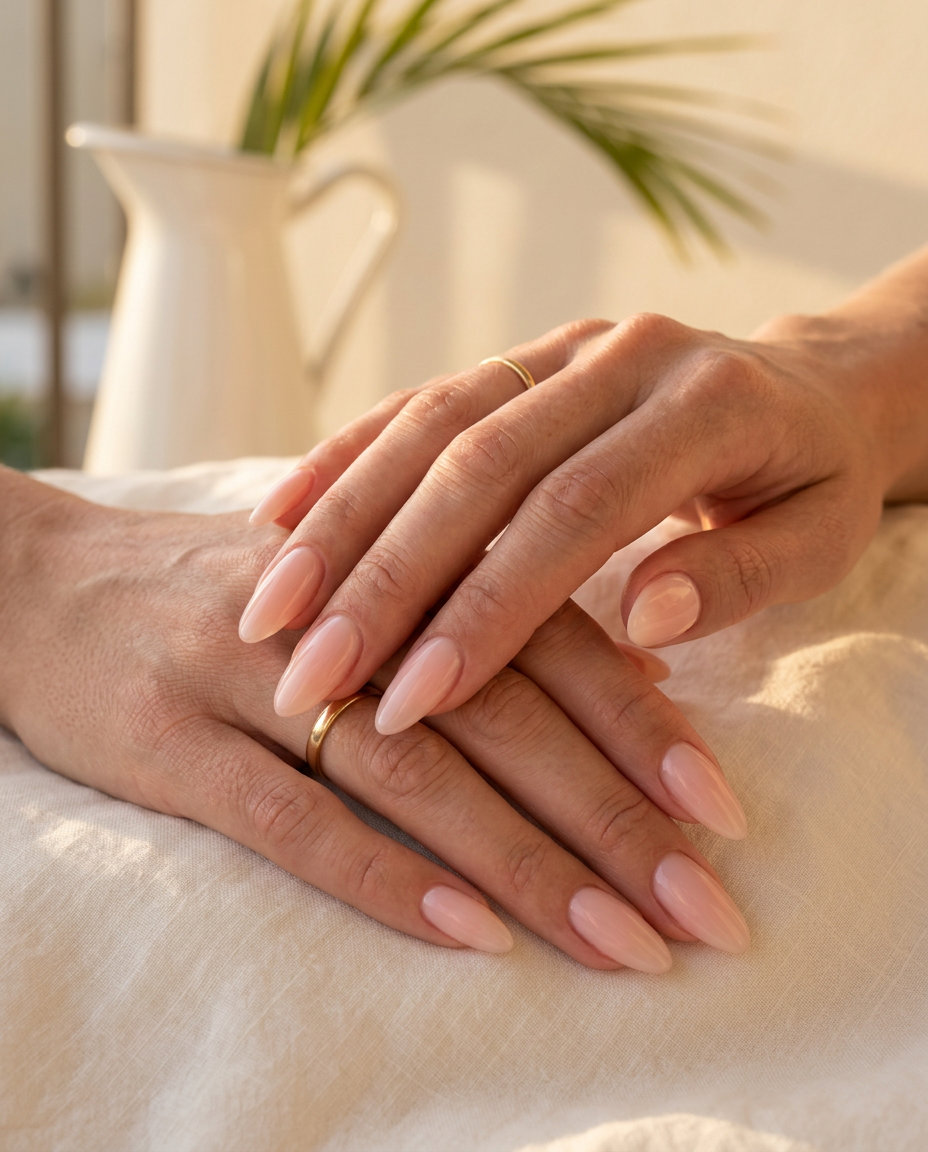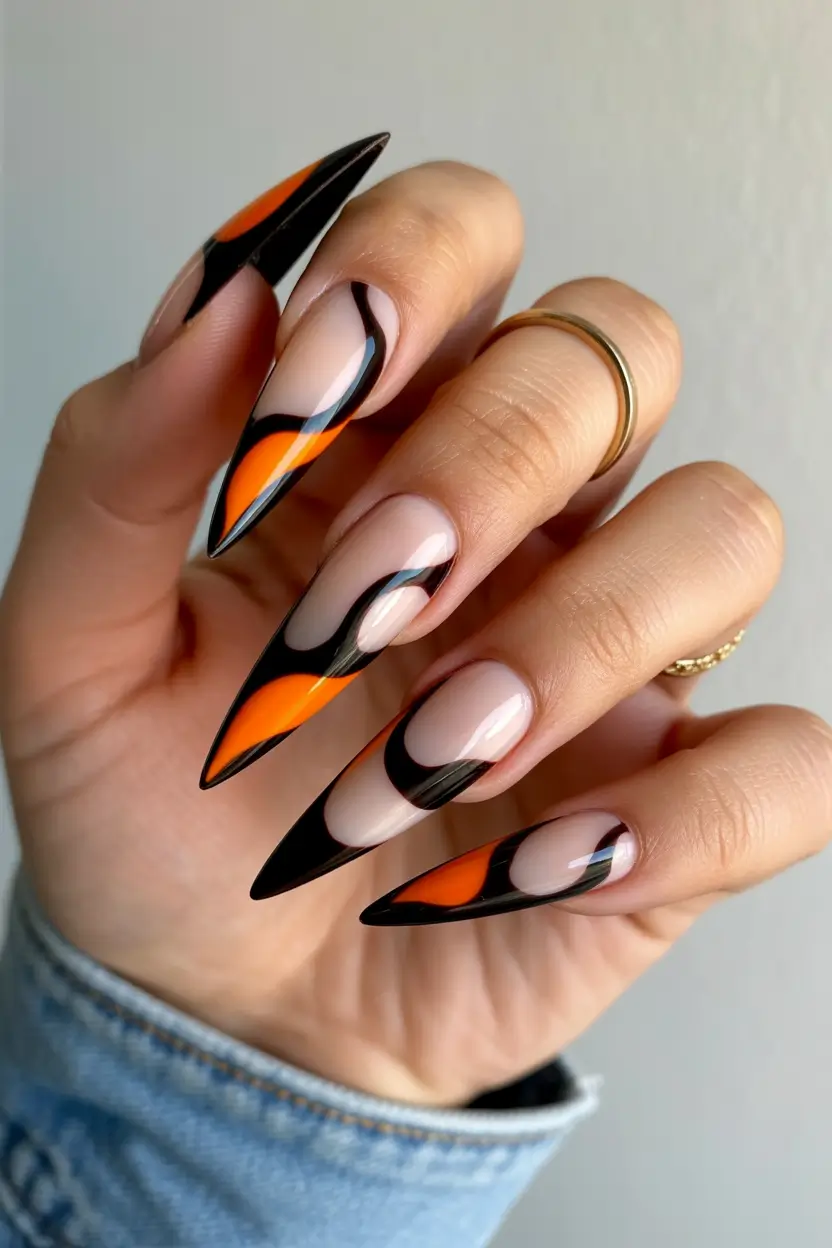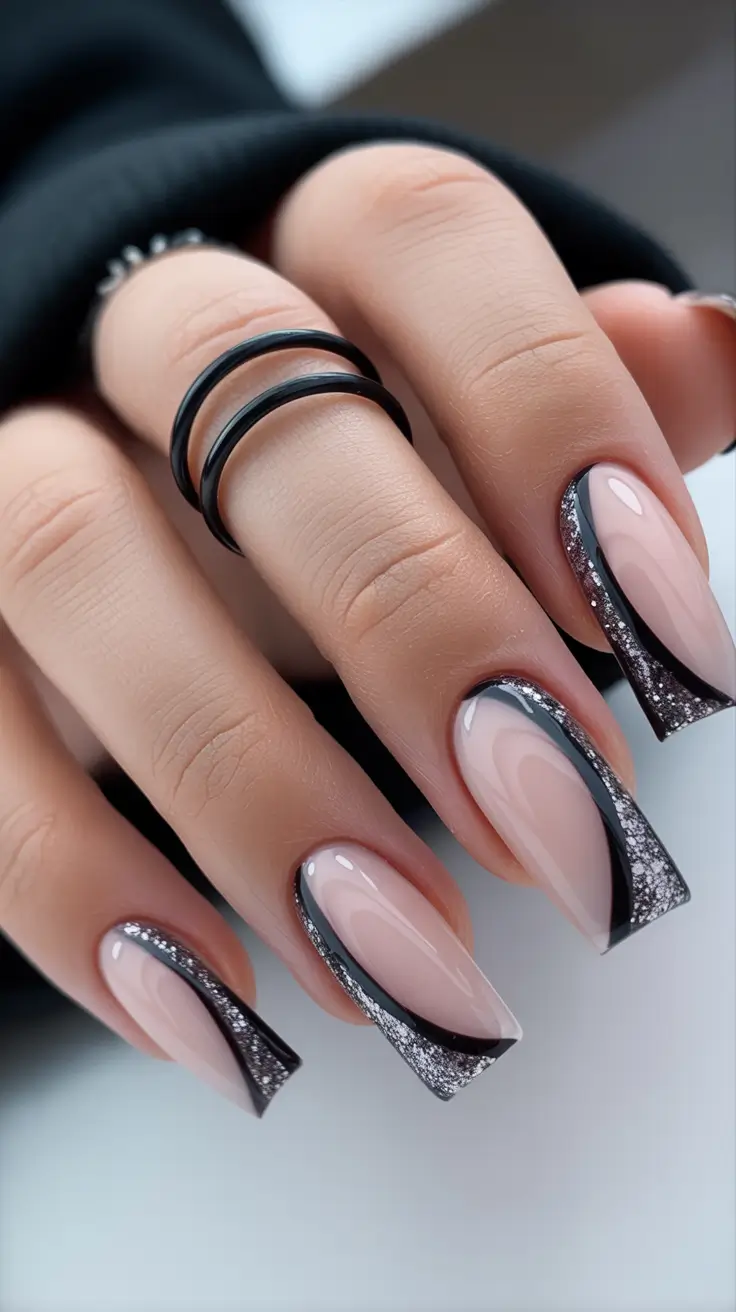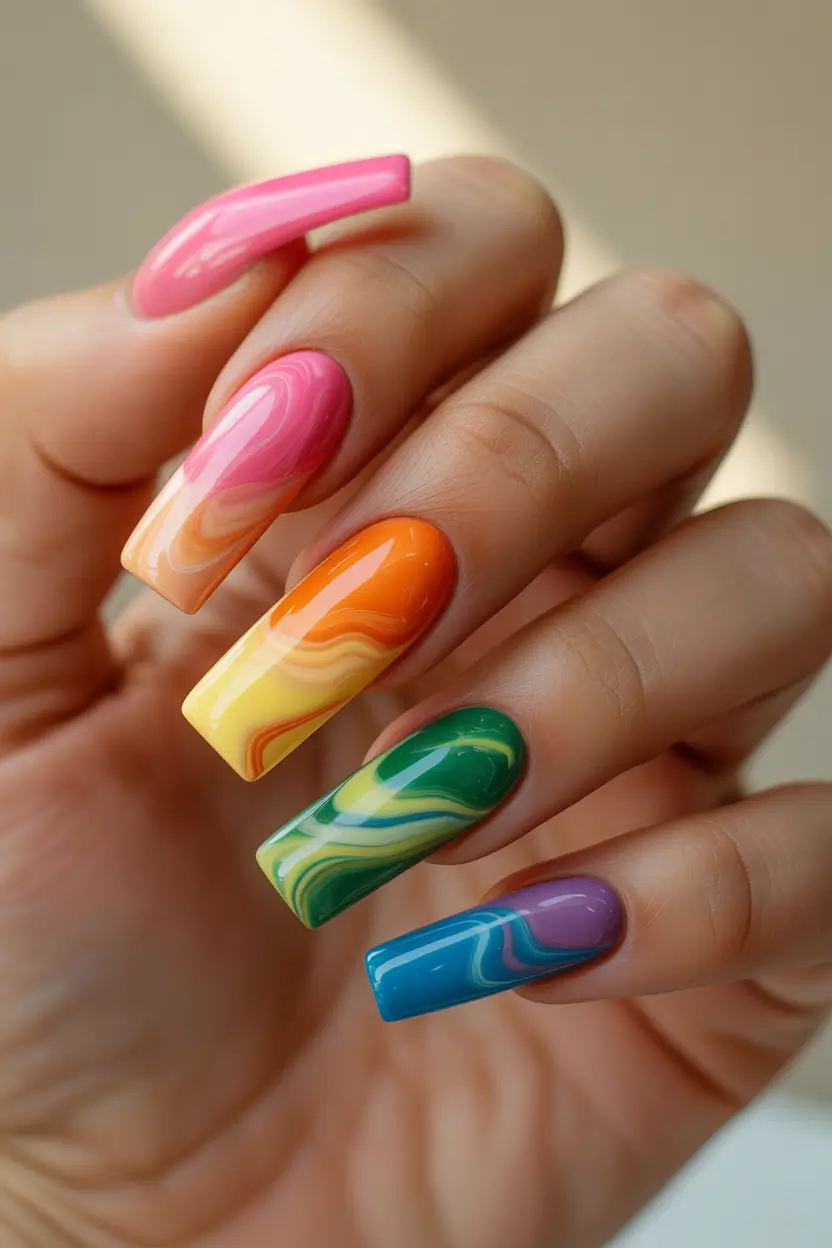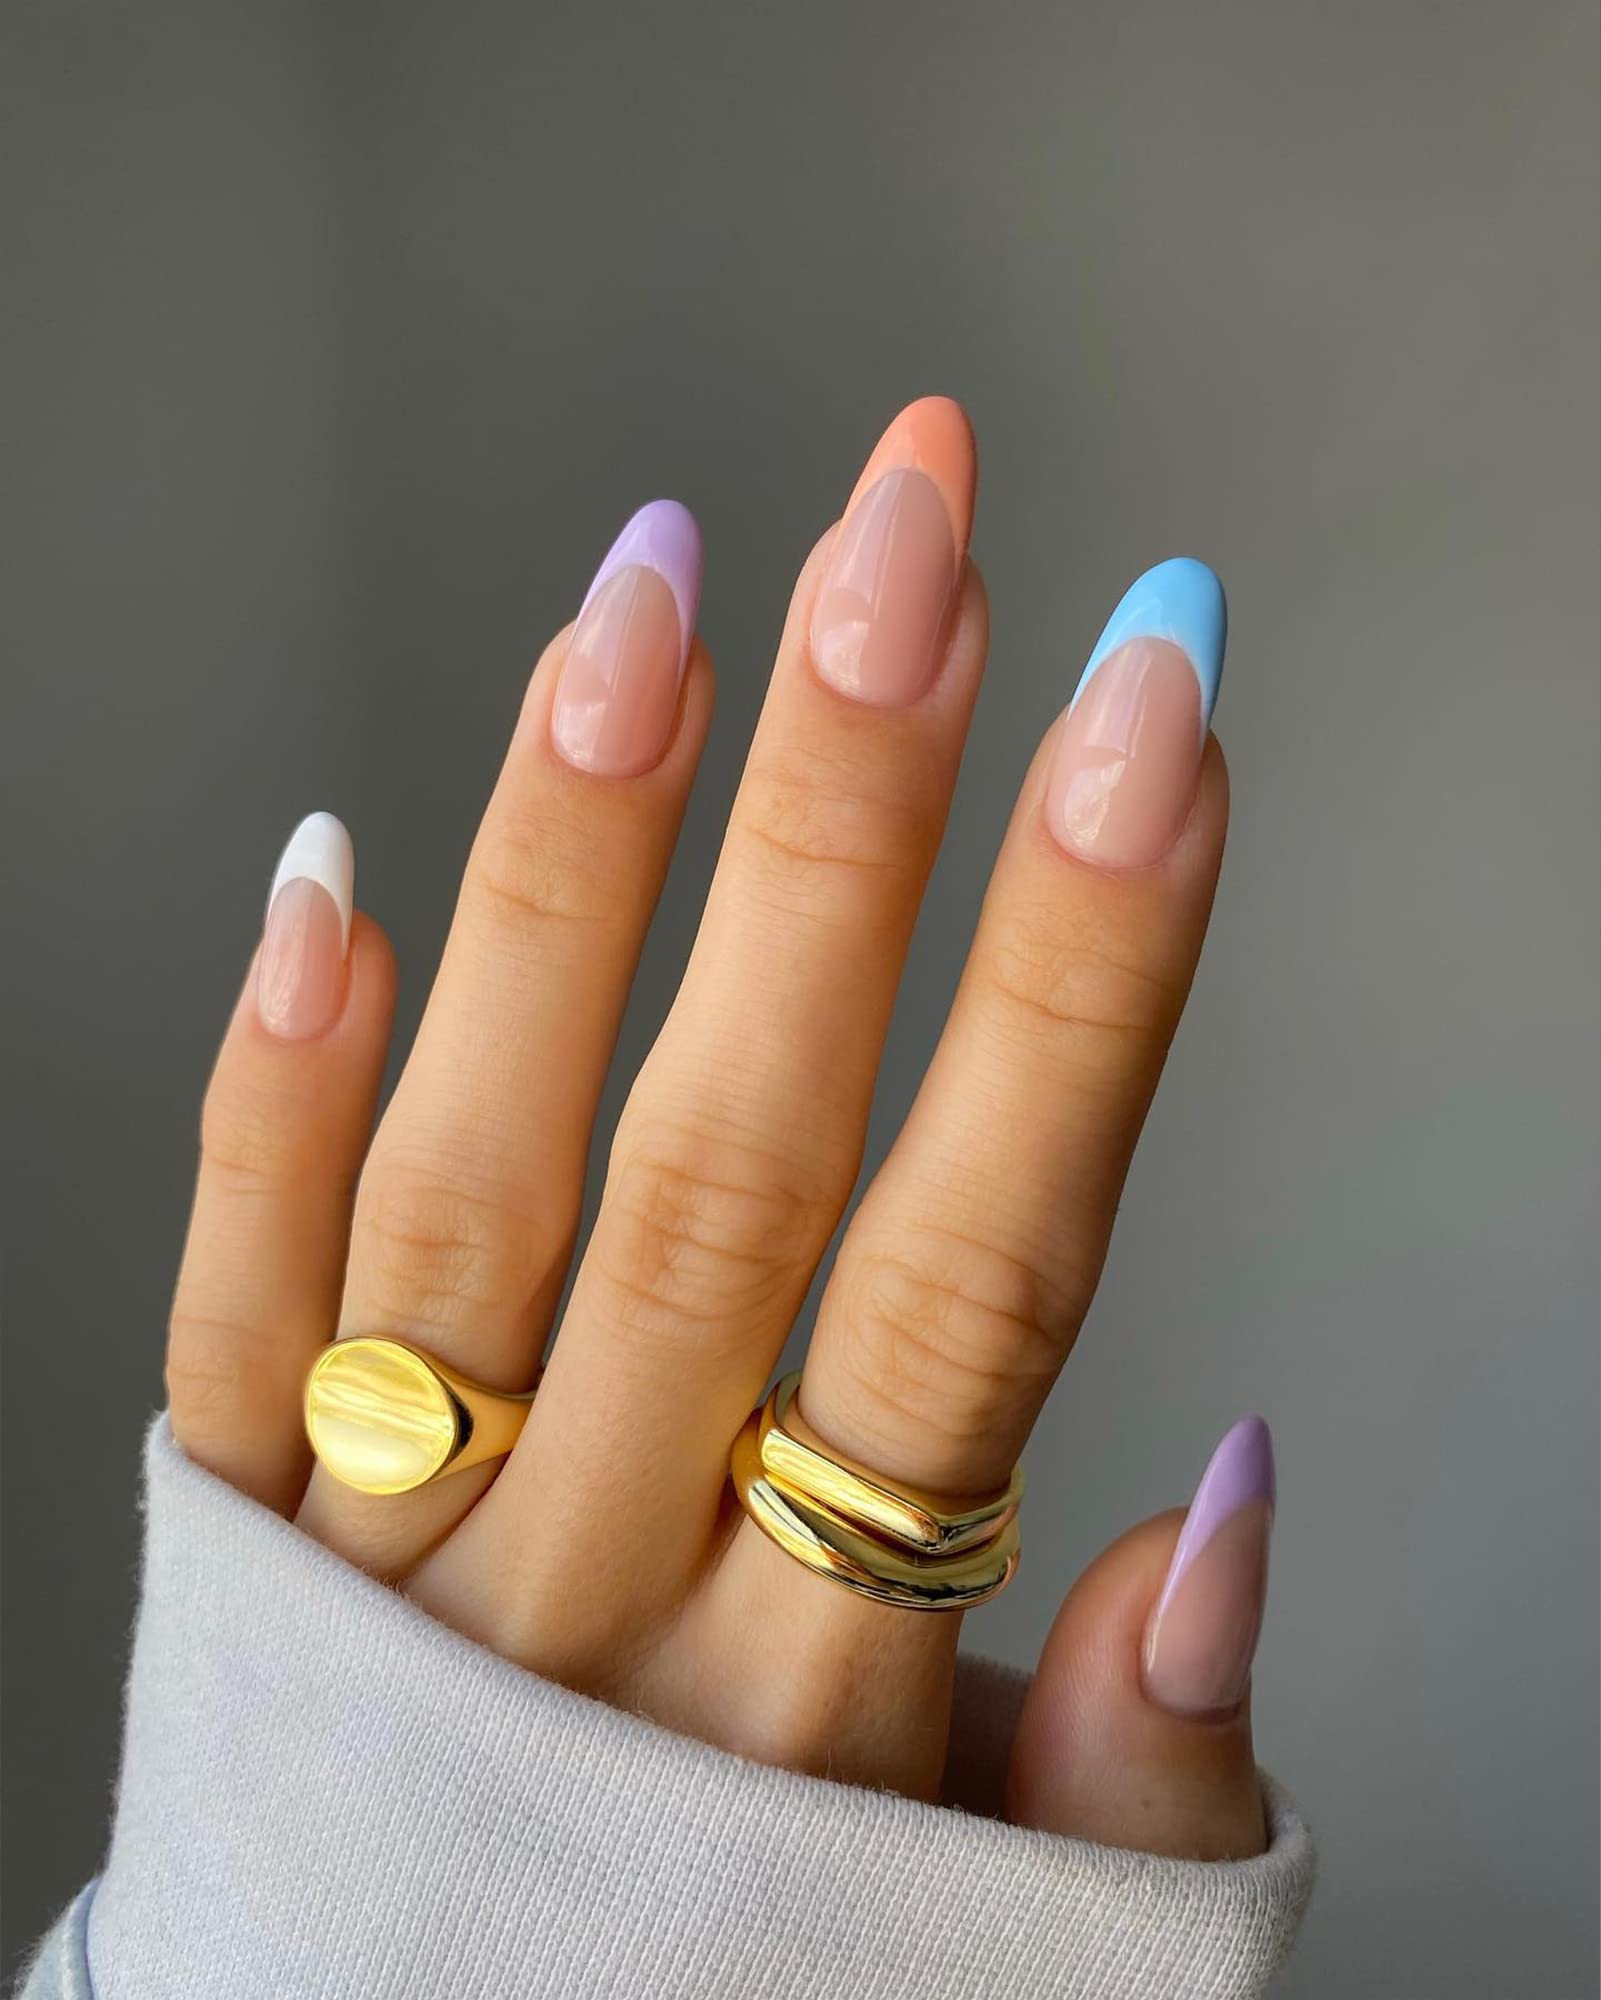
I keep seeing glitter sneak onto one nail first, usually the ring finger. The 2027 take is softer than the full-tinsel phase I lived through in college: a pale pink base, a silver dusting, a deliberate accent. I am here for it, mostly because removing it no longer feels like a punishment.
Consider this your field guide to Glitter Nails 2027: 26 versions, from a shy sheer-nude tip to a dark green coffin that means business. There are short ovals for keyboard warriors, long stilettos for the extra, and a few Sunday DIYs mixed with salon appointments. My cuticles remember every acetone soak, so I also flag the ones that peel off without a fight or chip on day two.
Short Oval Glitter and Chrome Mix Nails
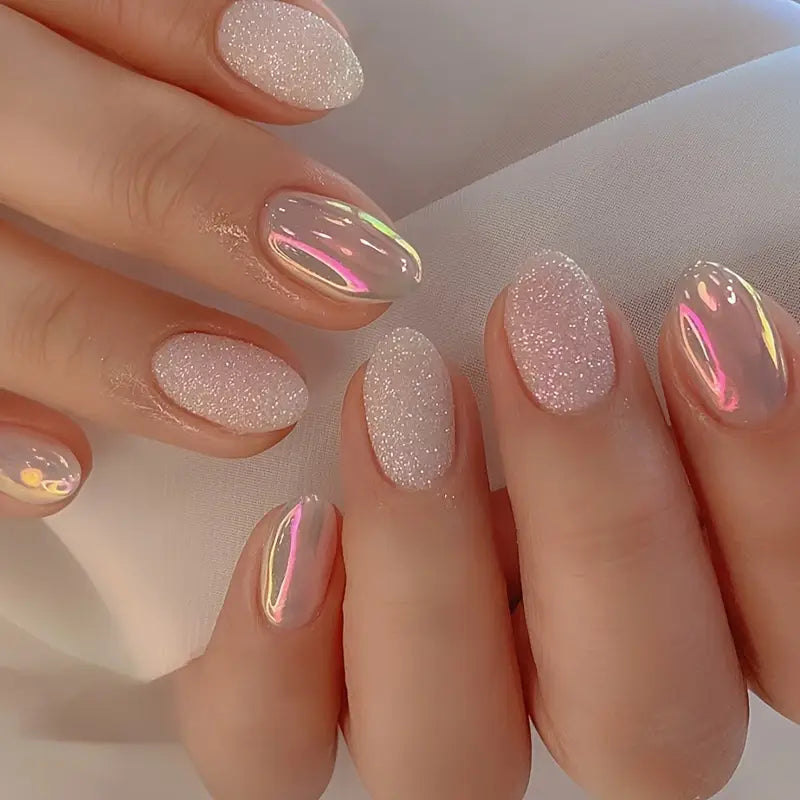
The chrome on the accent nails is the quiet star here, catching the light with an iridescent shift that the fine glitter on the others just supports. It’s a deliberate, restrained kind of sparkle. The pale pink base keeps it from reading as a full-on disco ball, and the short oval shape makes it practical enough for typing. This is the look that gets compliments from people who say they don’t like glitter.
Vibrant Hot Pink Silver Glitter Almond Nails
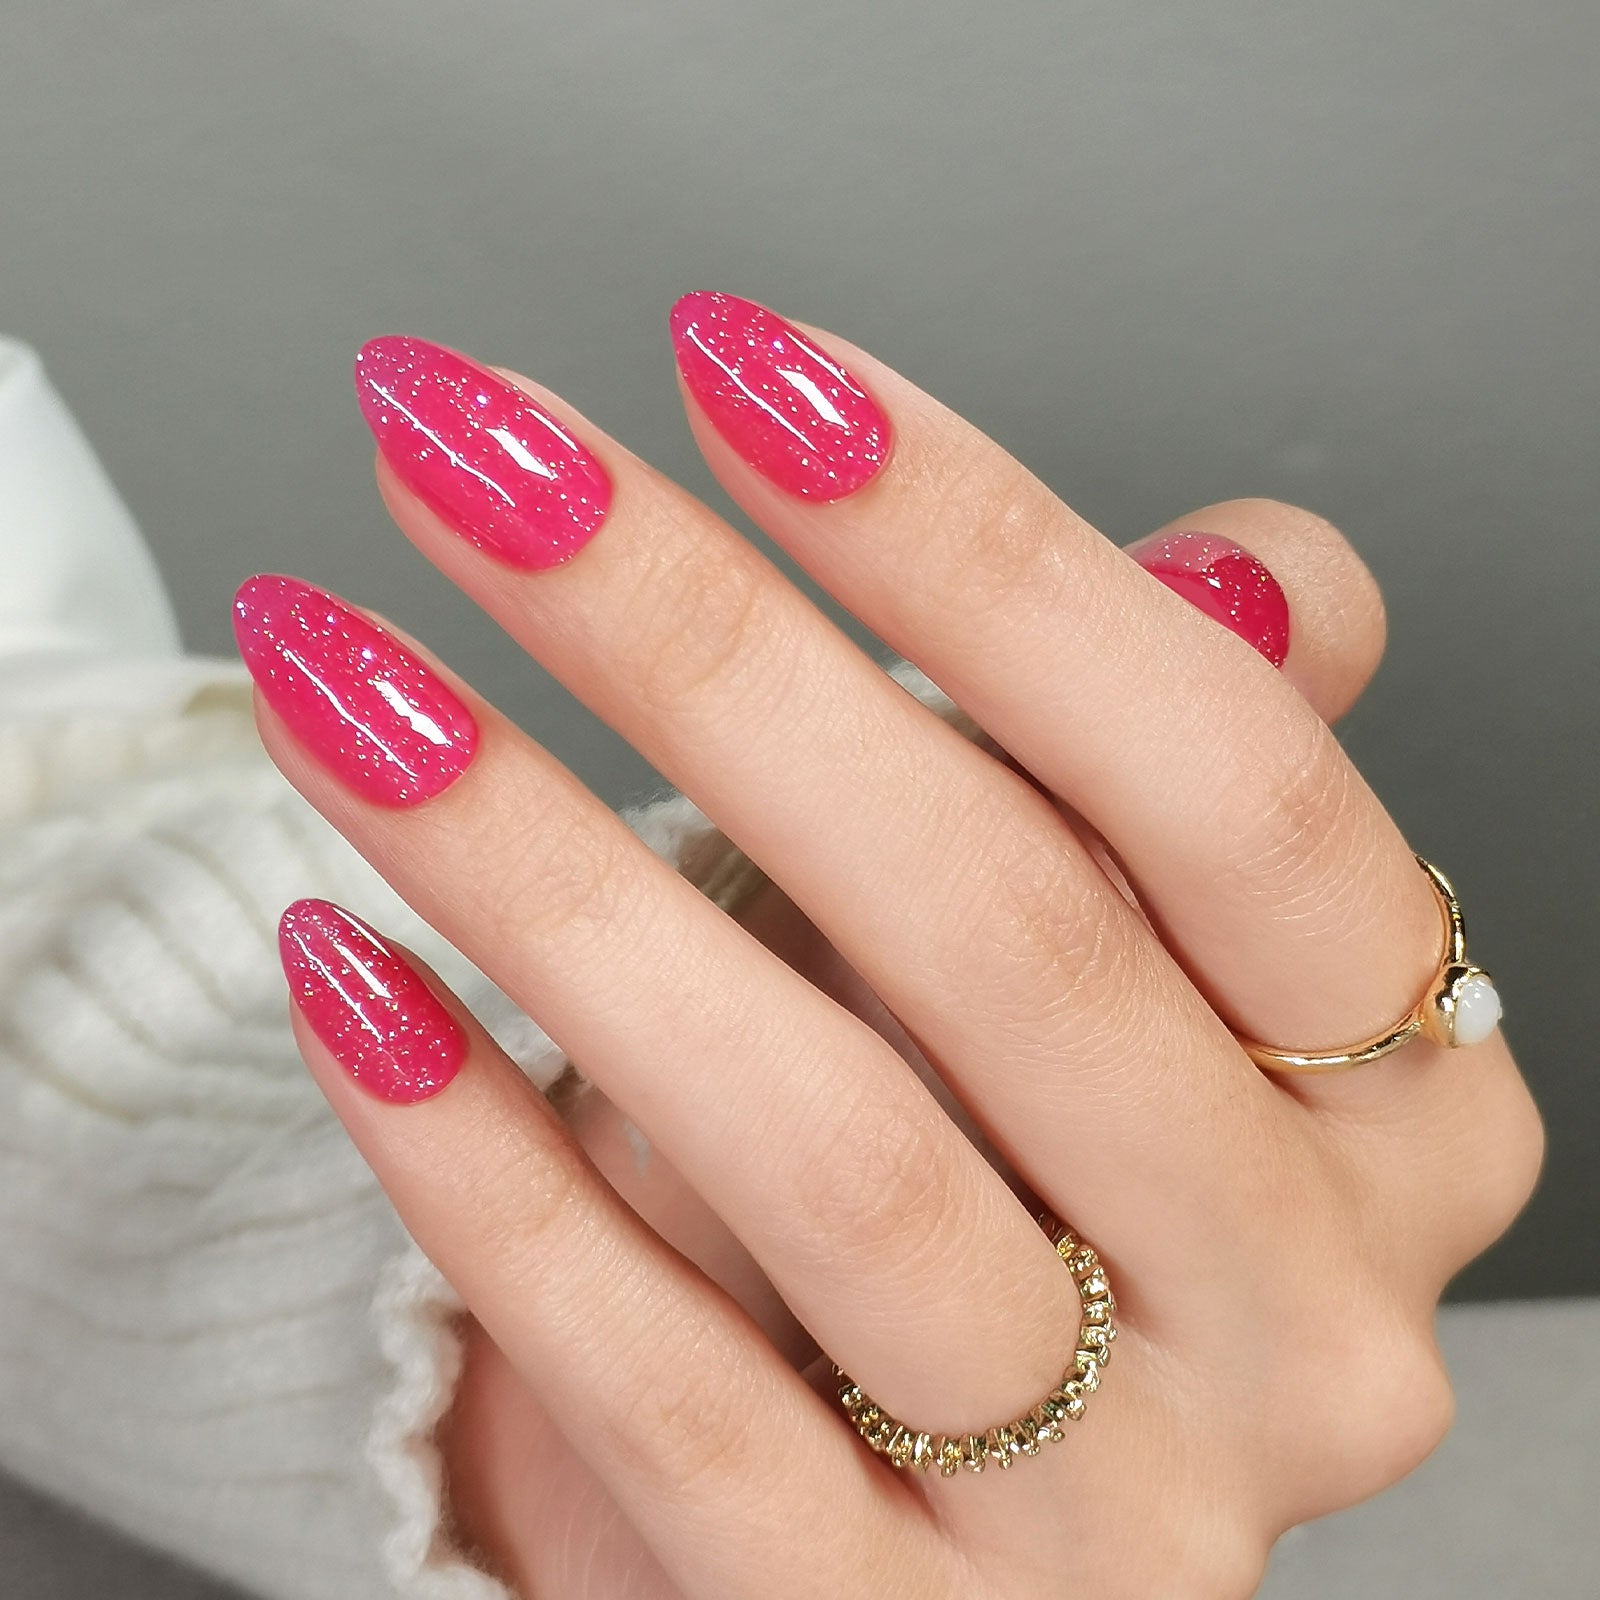
My first thought was that this is a lot of nail. My second thought was that sometimes a lot of nail is exactly the point. This is a party look, through and through. The hot pink pigment is so dense it almost looks wet, and the fine silver glitter turns every finger into a tiny disco ball. Medium almond is the right length here, long enough to feel dramatic but short enough to be practical. I wore these through a weekend of brunch and dancing, and the full coverage meant no visible tip wear by Sunday night. It’s not a subtle look. It’s not supposed to be.
Pale Silver Holographic Glitter Oval Nails
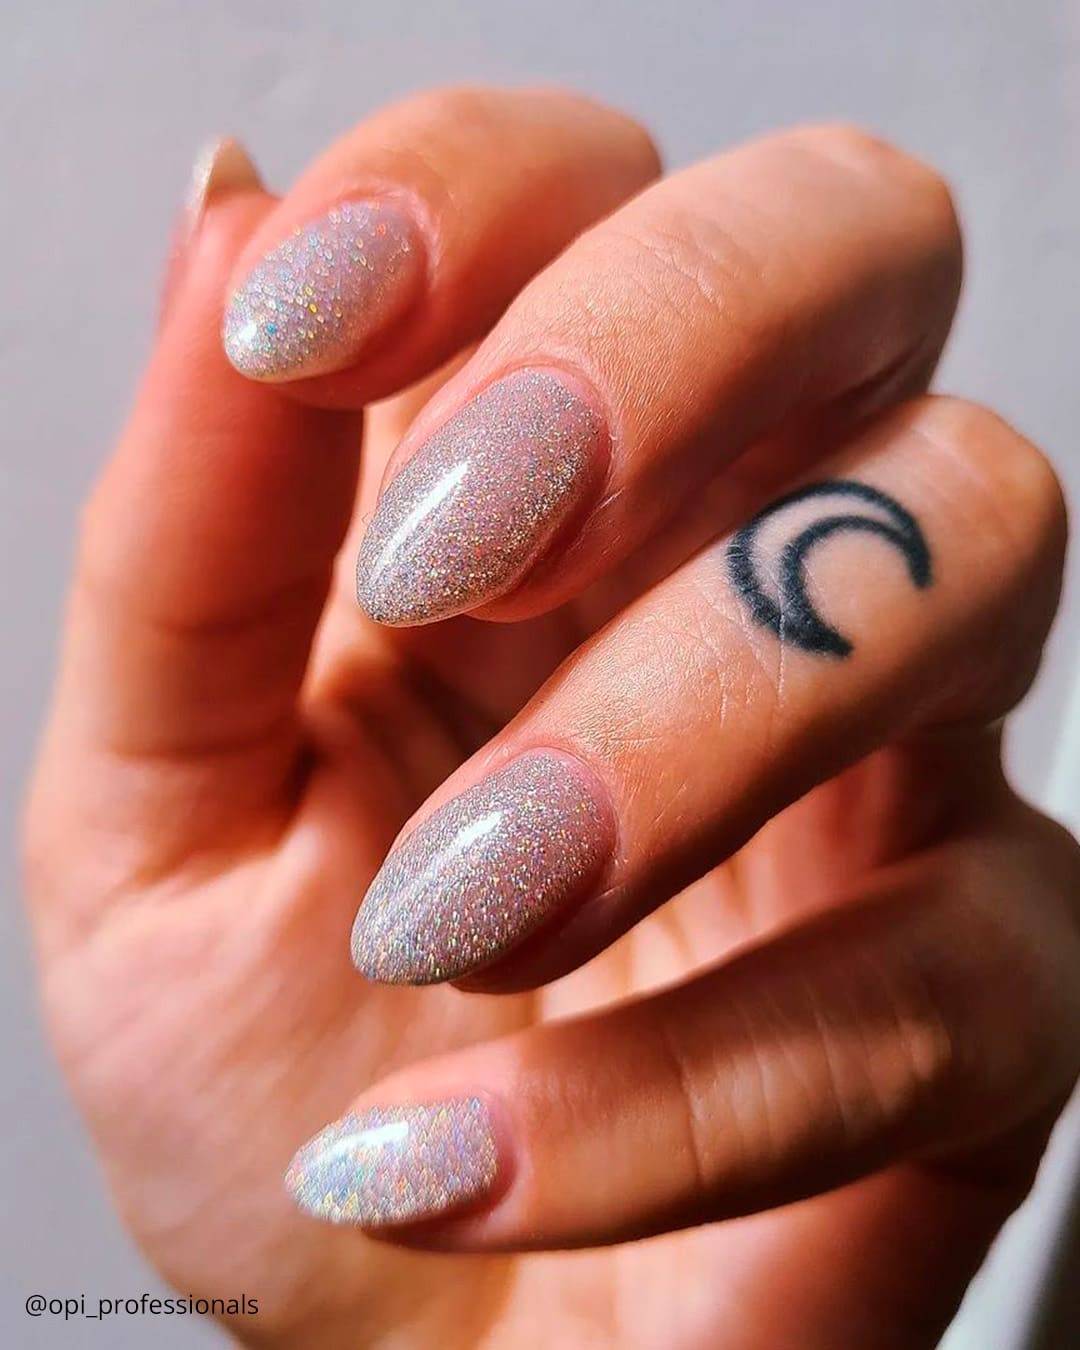
Can you pull off a glitter that shifts color in every light? This one is for anyone who wants the energy of a rainbow without committing to a single shade. The pale silver base keeps the holographic effect from feeling like a child’s toy, and the medium oval shape adds a grown-up silhouette. It flatters warm and cool skin tones equally because the glitter does the work. If your personal style leans neutral, this is the maximum glitter you can wear and still feel like yourself.
Pale Pink Iridescent Glitter with Cross Charms
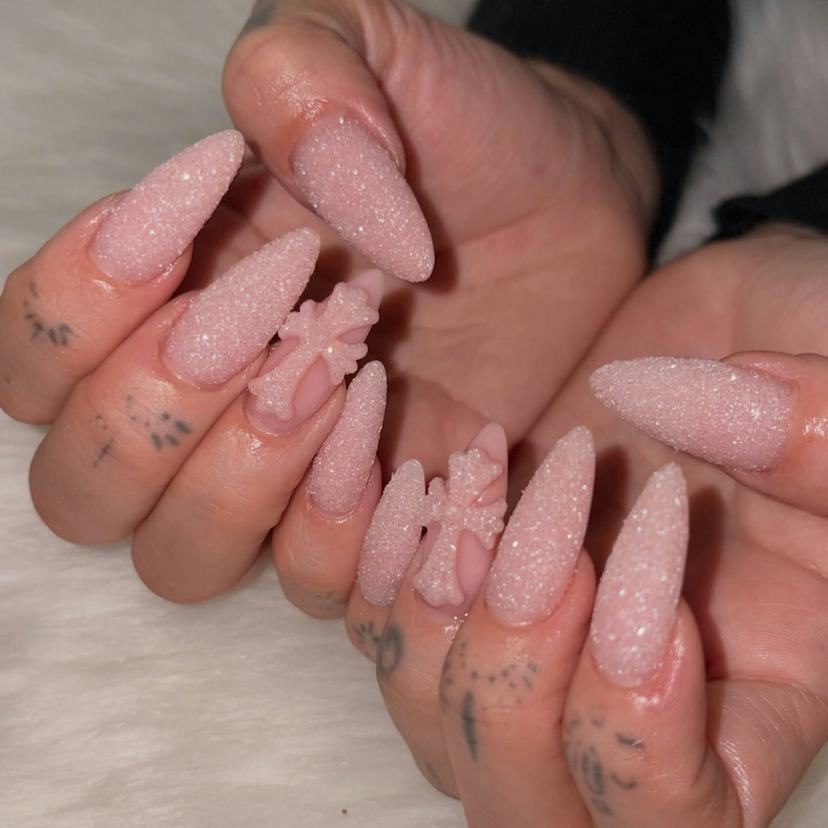
There’s a difference between a charm that looks glued on and one that looks embedded. These cross charms sit flush against the pale pink iridescent glitter, no lifting at the edges.
- Long stiletto shape, filed to a sharp point
- Pale pink iridescent glitter base, shifts in light
- High-shine glitter finish, not matte
- 3D cross charms on accent nails, placed with precision
- Thin layer of glitter under the charm to hide the glue
The difference between DIY and salon here is the charm placement. At home, you risk a visible glue halo or a charm that catches on everything. A tech sets it flush, then seals the edges with top coat. Worth booking if you want it to last the week.
Dark Grey High-Shine Glitter Almond Nails
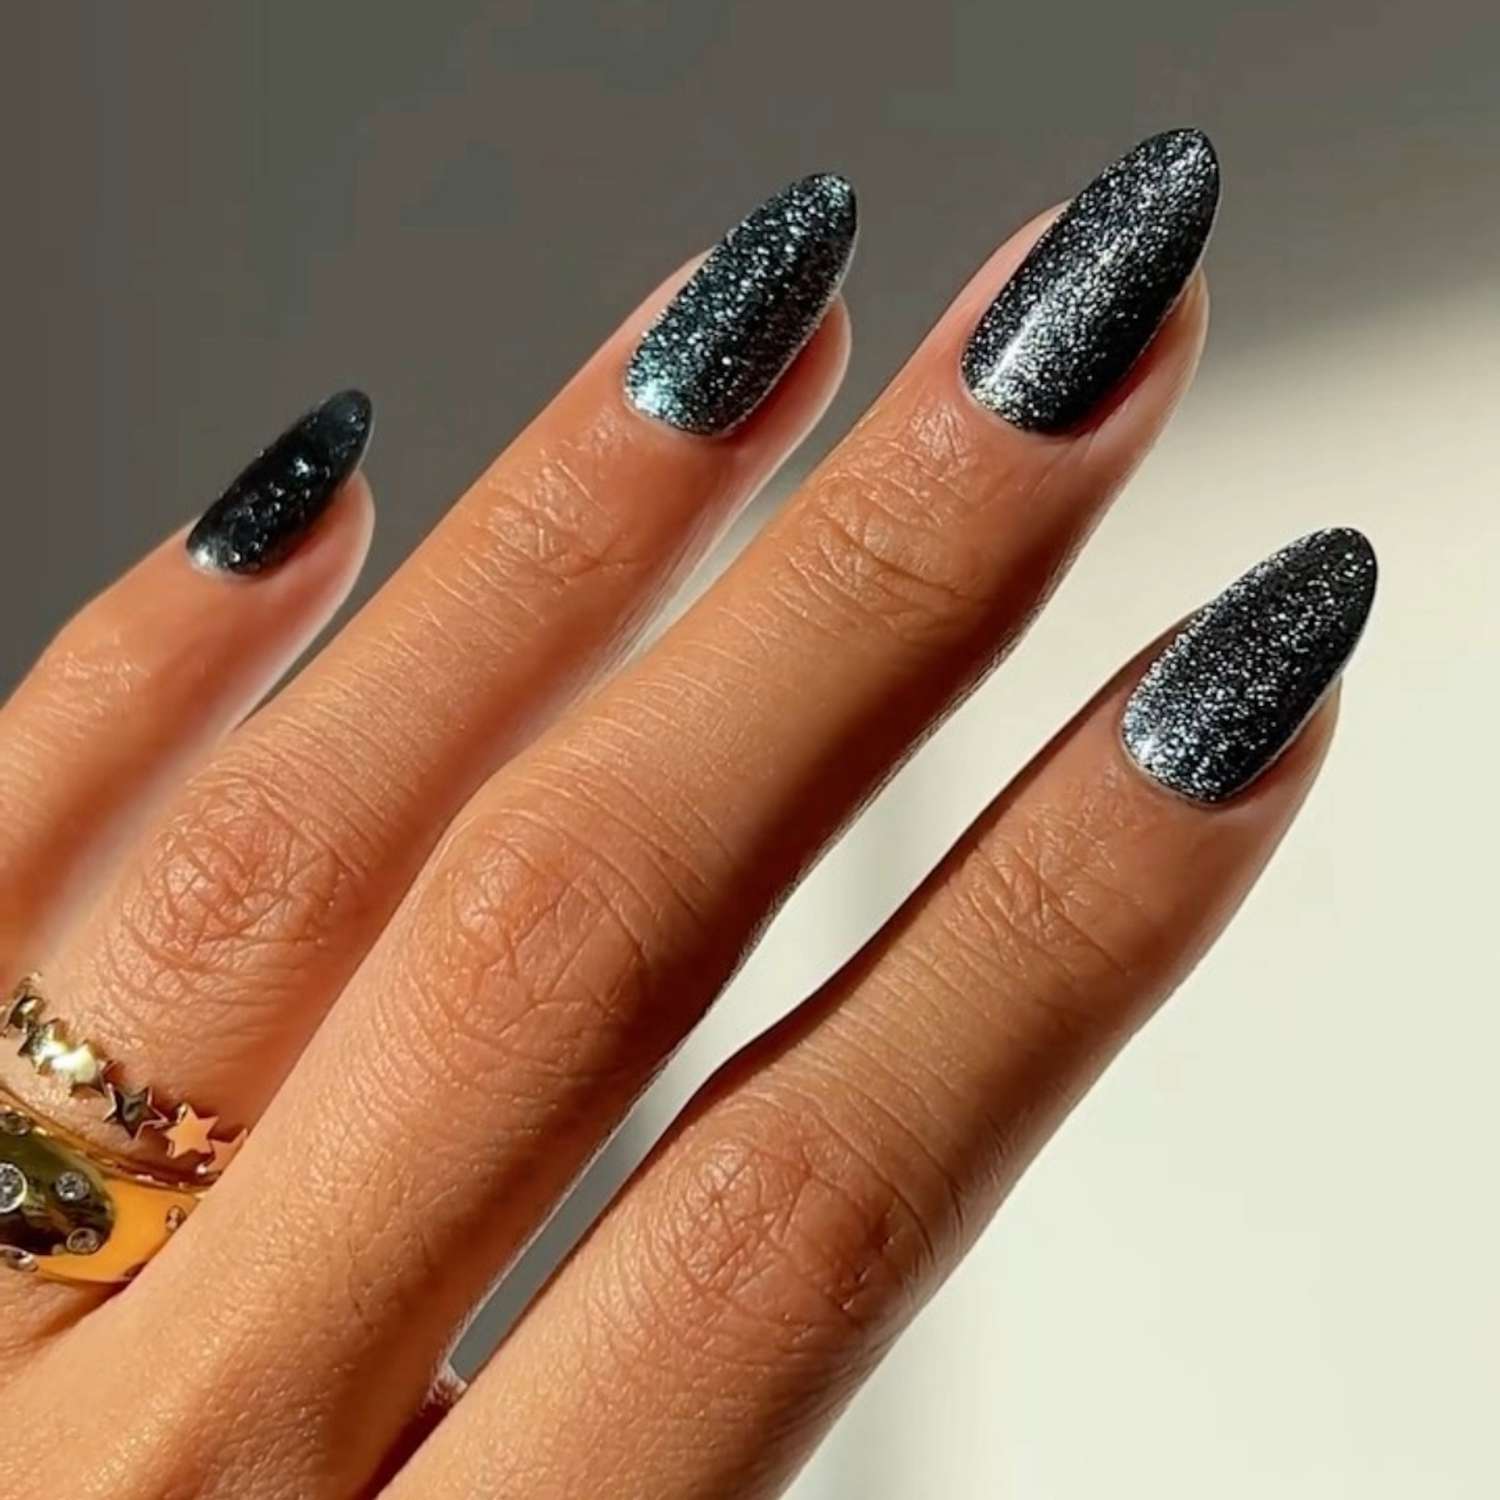
I’ll admit it: I was skeptical about full-coverage dark grey glitter nails. They read as costume jewelry in the bottle. But the high-shine finish changes everything. The dense glitter packs tight, no gaps, so it wears like a solid color. I got three weeks without a chip, and the smooth surface means it snags less than chunkier textures. The dark grey base hides regrowth well, so you can push the fill to week three if you’re careful. Removal is the trade-off: that many layers of glitter need a solid soak in acetone, not a quick file. Worth it for the sparkle that catches every light.
Vibrant Orange with Gold Glitter Accents
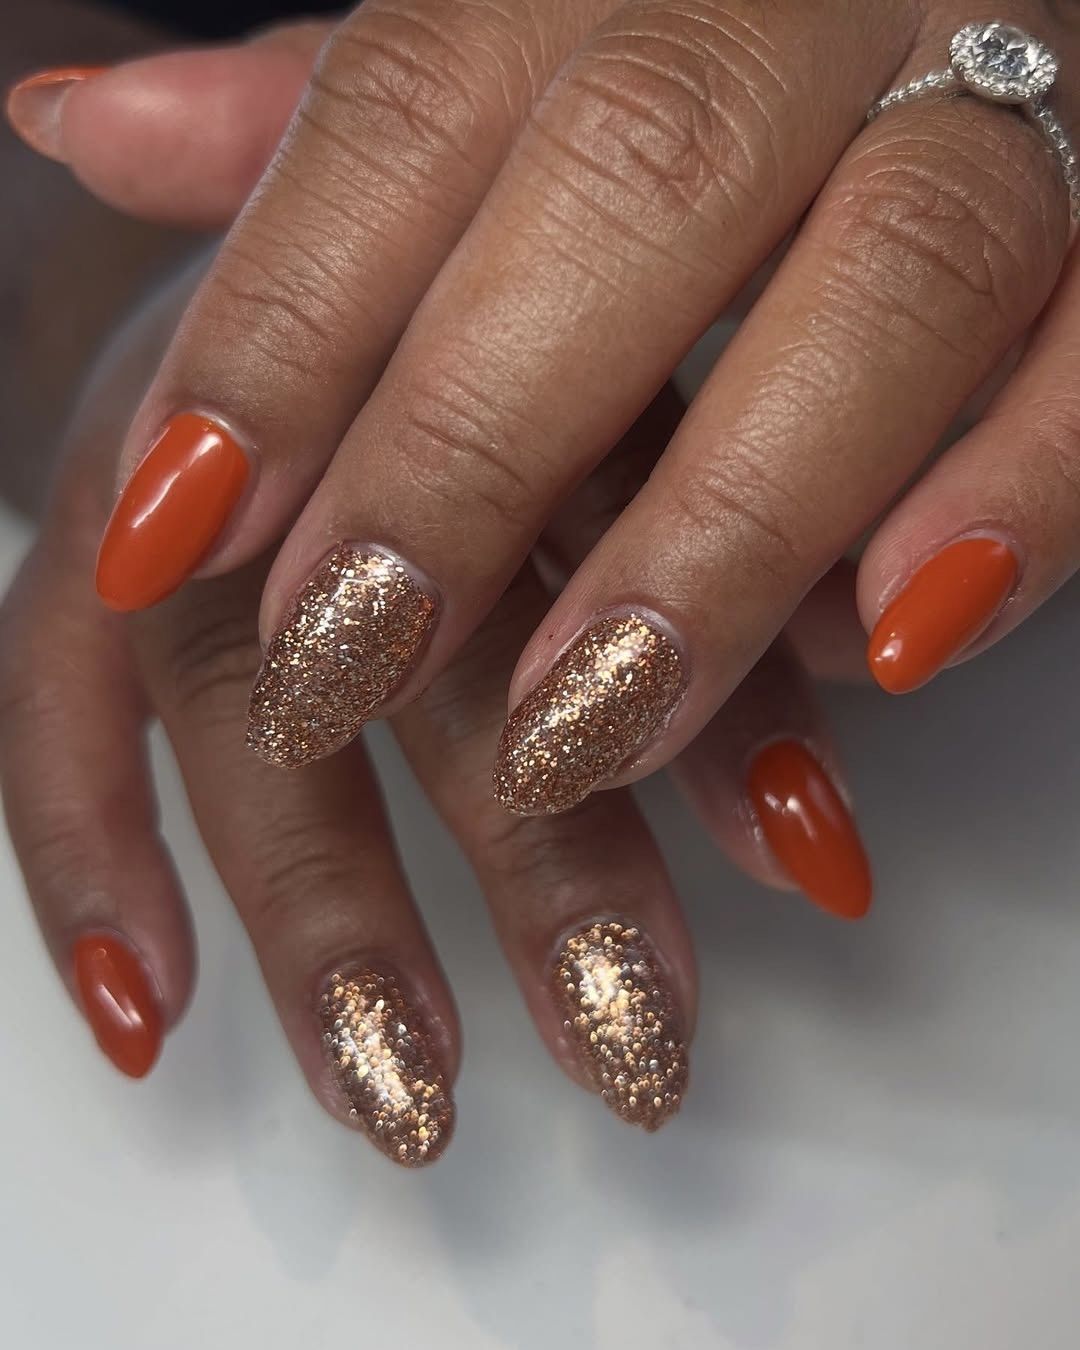
Fall nails are two-tone this year, and this combination is the reason. A bold vibrant orange base on most nails, while the accents go full gold glitter, the kind that catches the low autumn sun. The mix reads autumnal without leaning into basic pumpkin territory, the gold glitter is what keeps it from feeling like a Halloween costume. Medium oval shape keeps the look wearable for the rest of your week, not just the one evening. If you are already missing summer, this is the bridge.
Multi-Color Glitter Ombré Tips
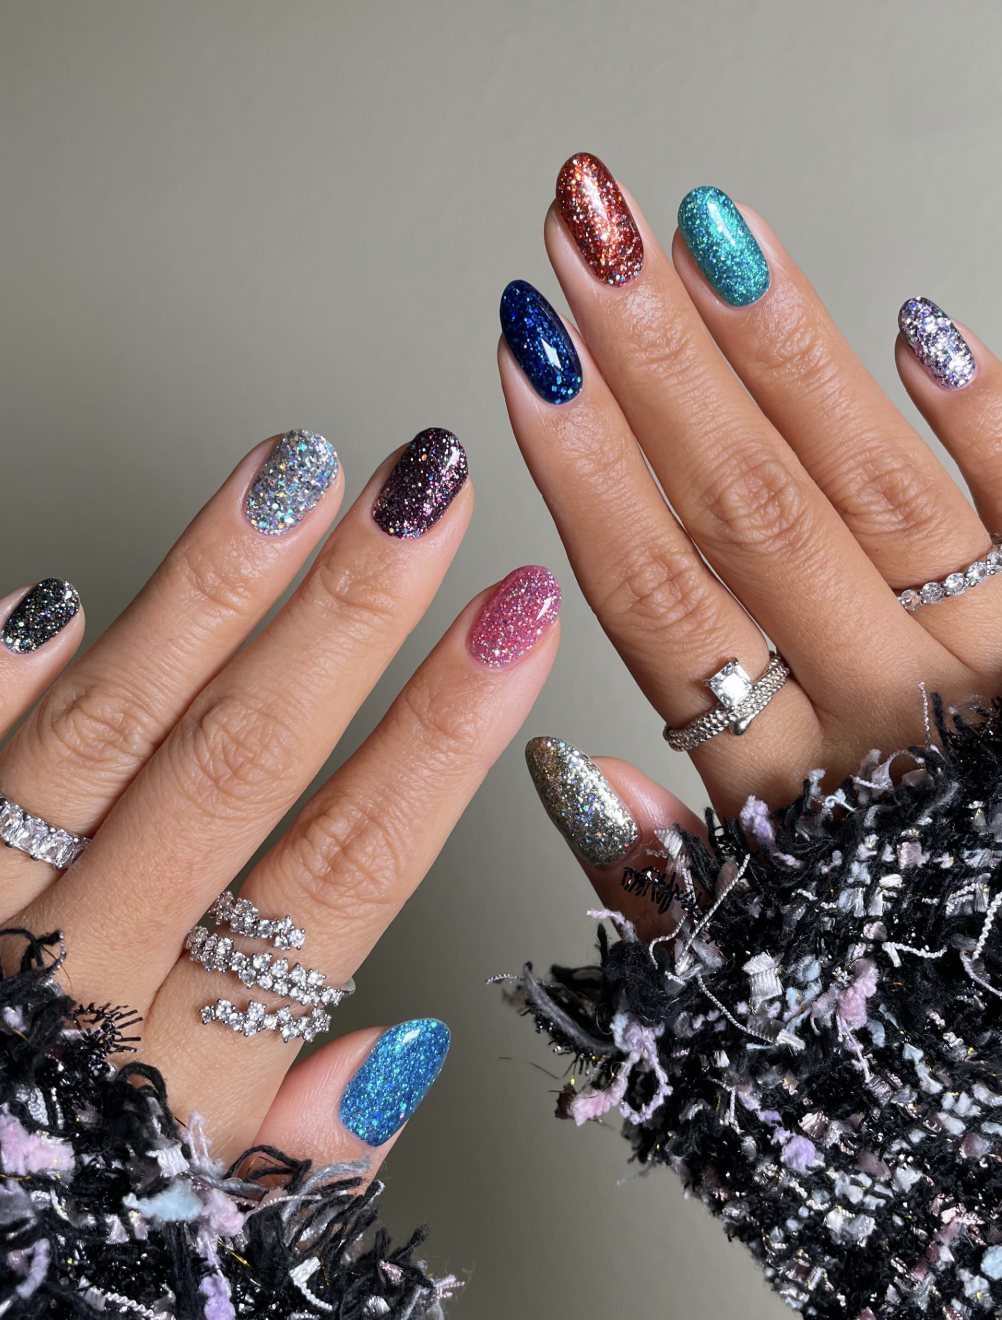
This one does the work for you. The multi-color glitter ombré builds from a bare nail base into a dense, confetti-like tip, short to medium oval length keeps it party ready without the drama. The payoff is the placement: the glitter concentrates at the free edge, so the sparkle happens exactly where it should, not smeared over the whole nail.
The technique asks your tech to layer several glitter shades in a gradient, fading each color into the one below it. Ask for gold, silver, pink and a little blue, the blend should read like a spectrum, not a random dusting. The transition fades into a clean tip, which is why it photographs so well and why it fools everyone into thinking you have extensions.
Black Silver Glitter Gradient with Rhinestones
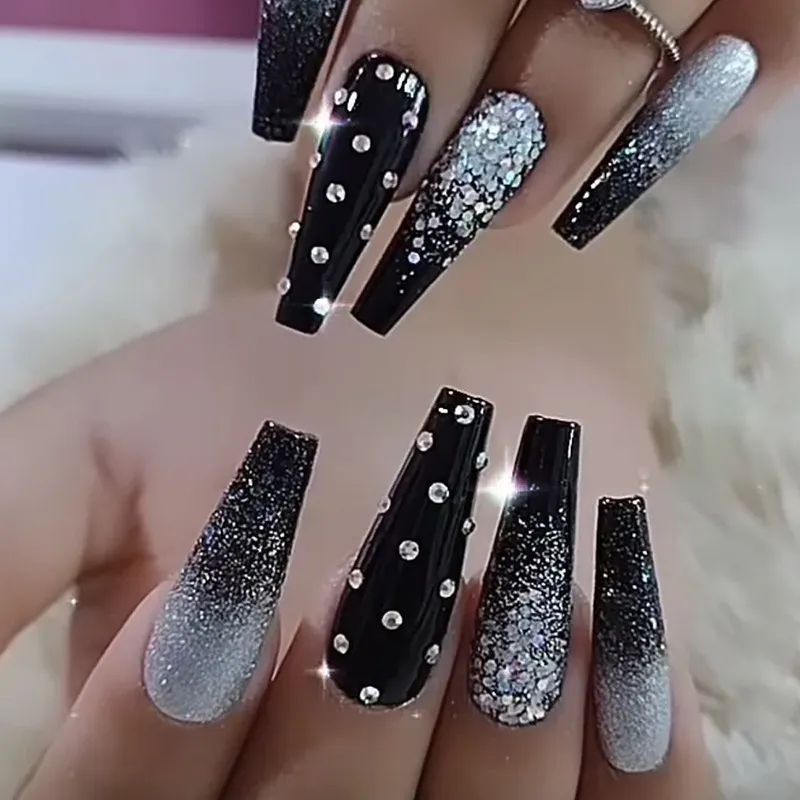
Rhinestones snag. That is the truth, and it is the first thing you notice when you try to pull on a sleeve with a long coffin this sharp. The black silver glitter gradient is the smooth part, a fine fade from a charcoal base into dense silver at the tip, precise edges and no glitter drift. The rhinestones sit on two or three accent nails, scattered like afterthoughts, and they look good for an evening, but by day two they catch on everything. If you type or button your own coat, this design is a performance piece, not a daily driver. I respect the look; I question the maintenance.
Pale Pink with Silver Glitter and Stripes
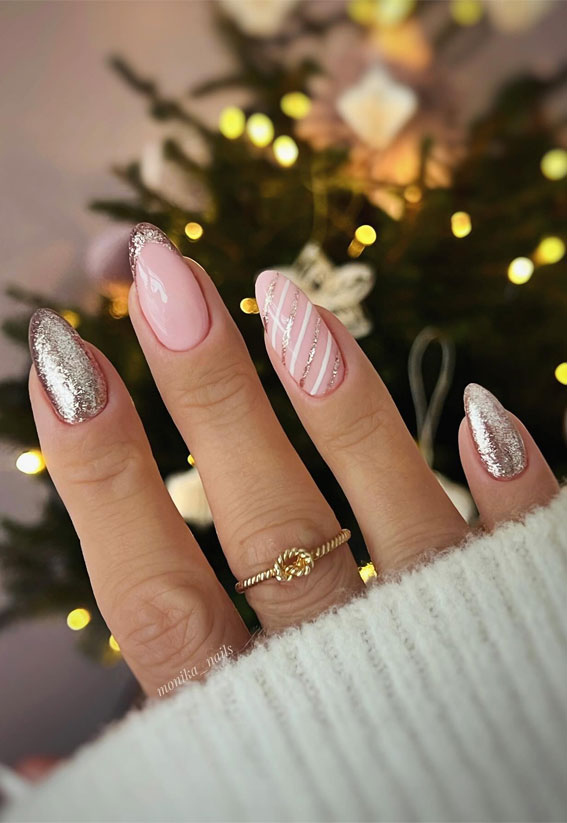
Can you get diagonal white stripes straight without the salon? Yes, if you are patient with striping tape. Start with a pale pink silver glitter base on the accent nails, keep the rest a soft pink gloss. For the stripes, press the tape at a 45-degree angle, paint a thin white line, peel while still wet, then seal with a top coat. The key is removing the tape immediately, wait and it drags. The glitter accent nails are the easier half, just a fine silver dust over the pink, it catches the winter light without giving you full disco-ball commitment.
Chunky Rose Gold Glitter Short Oval Nails
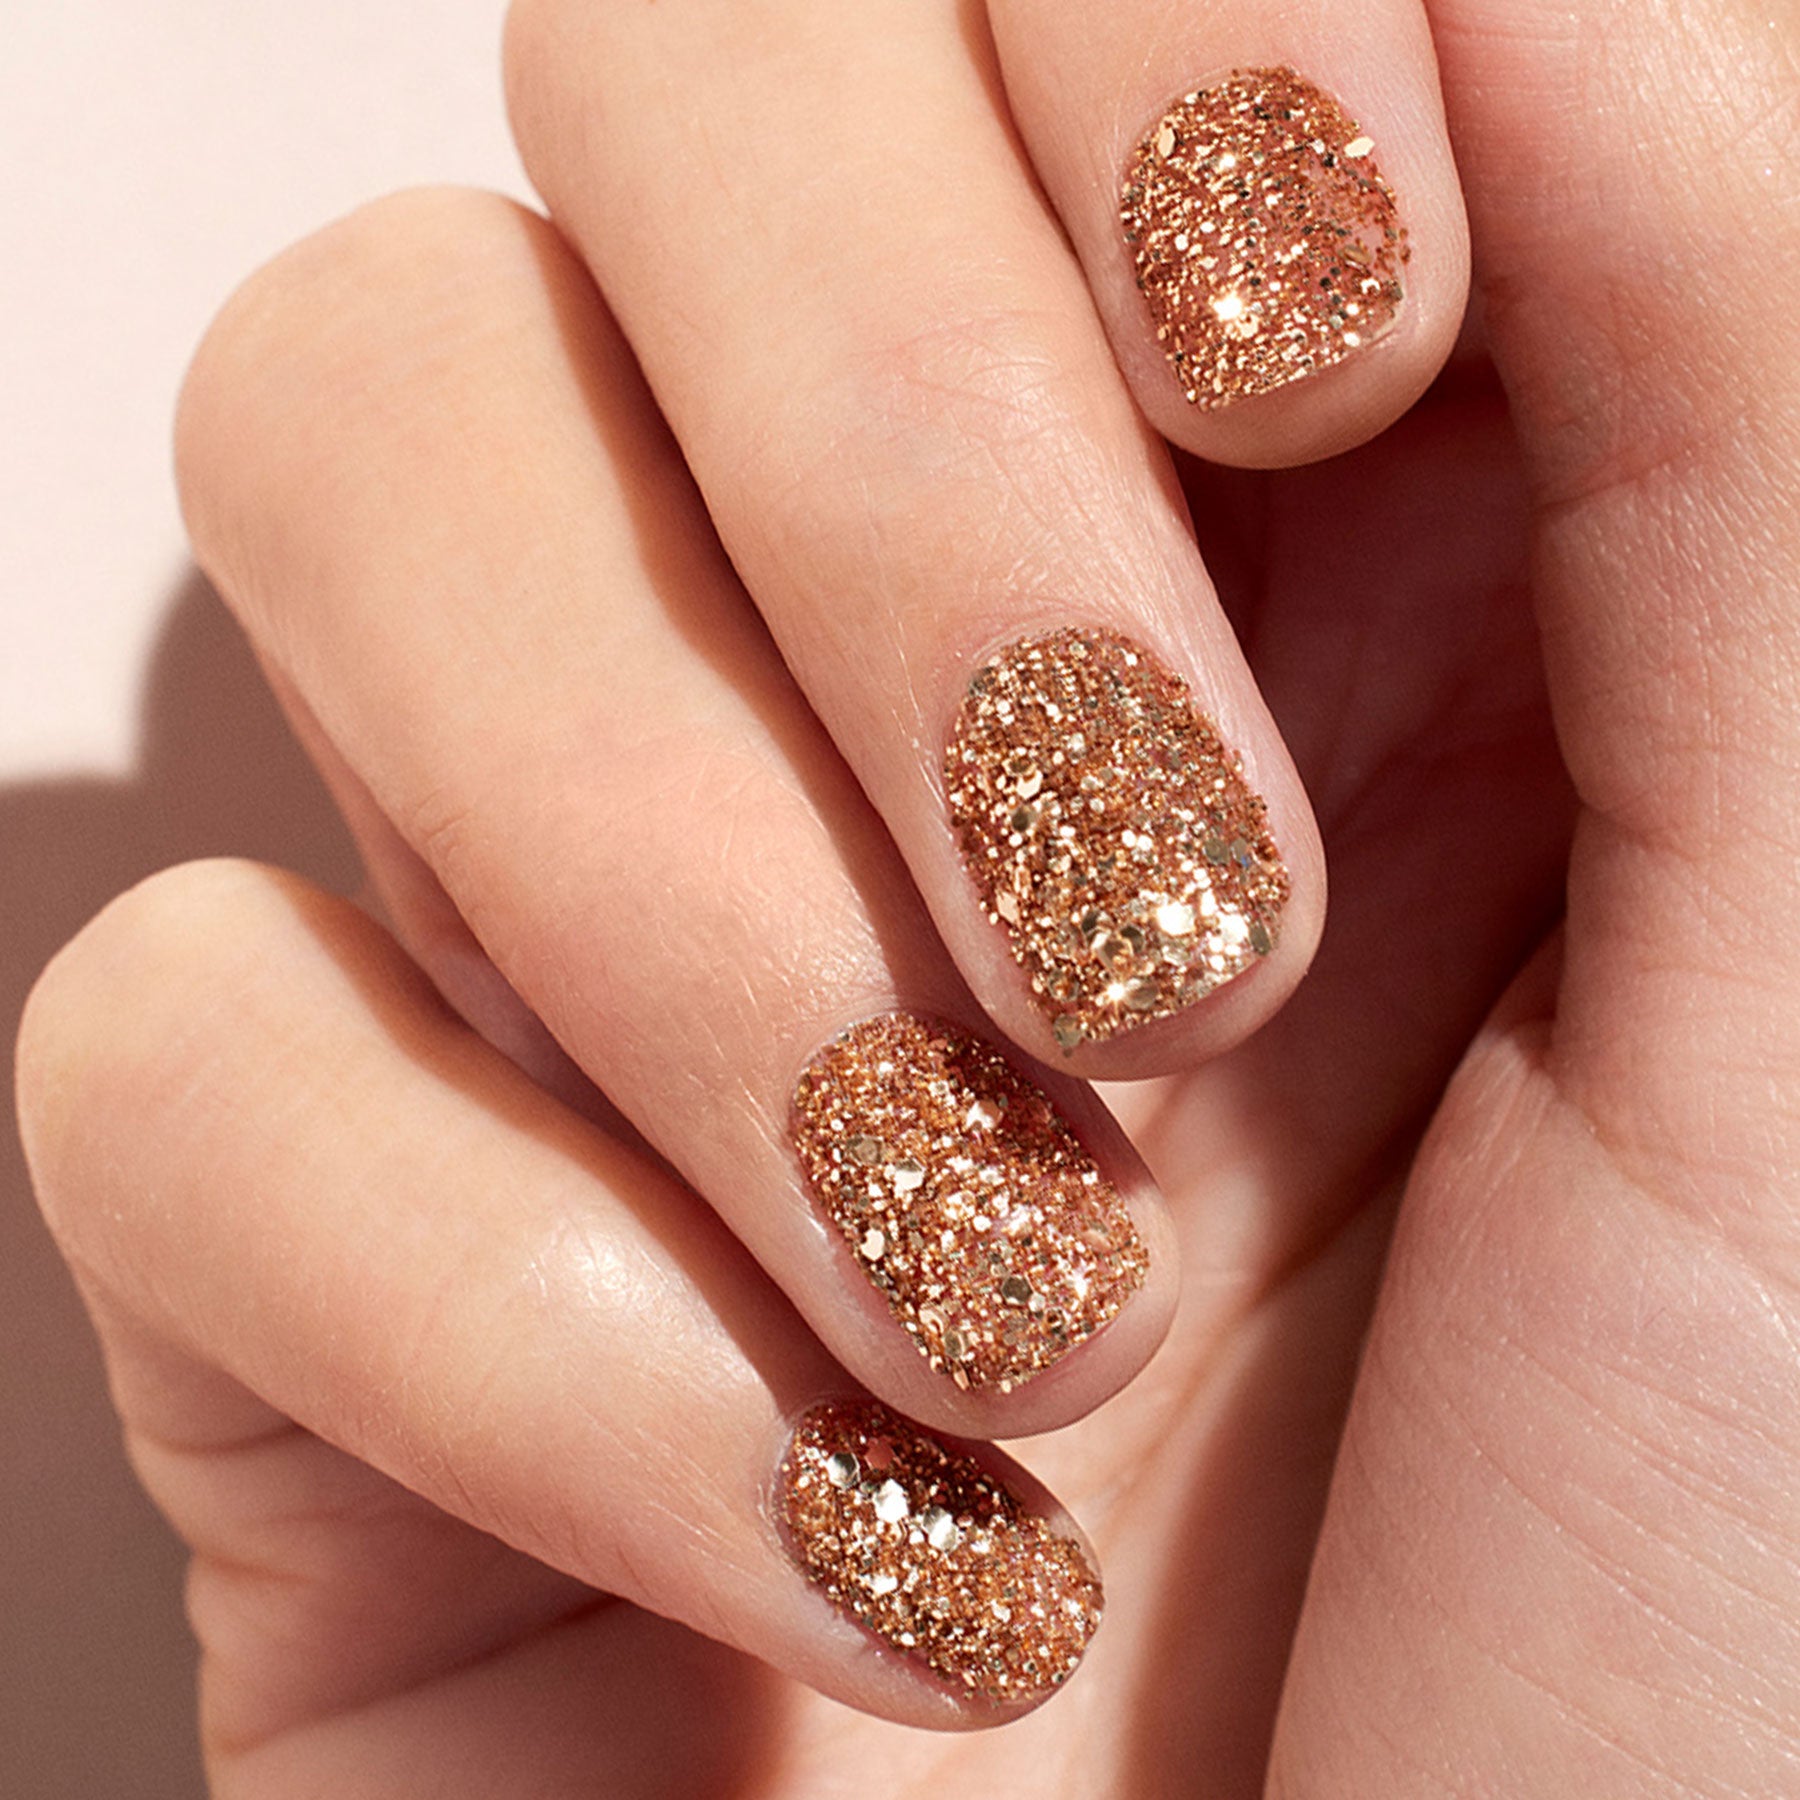
Chunky glitter has a weight to it. This one sits on a short oval, the chunky rose gold glitter pressed thick enough to look like a metallic shell rather than a dusting. The texture is the point, the particles are visible, uneven, catching light at different angles, so the shine changes with every hand motion. The warm rose gold tone reads elegant on short nails, and the chunkiness is what stops it from looking like a pinky ring. You will run your thumb over it more than you admit. I did.
Deep Burgundy with Gold Glitter and Rhinestones
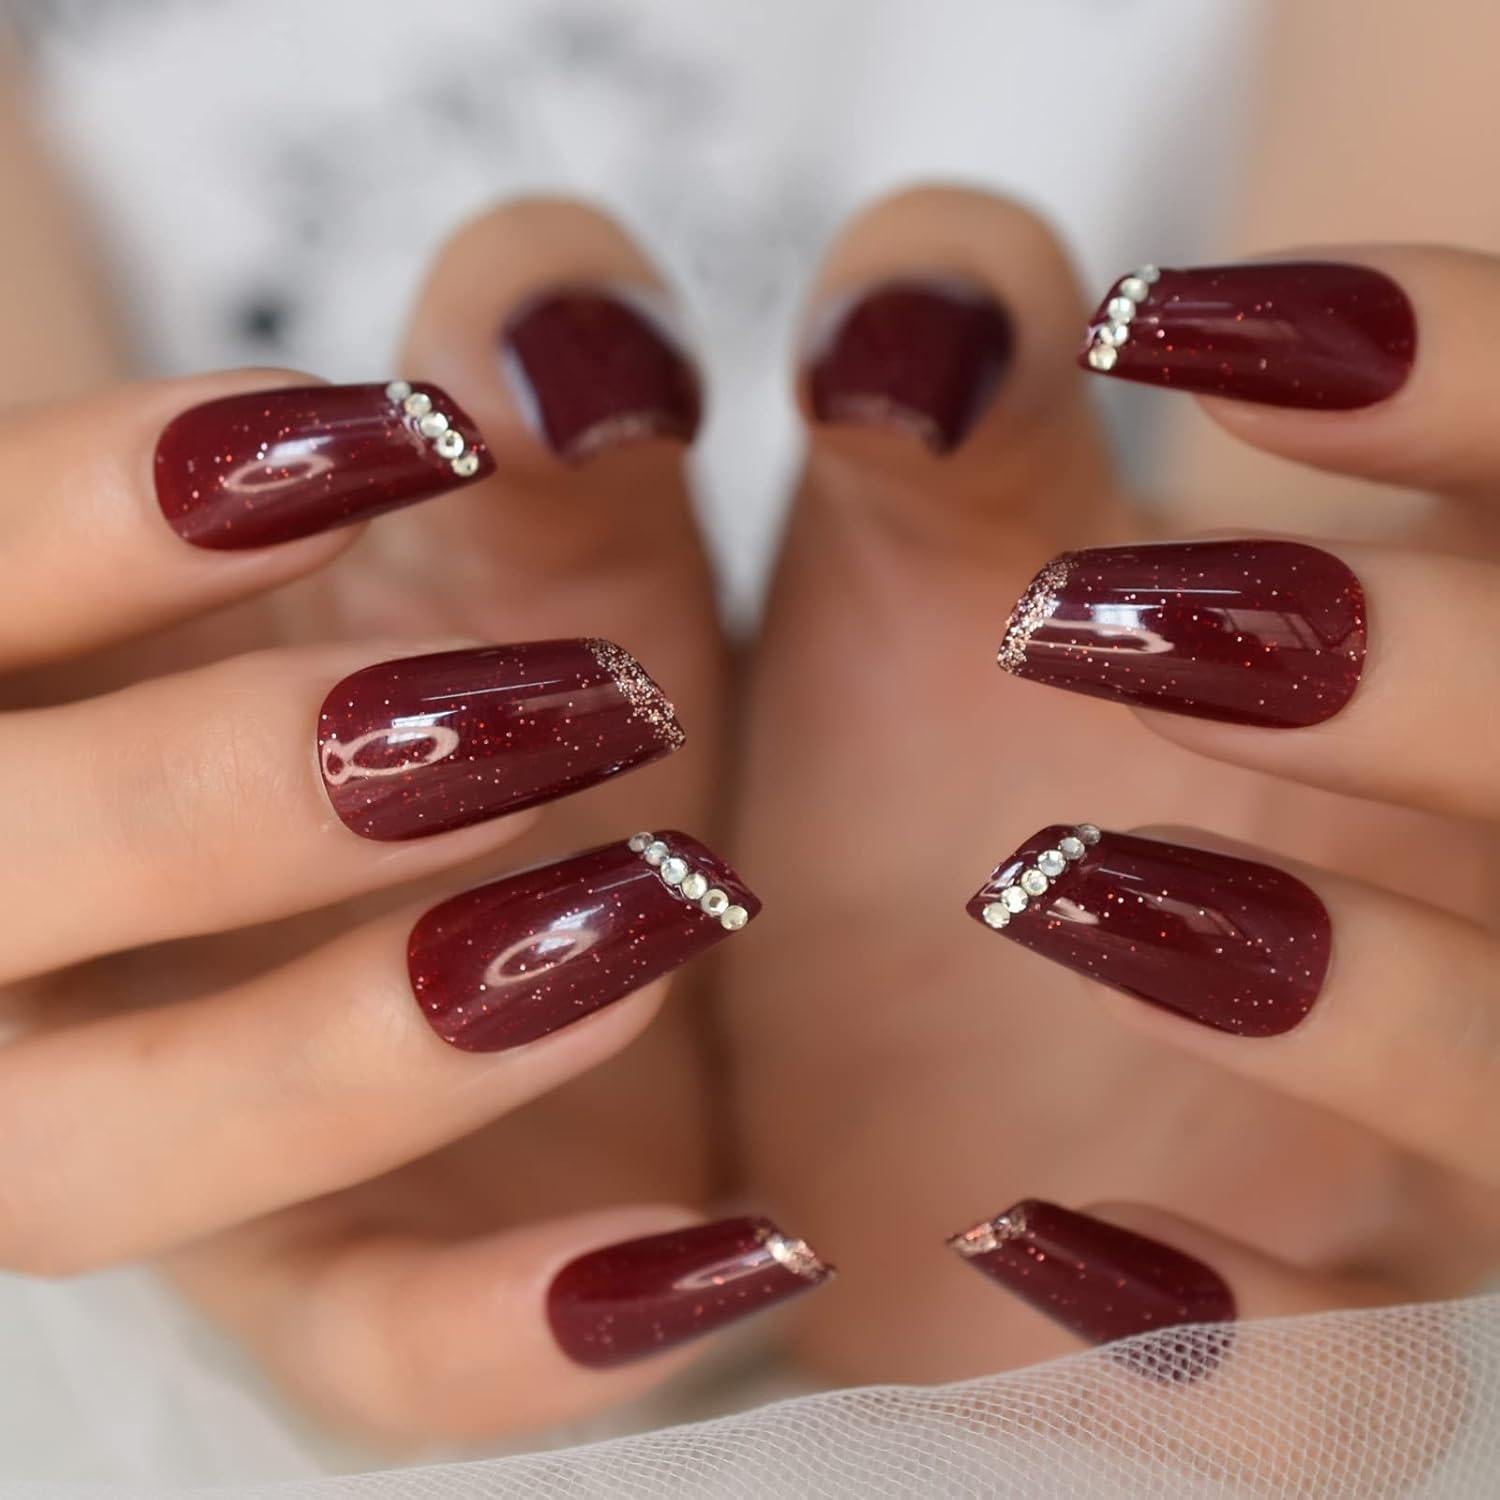
You sit down, show the tech a photo of burgundy gold glitter nails, and watch her calculate the extra fifteen minutes per hand. That’s the cost of rhinestones along the cuticle: patience and a steady hand. The deep burgundy base with gold glitter tips reads warm on olive skin, and the rhinestones catch every light at the holiday party. The medium square shape keeps the stones from catching on sweater cuffs. Honest downside: one stone popped off by day four, and I spent the rest of the week checking my nails like a nervous bird. Still, for that one evening, they were worth the chair time.
Short Oval All-Over Holographic Silver Glitter
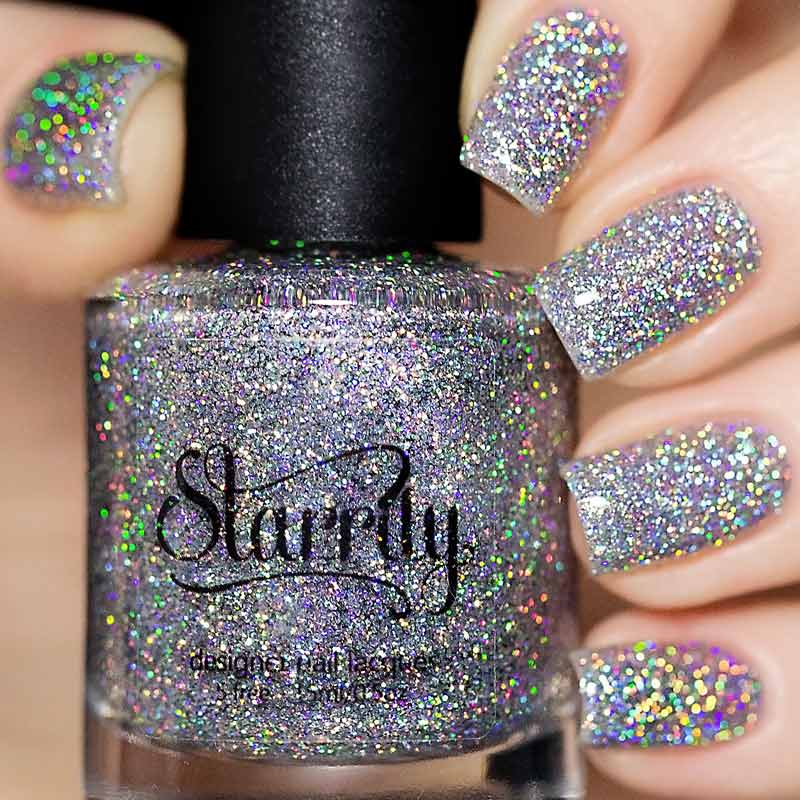
Can you handle this much sparkle? Short oval holographic silver glitter nails are not for the shy. They suit anyone who wants their hands to be the center of attention, regardless of skin tone — the silver reads cool on fair skin and bright on deeper tones. The short oval shape keeps it wearable for typing and contact lenses. If you prefer subtle, skip this one. They’re a party in a bottle, and if you’re ready to commit, they deliver.
Deep Teal Glitter with Black Abstract Art
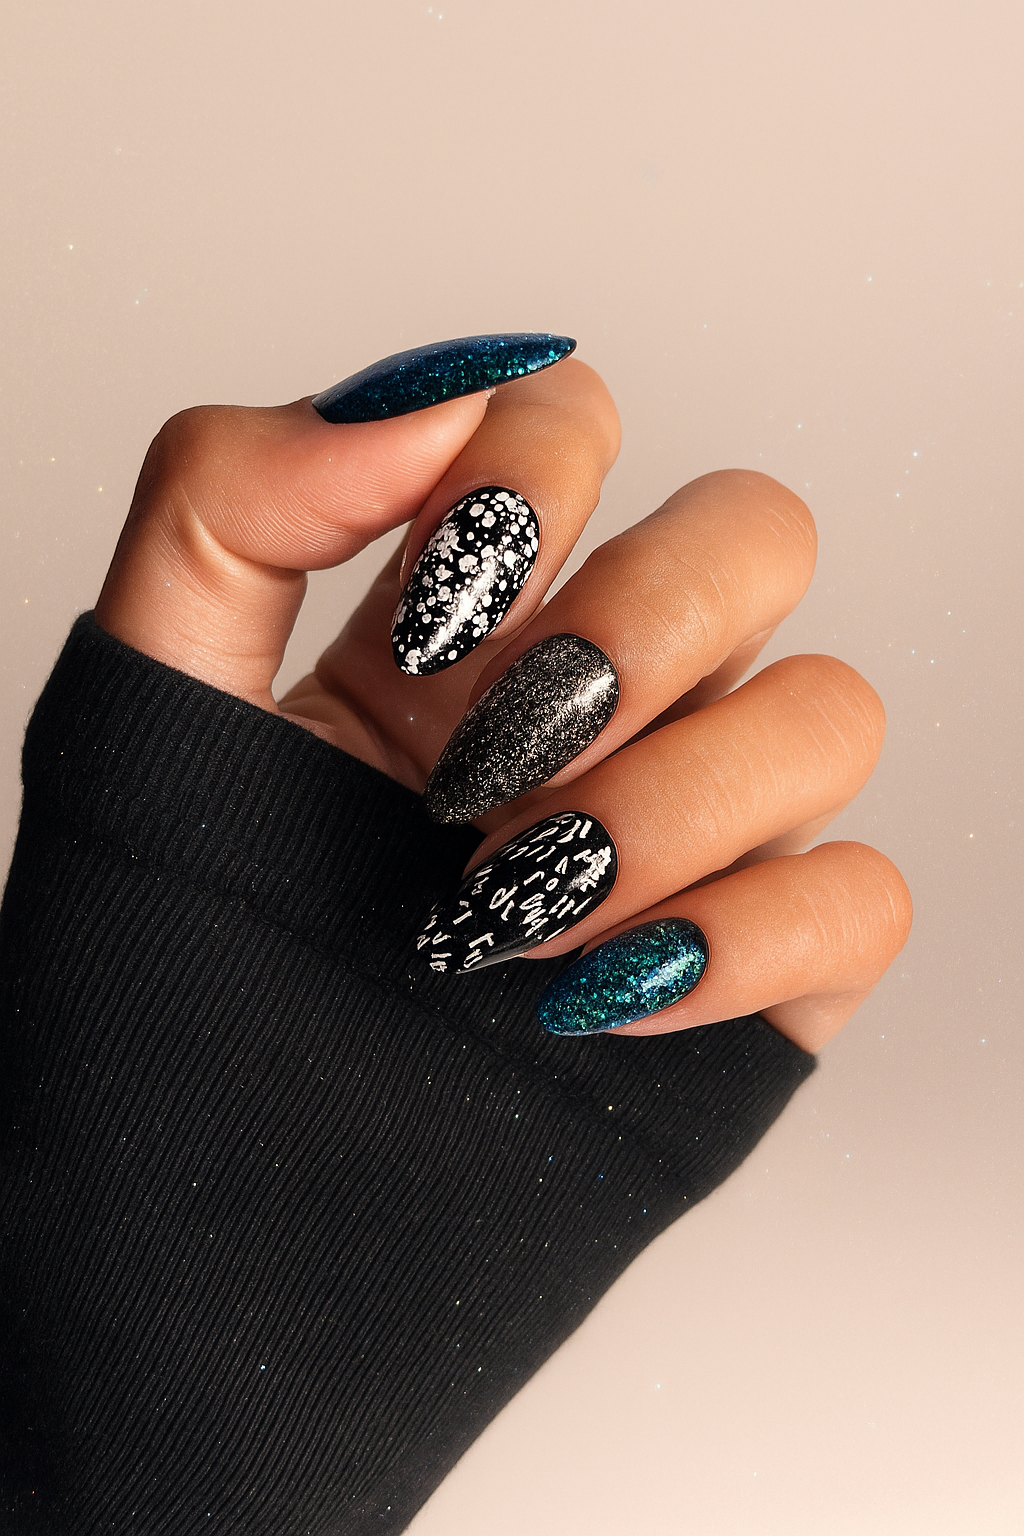
The abstract art on these teal glitter abstract nails requires a steady hand and a lot of trust in your tech. The fine white lines against the black base are precise, almost like a snowflake pattern, and they demand a steady hand. The deep teal glitter on the accent nails is simpler but still needs careful layering to avoid clumps. The long coffin shape gives room for the art, and the black base is glossy, the white lines crisp, the teal glitter catching the light differently. It’s a mixed-media look that feels artistic, not gimmicky.
If you’re choosing between this and a full glitter set, know that the art will show wear faster — the white lines might chip by week two, while the glitter lasts three. For a winter holiday event, the art is worth it. But this is not a DIY project; book the salon and bring a reference photo. The complexity of the art versus the glitter means you’re paying for technique, not just coverage.
Holographic Blue Purple Glitter Almond Nails
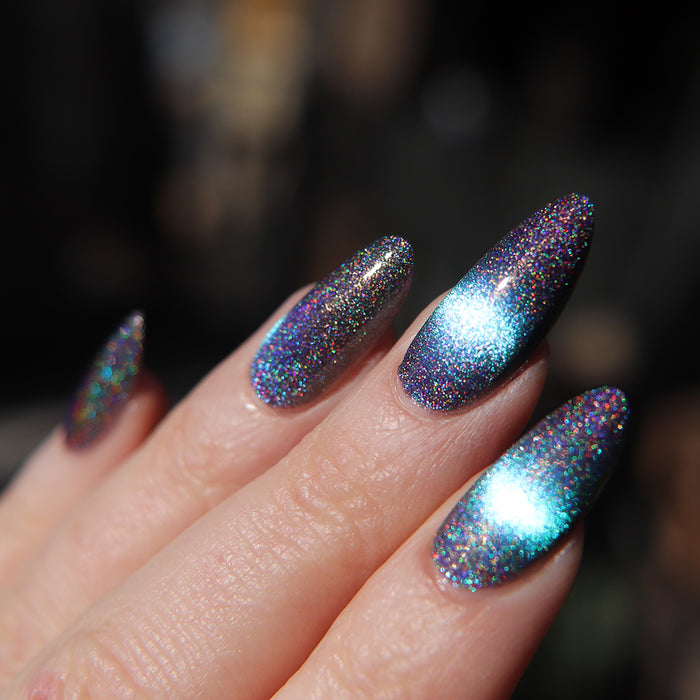
I’ll admit I was skeptical about blue purple holographic glitter on long almond nails. I thought it would look too much like a toy. But the holographic effect shifts colors in every light, and the long almond shape elongates the fingers without being impractical. Wear is solid — the full coverage means no tip wear to worry about. Upkeep is minimal: a quick top coat refresh at week two keeps the shine. Removal takes a full soak, but the glitter comes off in sheets if you file the top layer first. I wore these through a week of typing and they held up.
Short Oval Multi-Color with Gold Glitter Accents
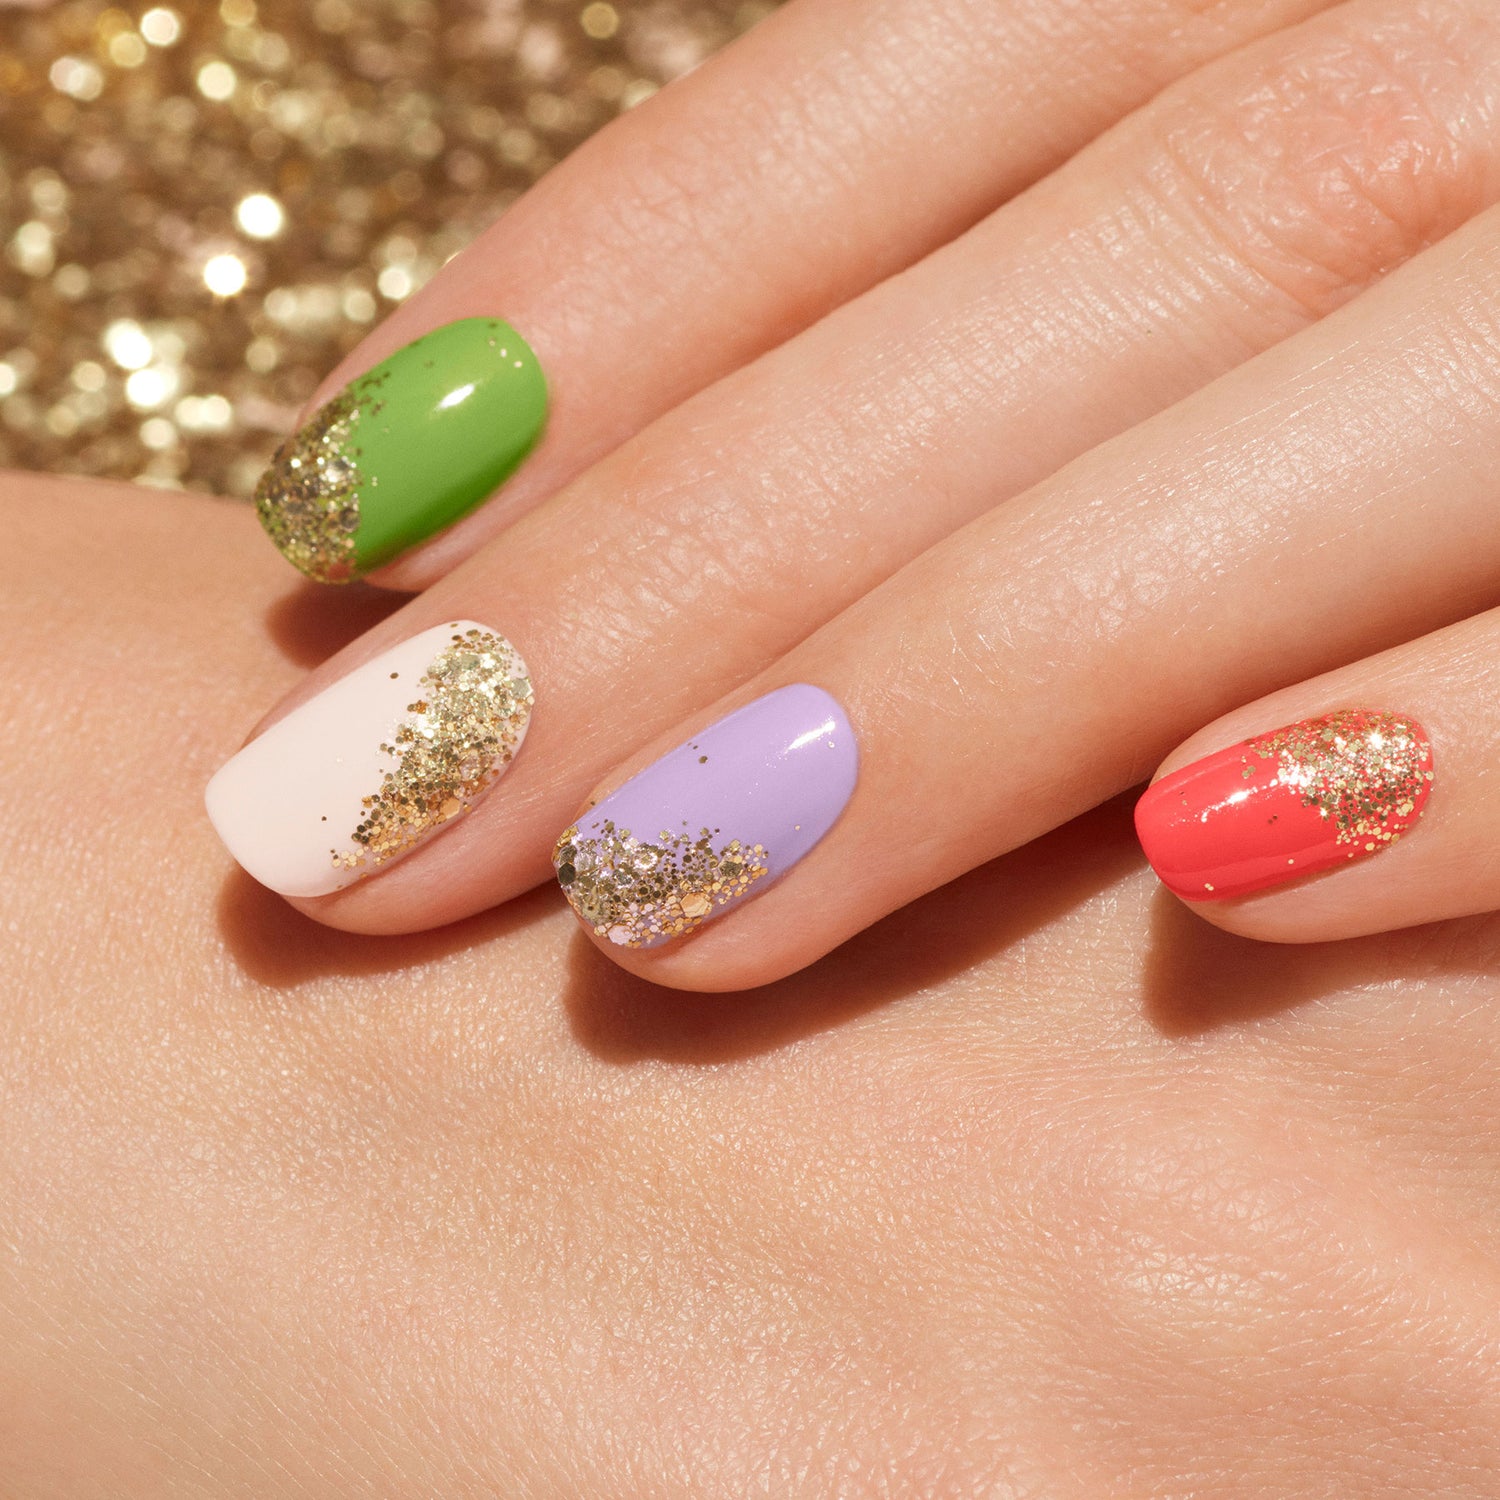
These short oval gold glitter accents hit differently in June than they would in December. The multi-color palette of green, white, lilac, and coral reads like a garden party, and the gold glitter on the tips ties it together without overwhelming. Perfect for a summer brunch or a day out, and the short oval shape keeps it practical for sandals and typing.
Medium Stiletto Vibrant Red Glitter Nails
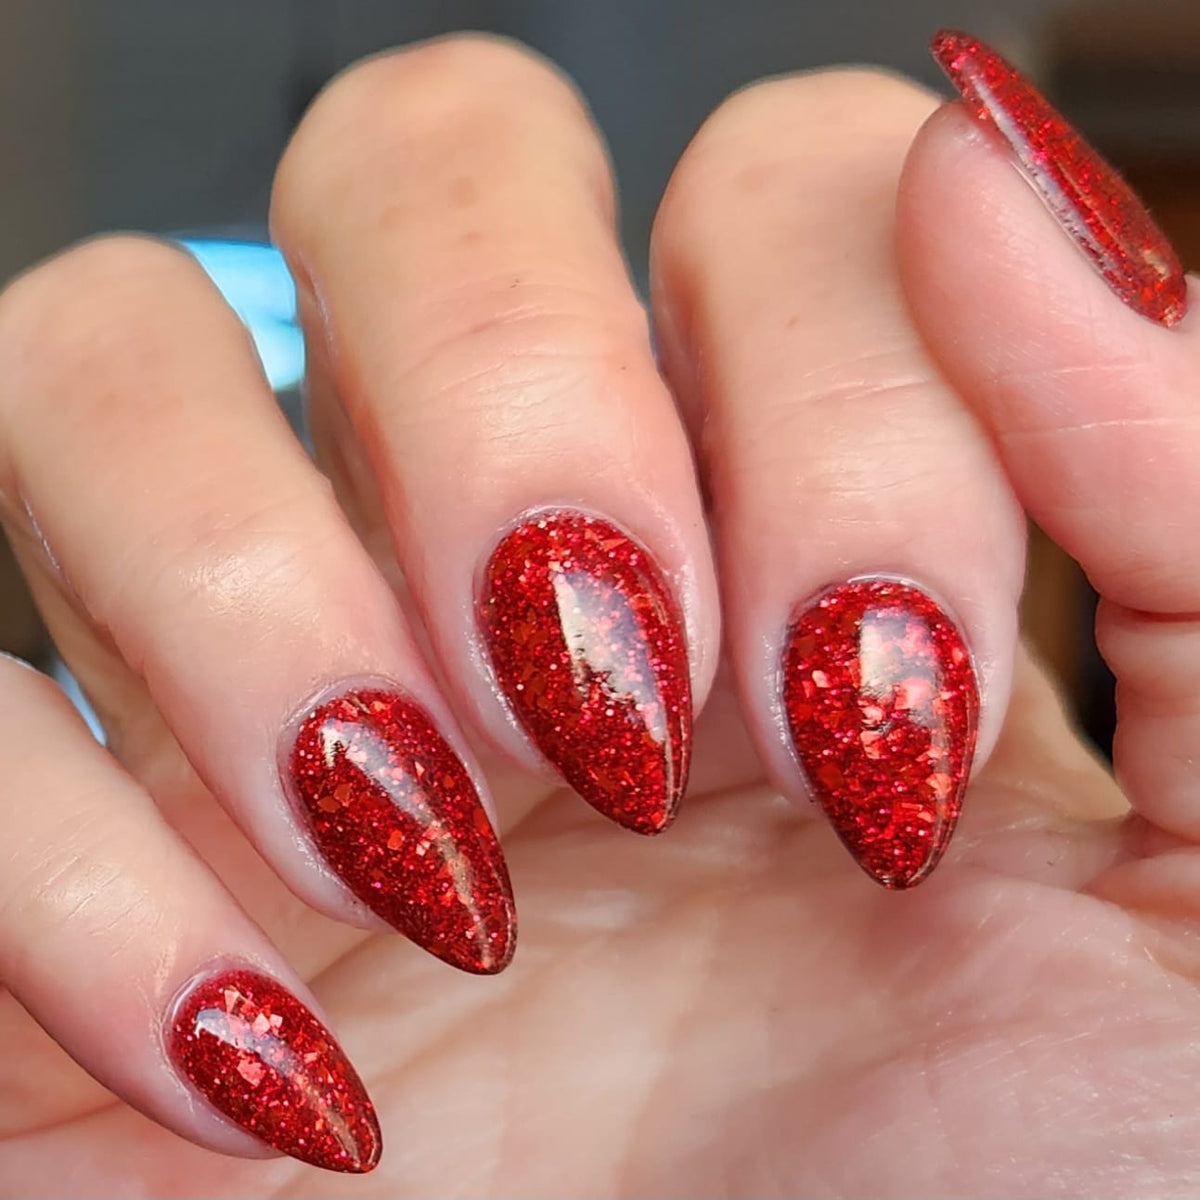
I’ll admit it: dense glitter application is not forgiving. Every lump shows, every gap catches the light wrong. For this vibrant red glitter nails look, each nail got three careful layers of fine-particle glitter packed onto a tacky base. The medium stiletto shape means the apex needs enough structure to hold the weight without slumping. My nail tech pressed the glitter in with a flat brush, not patted it, which avoids air pockets. After curing, a thick top coat sealed everything flat. The result is a surface that looks wet even dry, and zero patchiness.
The trick is in the timing: apply glitter while the base coat is still slightly sticky, not fully cured. This anchors the particles so they don’t shift under the top coat. For the sharp stiletto tips, I tap the brush from the center outward to keep edges crisp. No floating glitter at the cuticle is the dead giveaway of a rushed job.
Long Coffin Dark Green Glitter Nails
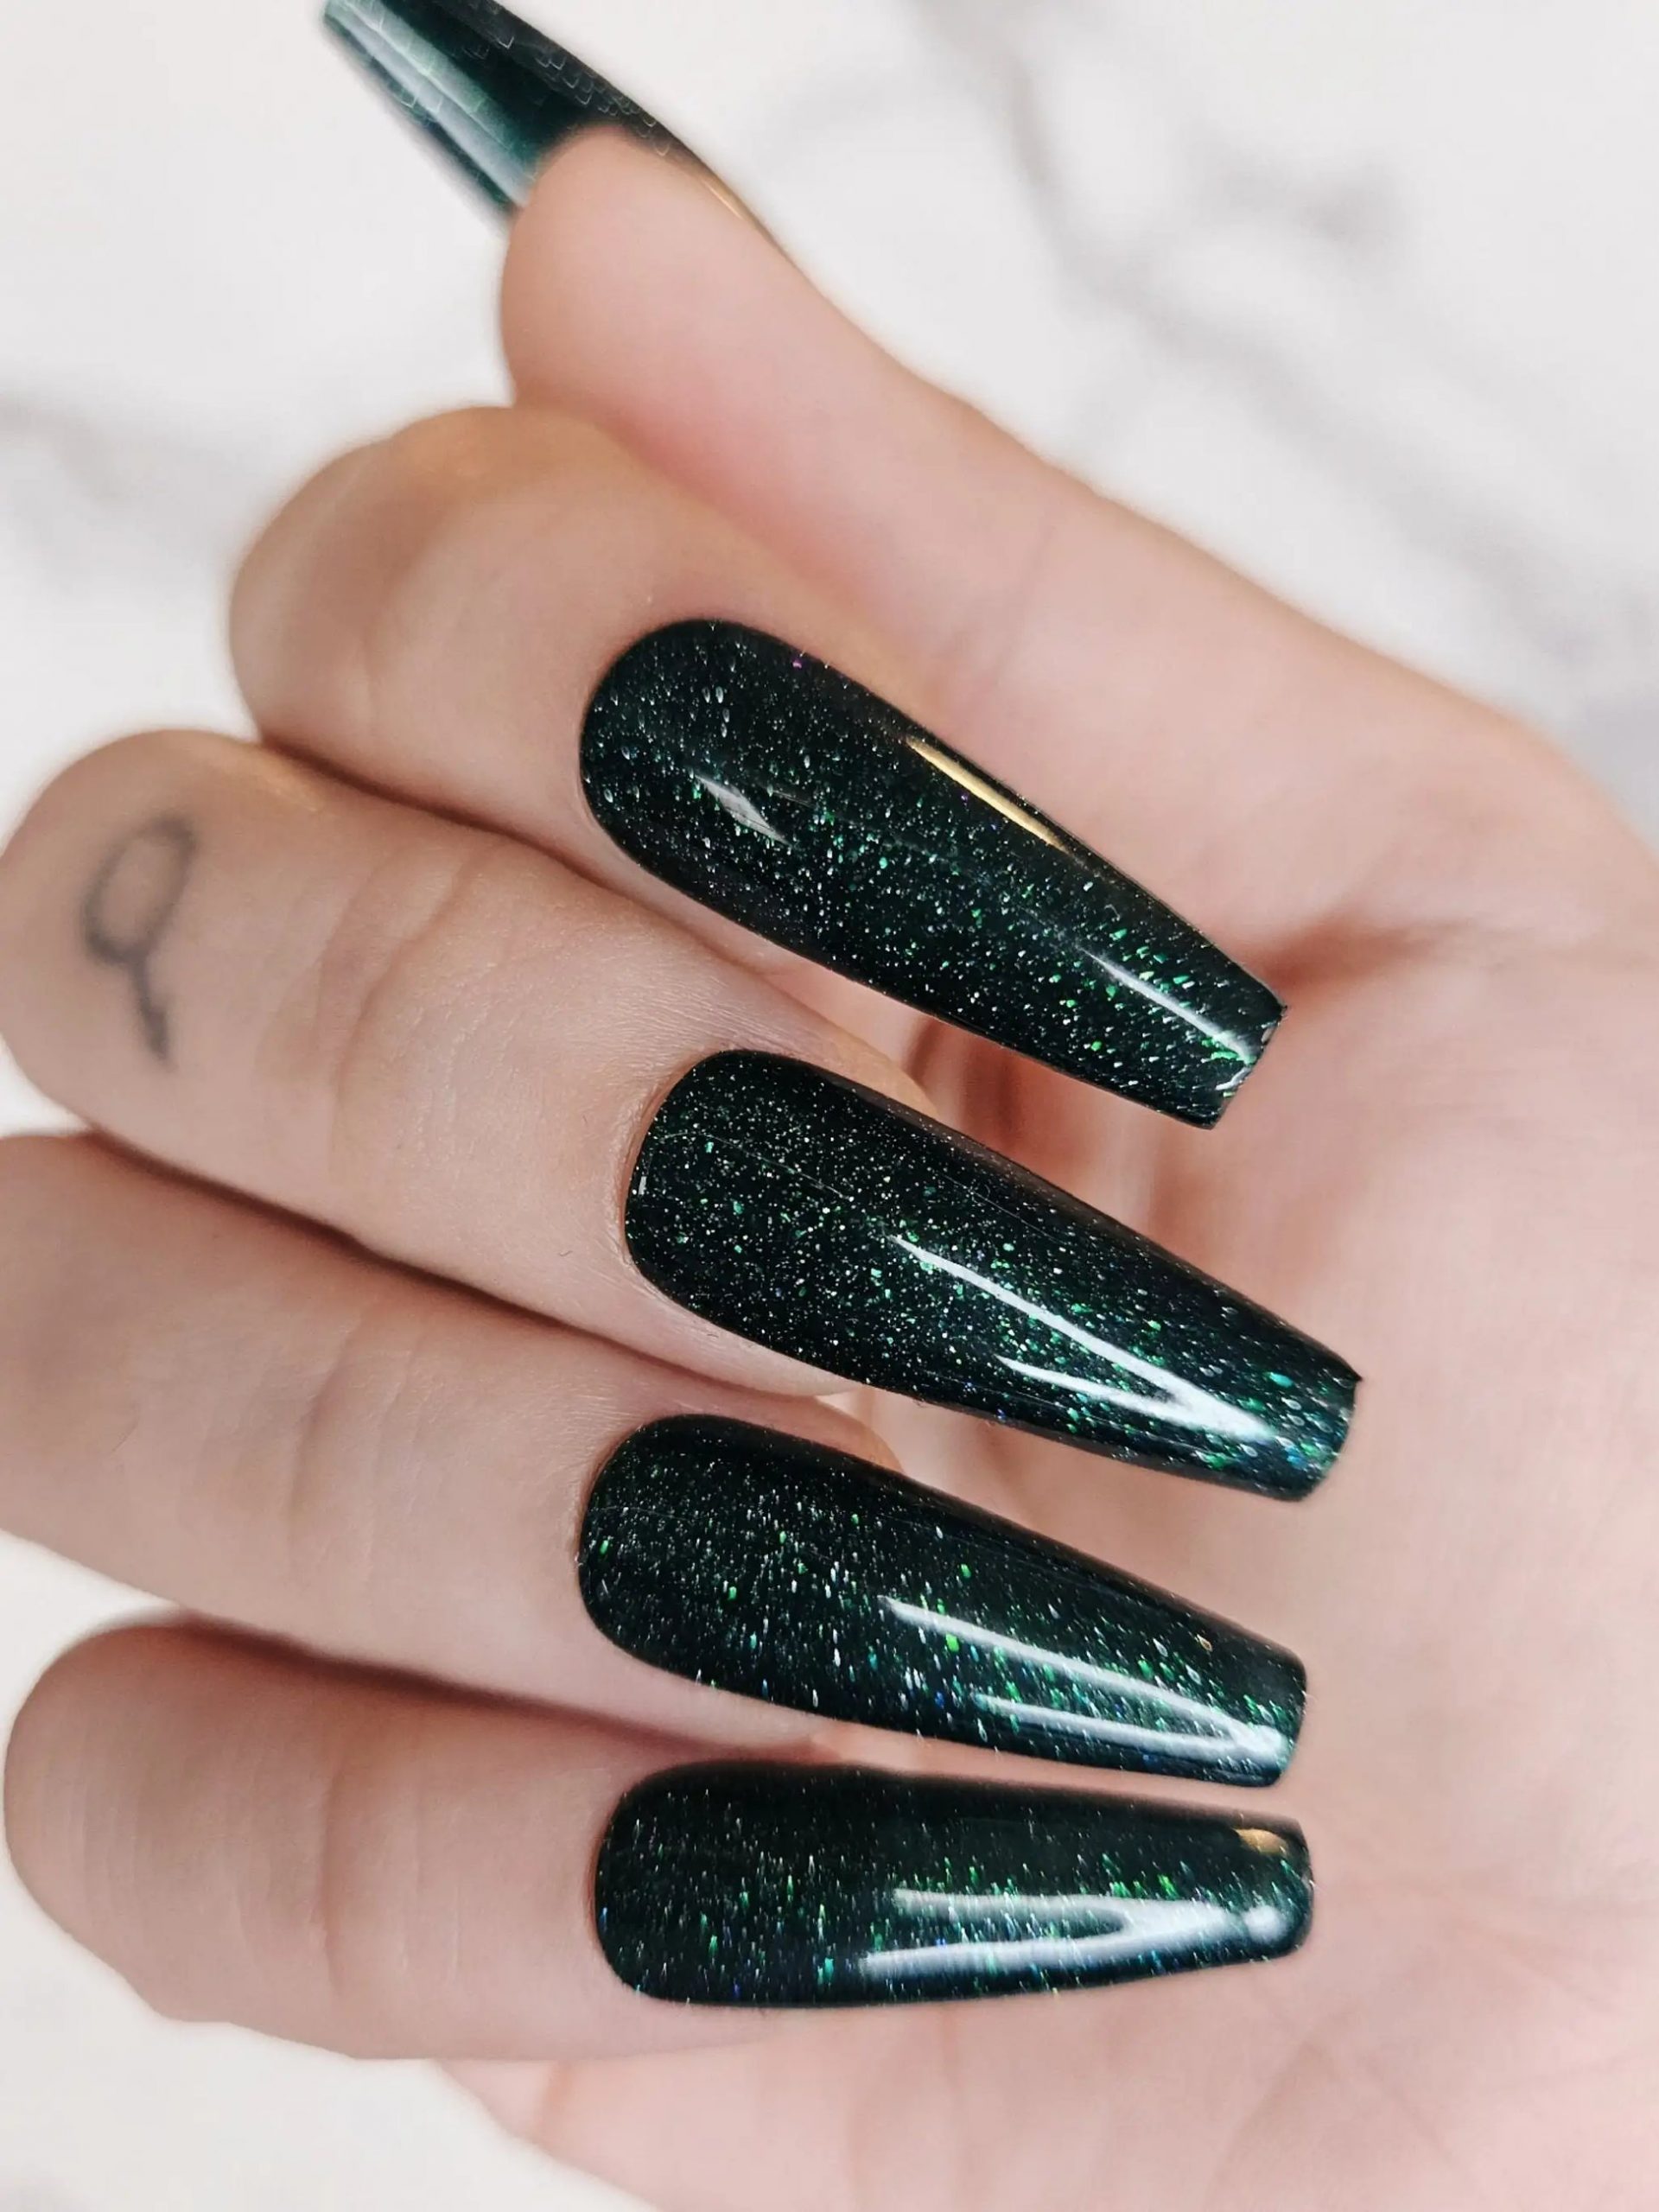
Dark green glitter nails are gorgeous. They also show every imperfection. The long coffin shape requires perfect symmetry. One slightly off edge and the whole set looks crooked. DIY is messy with loose glitter on a dark base; salon is safer because they seal the glitter in layers. The honest downside is removal: soaking off dense dark glitter takes patience, and any scraping risks the coffin point chipping. The maintenance is real — edges dull faster than matte finishes, so you are booking touch-ups sooner than you hoped. But when done right, that deep green shimmer with clean coffin lines is worth the hassle.
Frosted Iridescent Glitter Medium Oval Nails
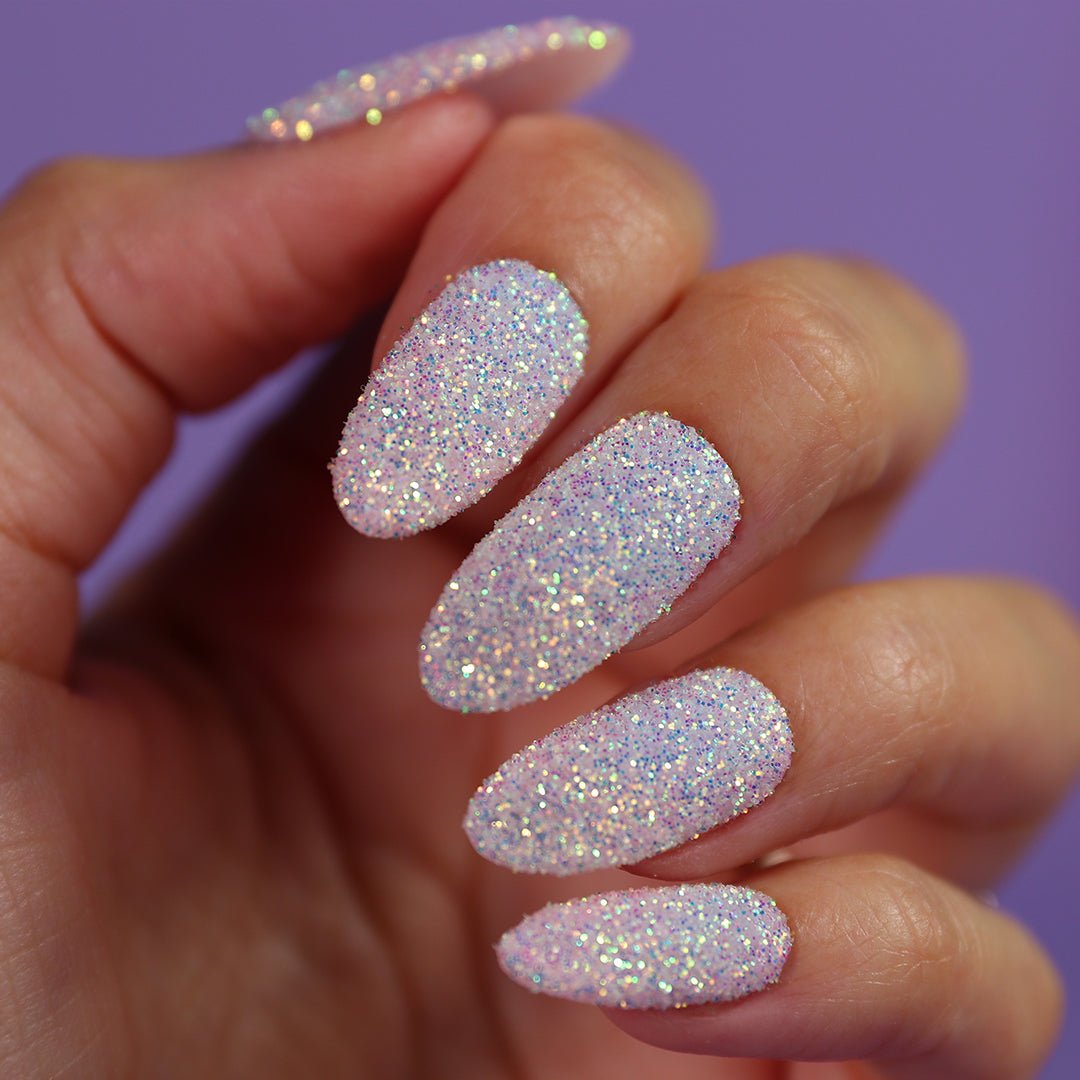
Ever tried to get that sugar-like frosted iridescent glitter effect at home? Start with a sheer pale pink base. Before it cures, dust on a fine iridescent glitter powder using a fluffy brush — not patted, dusted. Cure, then apply a thin layer of builder gel to trap the particles. The key is not to oversaturate; you want a translucent frost, not a solid glitter layer. A matte top coat over the iridescence creates the frosted look.
Sheer Nude with Subtle Silver Tip Glitter
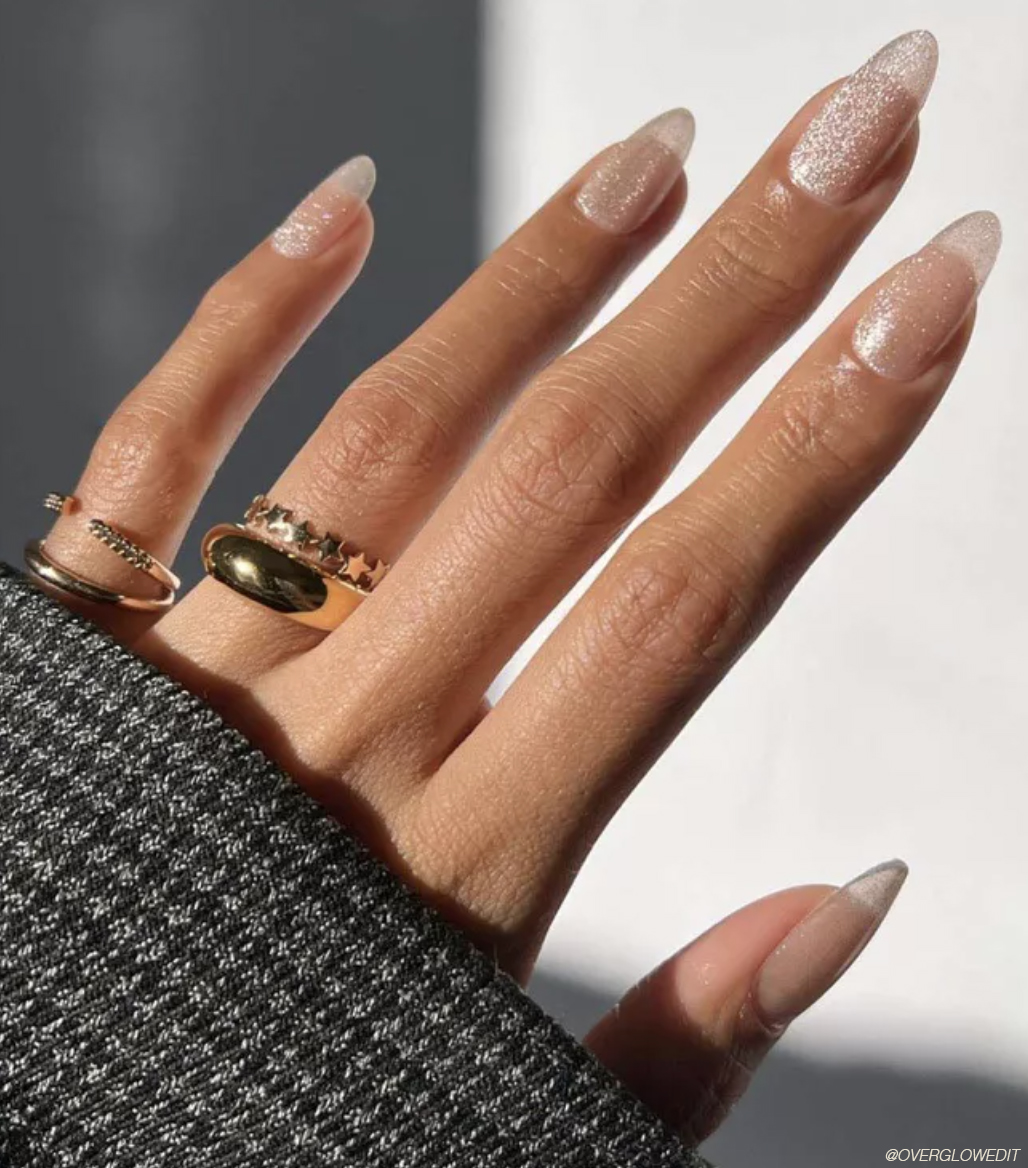
The genius of sheer nude silver glitter is in the restraint — just a dusting at the tips, not a thick band. The subtle silver glitter catches light only when you turn your hand, so it reads as a natural shimmer rather than a statement. The sheer base lets nail line show, which keeps growth less obvious. This is a two-week design that does not ask for touch-ups.
Short Oval Black Holographic Glitter Nails
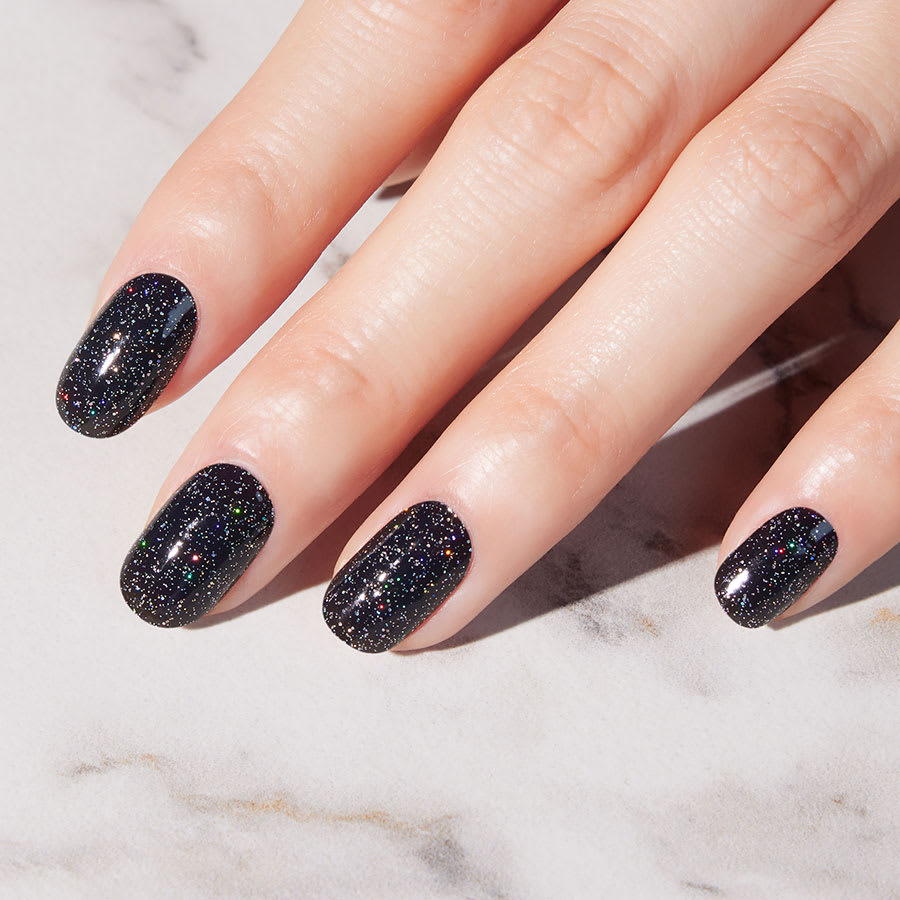
Black holographic glitter nails hit differently. The depth of the black base makes the holographic flash pop like confetti on velvet. This is a two-step build: a solid black gel base, then a layer of holographic glitter suspended in clear gel. The short oval shape keeps the glitter dense without getting clunky. The holographic effect is strongest under direct light, so it is perfect for parties or any evening occasion where you want movement. The black base also hides any unevenness in the glitter layer, so it is more forgiving than a sheer holographic. Choose a fine-particle holographic; chunky ones can look muddy against dark.
Sheer Nude with Gold Iridescent Glitter
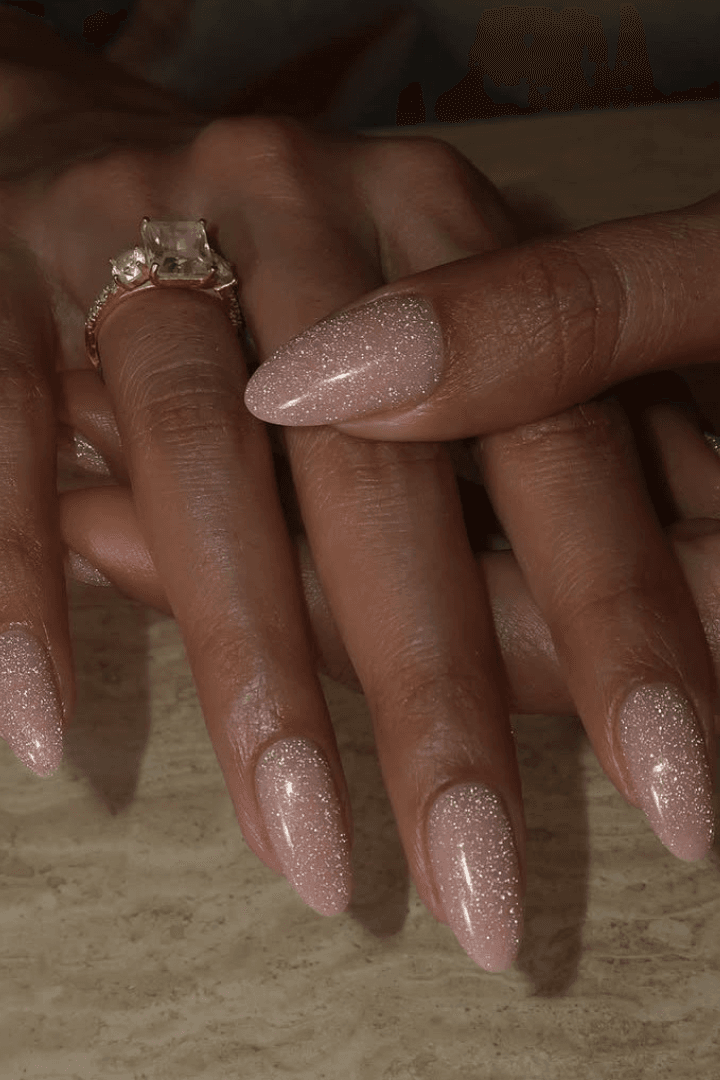
Who actually pulls off a sheer nude with gold glitter? Someone who wants a hint of sparkle without screaming for attention. The medium almond shape elongates, and the fine gold and iridescent glitter catches light subtly. It is a holiday party nail that does not compete with your dress. Not for those who want a statement; this is a whisper.
Short Square Glitter French Tips
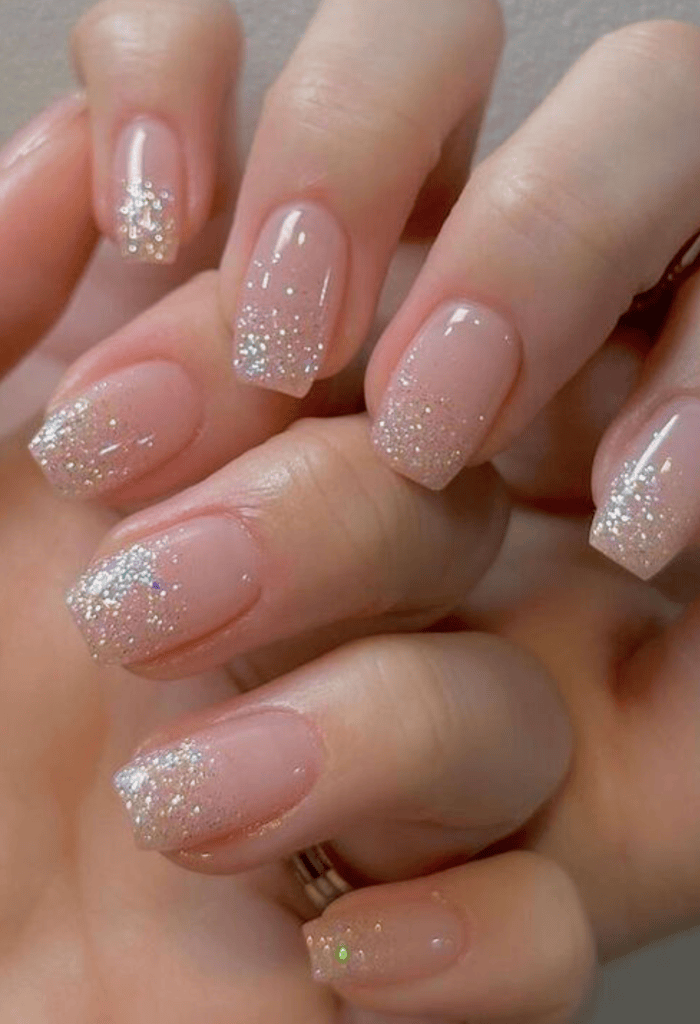
A glitter French tip is not a full glitter nail in disguise. The fine silver glitter applied as a tip on a sheer pink base is more delicate, less overwhelming. DIY is possible but tricky; getting that crisp line at home requires steady hand or tape. Salon does it cleaner, especially on short square nails.
Full glitter nails are louder, but these are more wearable for everyday. I would book it, because the precision of a professional application makes the difference. The modern bridal vibe works without being cliché.
Patriotic Glitter Gradient Firework Nails
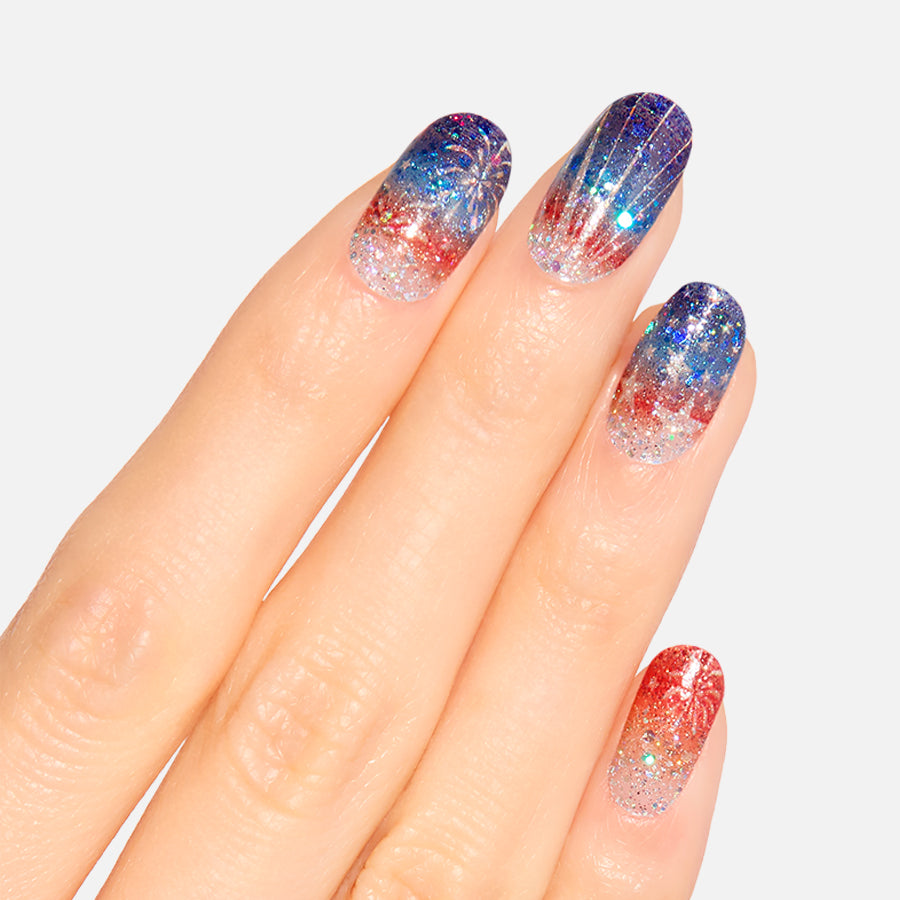
I admit I was skeptical about firework nails lasting a full week. The gradient and detailed art mean careful application is key. The blue, red, and silver on a clear base requires patience. After day three, the white stars may start to dull. A quick top coat helps. This is for a specific occasion, not everyday wear. The removal is a chore, but the festive payoff is worth it for a holiday.
Vibrant Pink Hearts with Silver Embellishments
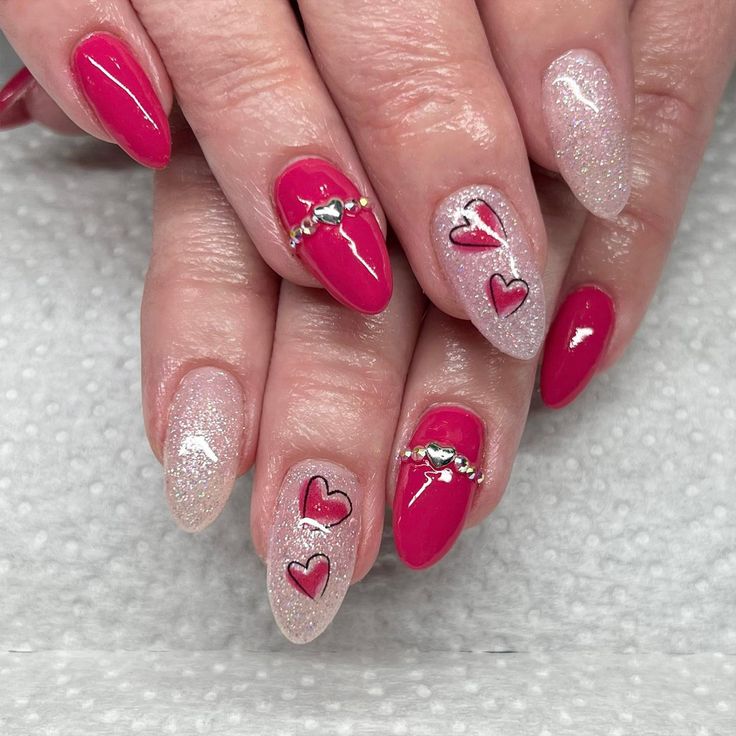
Valentine’s Day nails often lean too sugary, but this pink heart design strikes a balance. The bright pink and silver embellishments feel festive without being cartoonish. The medium stiletto shape adds an edge. The heart motifs are hand-painted, so they are unique. It is for those who want romantic but not saccharine.
Nude Rose Gold Glitter Ombré Stilettos
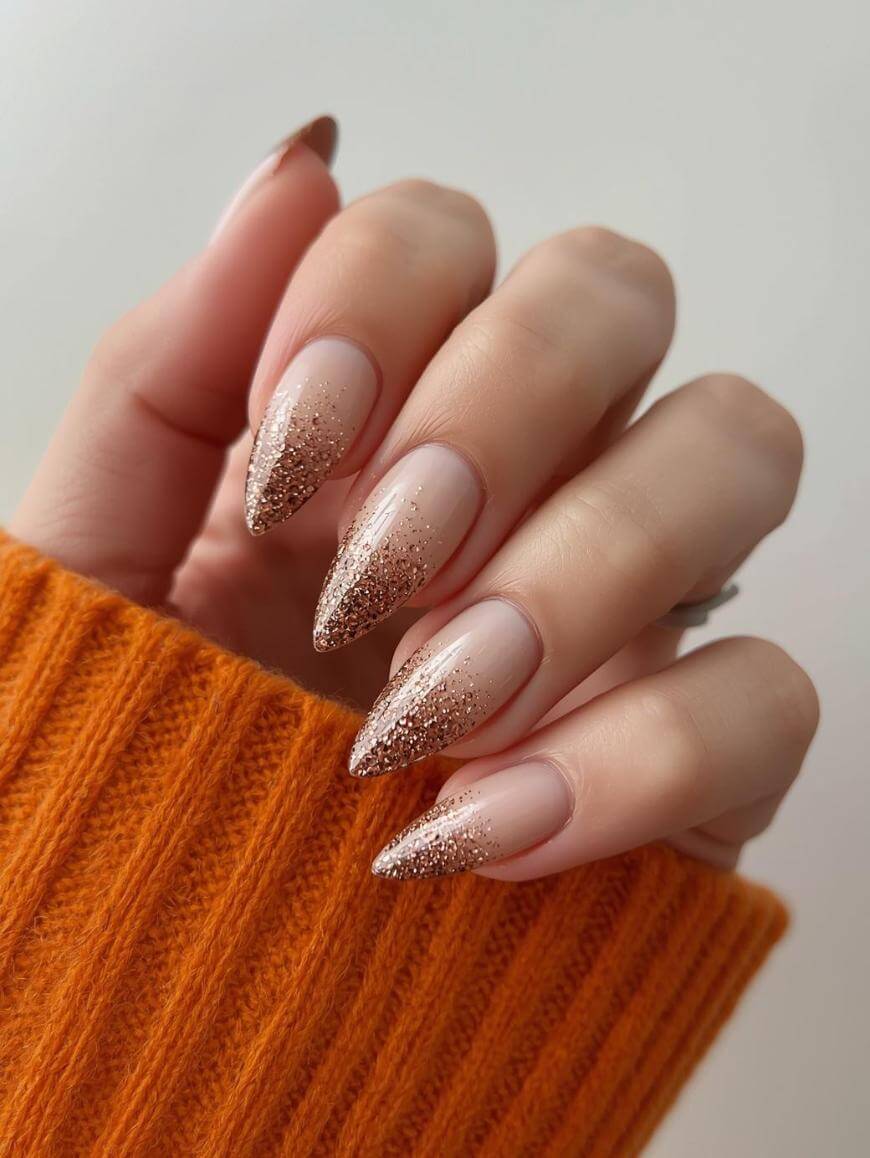
The nude rose gold glitter ombré is the most technically satisfying nail I have worn. The seamless gradient requires a sponge or airbrush, building layers from nude to rose gold. The medium stiletto shape shows off the transition. It is not a quick DIY; the ombré needs patience to avoid harsh lines.
But once done, it looks like a sunset. The grow-out is forgiving because the nude base blends. The smooth glitter gradient means less obvious regrowth. Worth the time in the chair.
Sheer Pink Glitter French Manicure
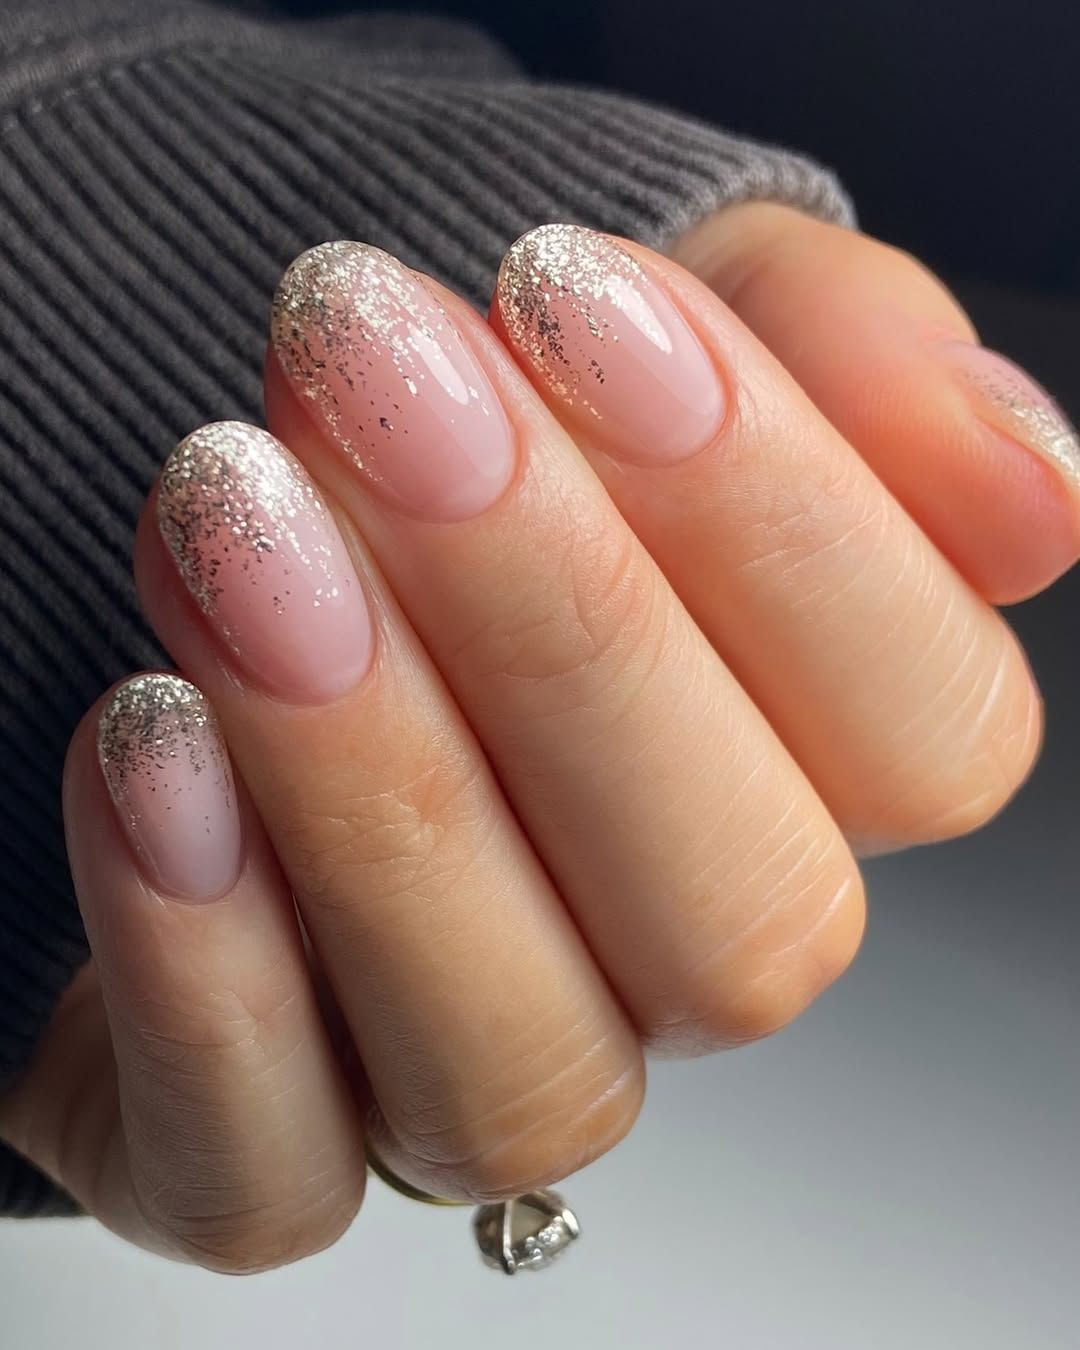
The glitter french manicure is a holiday staple, but it asks a real question of your wallet. Medium oval, sheer pink base, a tip of fine silver glitter. The finish is glossy, the look is delicate. The sheer pink reads clean on warm and cool skin alike, no undertone fight. That salon cost stings because the glitter tip is the whole show, and it chips at the edge faster than a solid color. By day five, the right hand usually needs a touch-up. The gradient effect is forgiving with grow-out, which is the one thing saving it from being a one-week wonder. A clear top coat can refresh the shine, but the glitter itself will shed a little. Is it worth the salon cost? Only if you are prepared to baby them through the party season.
Final Thoughts
After all 26, I finally get why the ring finger gets first dibs on glitter: one accent changes the whole mood. The strongest looks here are structured nails with a shimmering second opinion.
- Cuticle oil twice a day
- Top coat refresh on day 7
- Soak off glitter, never pick
I am booking the chunky rose gold oval next, because short nails need glitter too.