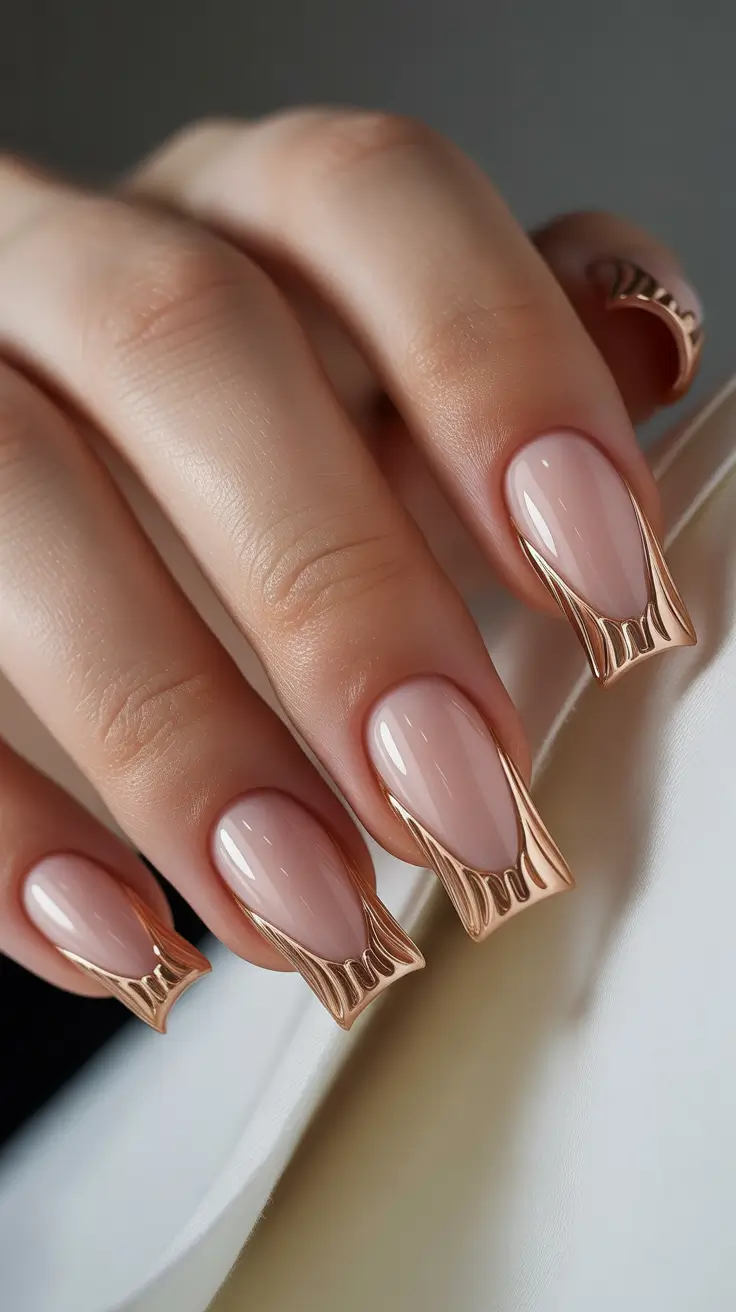
I keep seeing this one shape everywhere — almond, medium, a soft ombre that barely announces itself. It’s not a full refresh of the French tip, just a lighter hand on the fade. And honestly? That’s what finally got me interested again.
This roundup has French Ombre Nails 2027 across 30 designs, from short squares to long stilettos, sheer pinks to pastel lavender. I wrote these for anyone who’s tried the classic white tip, watched it grow out in three days, and wondered why the gradient version feels so much more forgiving. It’s not a trend I expected to defend. But here we are.
Classic Short Almond French Ombre
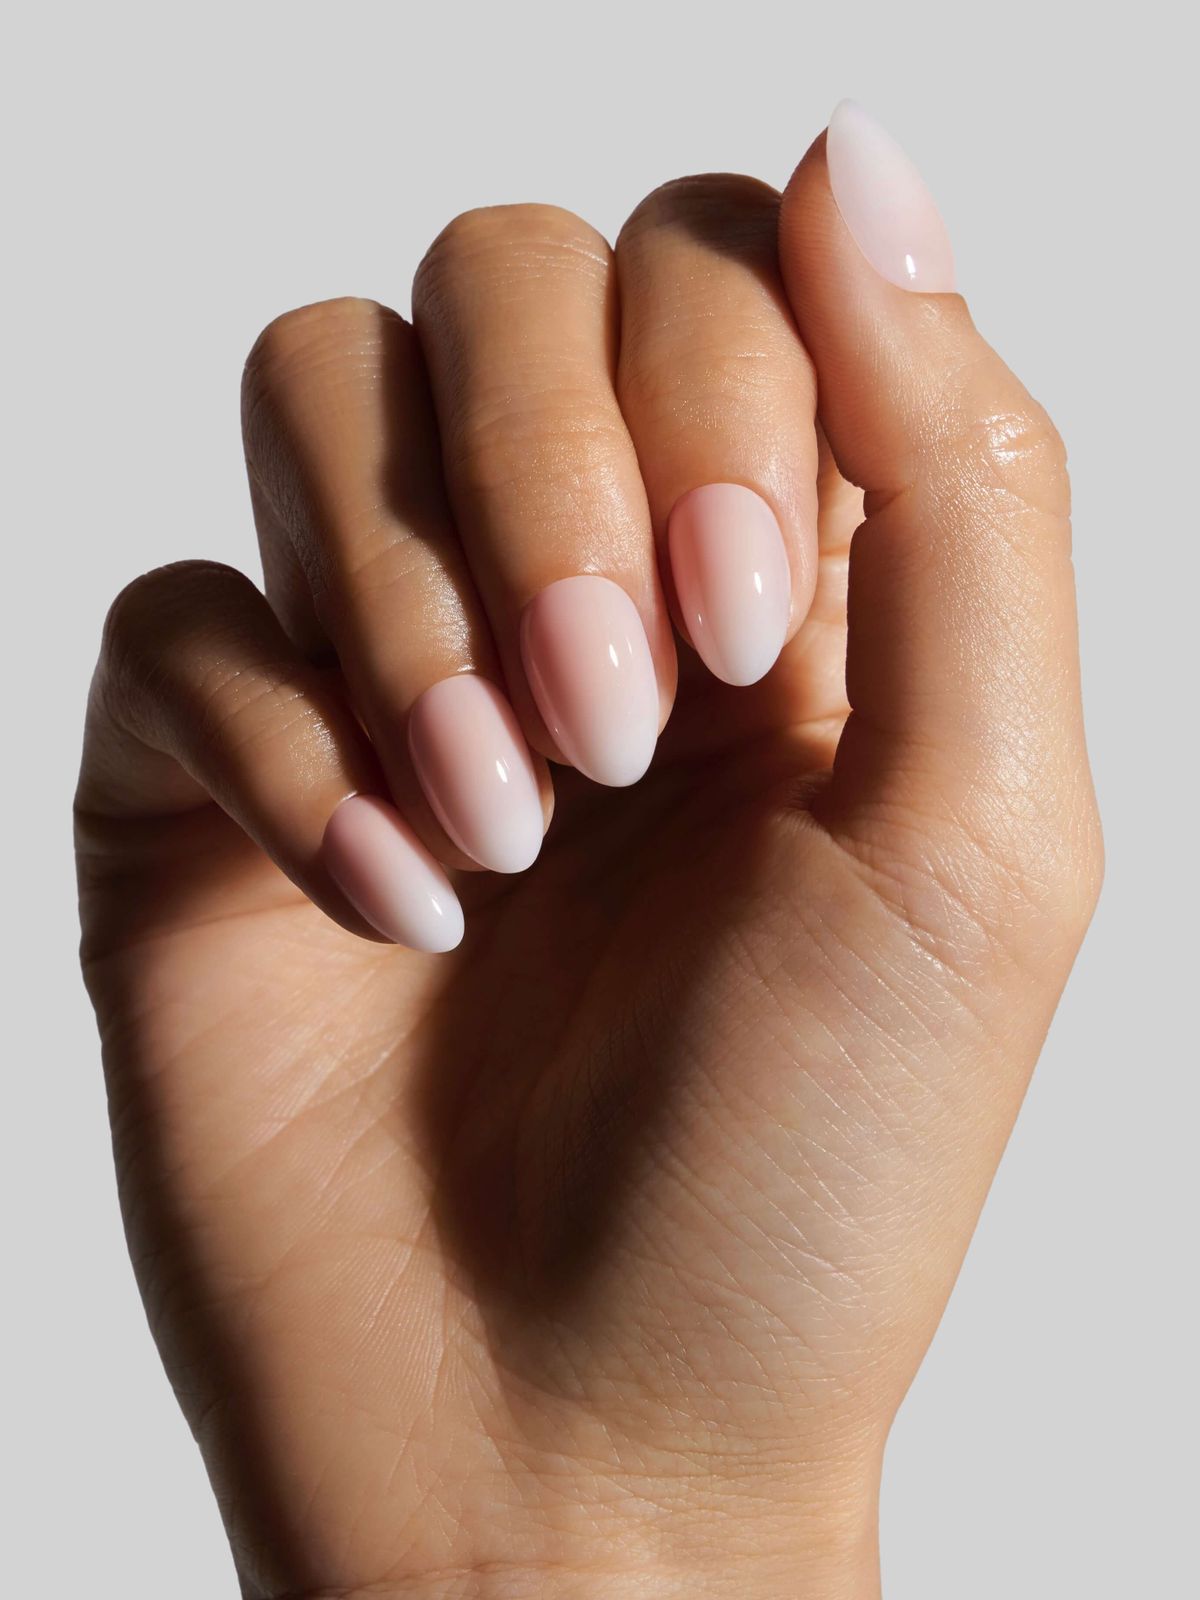
The ombre transition on a short almond french ombre is the quiet star here. It starts with a nude pink that hugs the cuticle and fades into white so gradually you almost miss the line. That is the point. The short almond shape keeps it practical — no snagging, no typing complaints, just a clean gradient that looks like your nails naturally do this. A glossy top coat seals the deal.
Short Square Pink to White Ombre
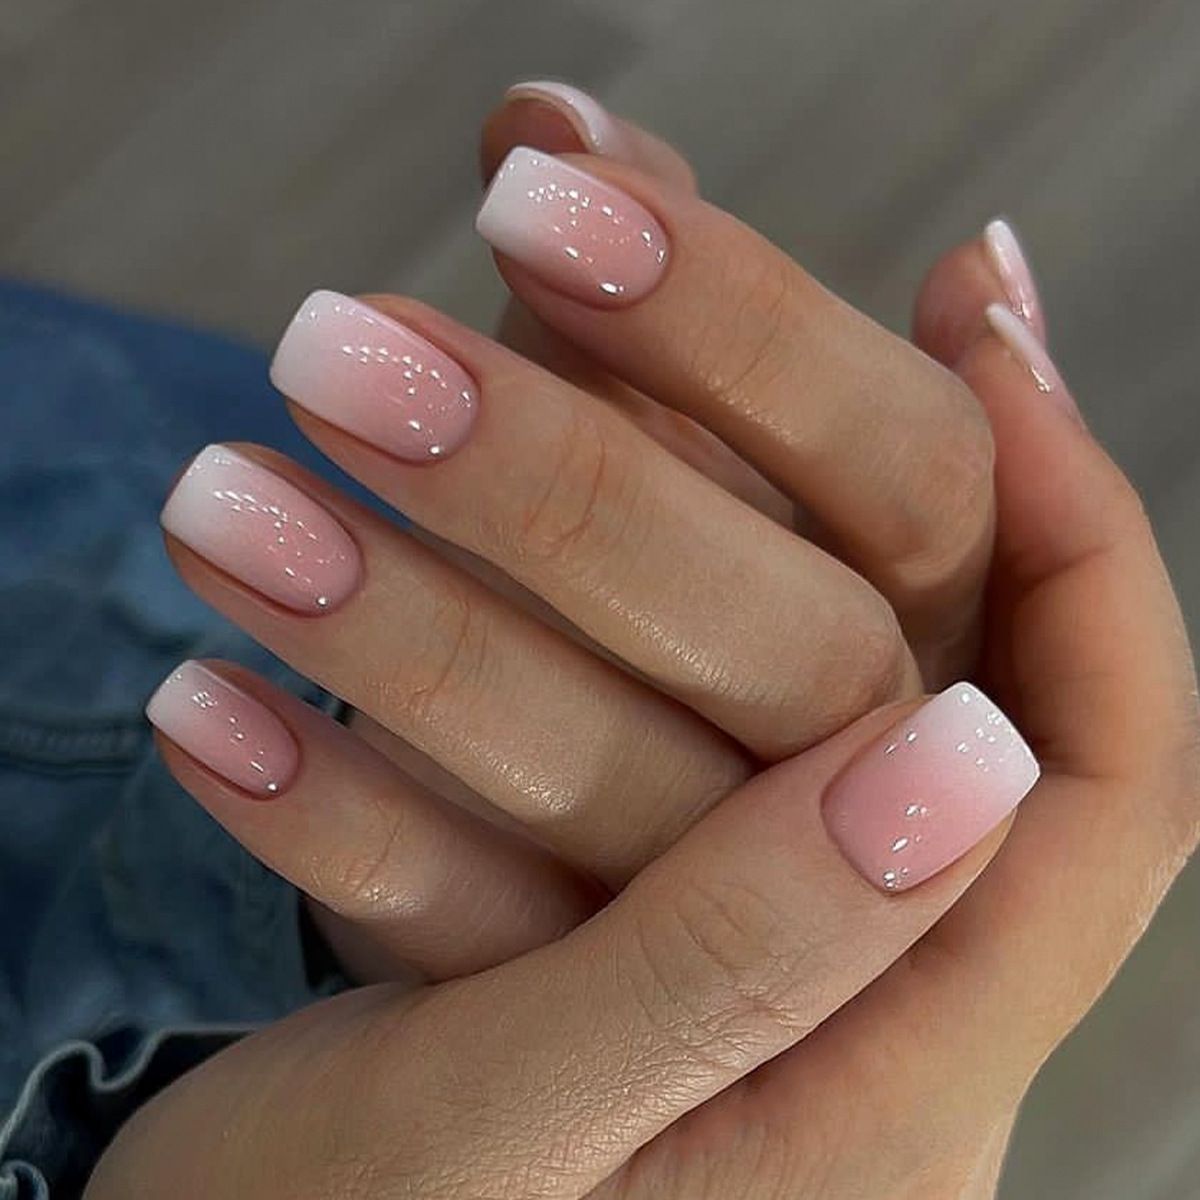
Do you have a desk job and a low tolerance for nail drama? This pink to white ombre nails setup on short square nails is the weekday answer. The sheer pink base keeps regrowth invisible for a solid week, and the white tip is soft enough to pass for a natural nail edge. It flatters short nail beds because the square shape adds width without looking blunt. Skip this if you prefer a high-contrast tip — this one is subtle on purpose.
Classic Soft White French Ombre
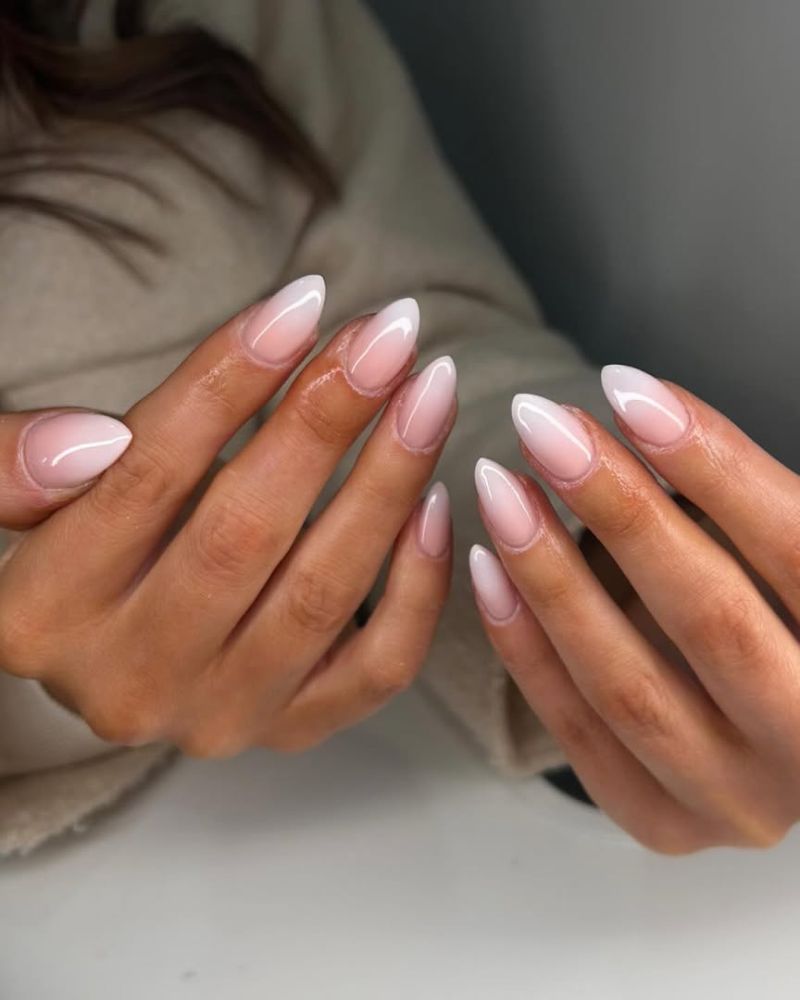
I want to believe I can do this at home. I cannot, and neither can you. The soft white french tip ombre on a sheer pink base requires a steady hand and a sponge that does not leave bubbles — mine always does. The honest downside: one uneven pass and the gradient looks patchy, not airbrushed. Ask for a thin white layer at the tip and three passes of the sponge. It is a salon job, and that is fine.
The shades matter here. A cool white against warm pink creates a grey cast, so bring a reference photo. Your tech will thank you.
Glossy Medium Almond Classic French Ombre
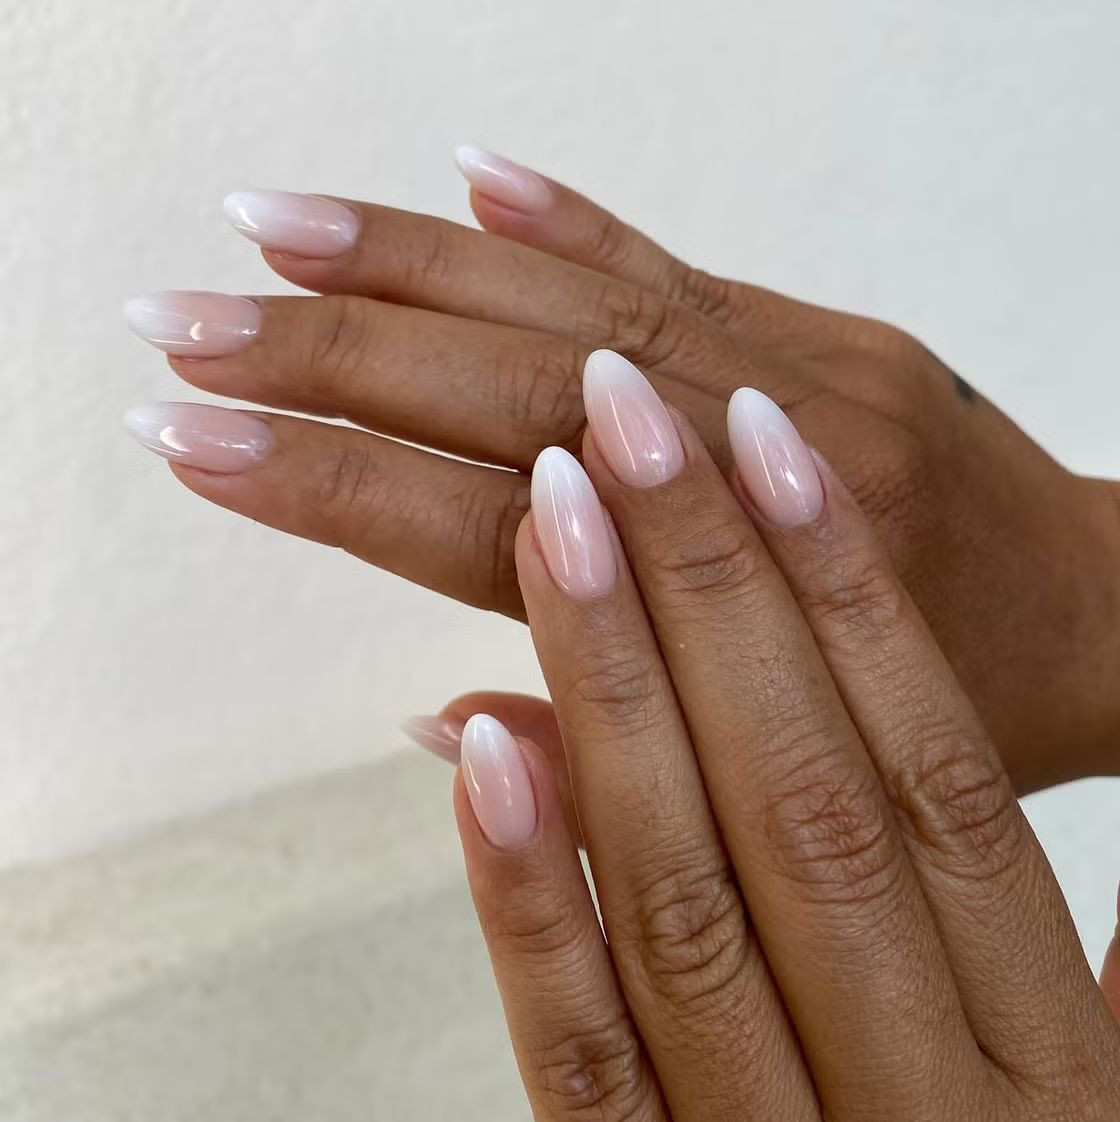
The medium almond french ombre with a nude base survives a full work week without a single chip. Day five, the shine dulls slightly, but a quick buff brings it back. The almond shape hides the regrowth line better than square — the taper draws the eye away from the cuticle. I wore these through three days of typing and one gym session. No casualties.
Subtle Ombre French Tip Almonds
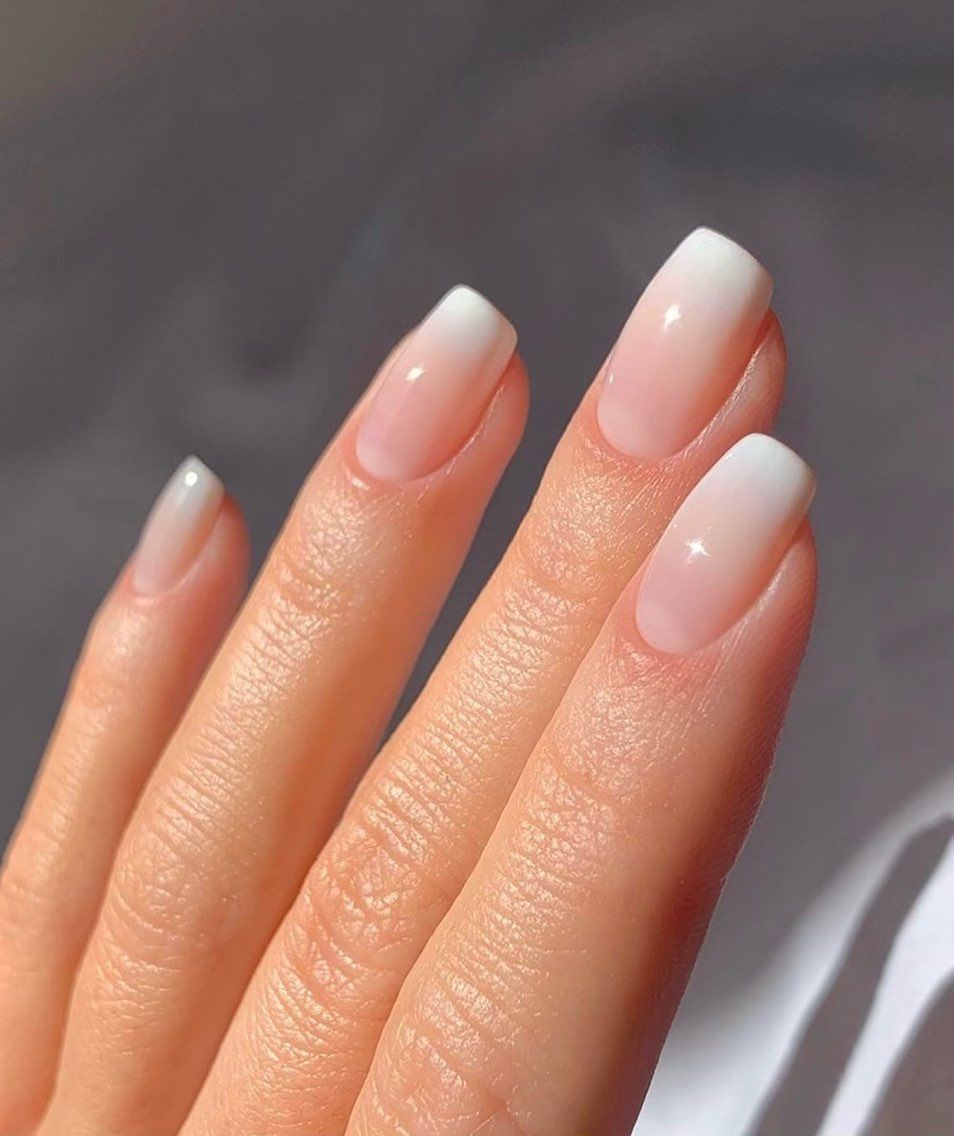
Is the salon version really that different from a home attempt? Yes. The subtle french tip ombre on a nude pink base relies on a gradient so fine that one uneven sponge press ruins the illusion. At the salon, they use a thin white polish and three layers of sponge dab — at home, I end up with a chalky edge. Book the appointment. The result is a soft fade that looks like your tips naturally lighten in the sun, and that is not a DIY weekend project.
Long Oval Sheer Pink to White Ombre
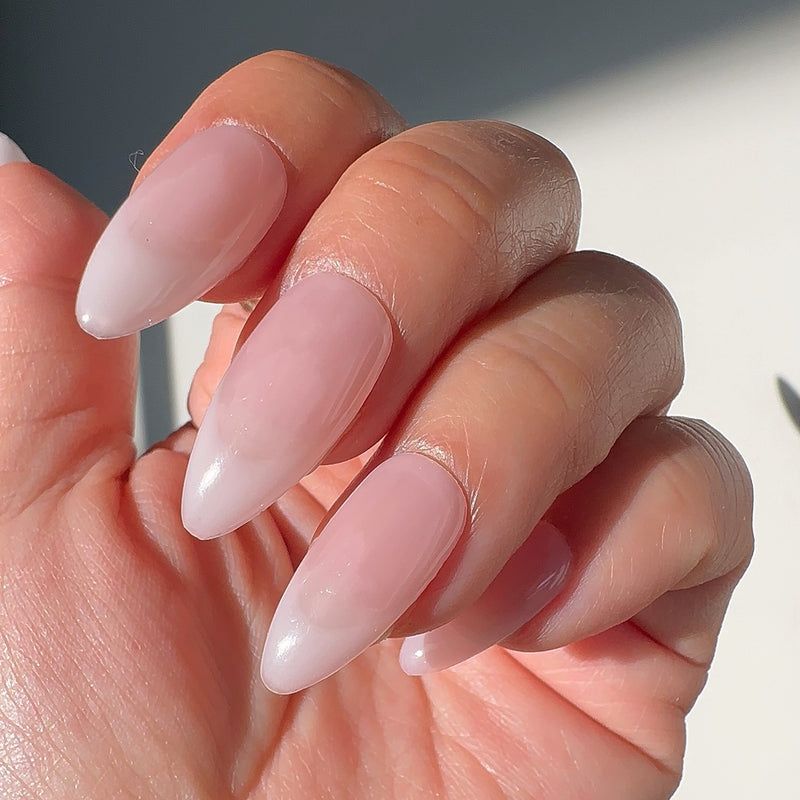
These are the nails you wear when you want people to think you just have really nice nails. The long oval shape keeps it elegant, not aggressive, and the sheer pink to white ombre is so gradual it looks like your own nail bed decided to fade into a cloud. I wore a version of this to a wedding and a work presentation in the same week. It read polished for both. The gloss catches light evenly because the ombre has no hard line, just a soft shift that starts mid-nail. On longer nails, expect about two weeks before the grow-out becomes a noticeable stripe at the cuticle. Regular top coats keep the glassy finish. Acetone soak for removal, no filing needed.
Long Almond High Gloss French Ombre
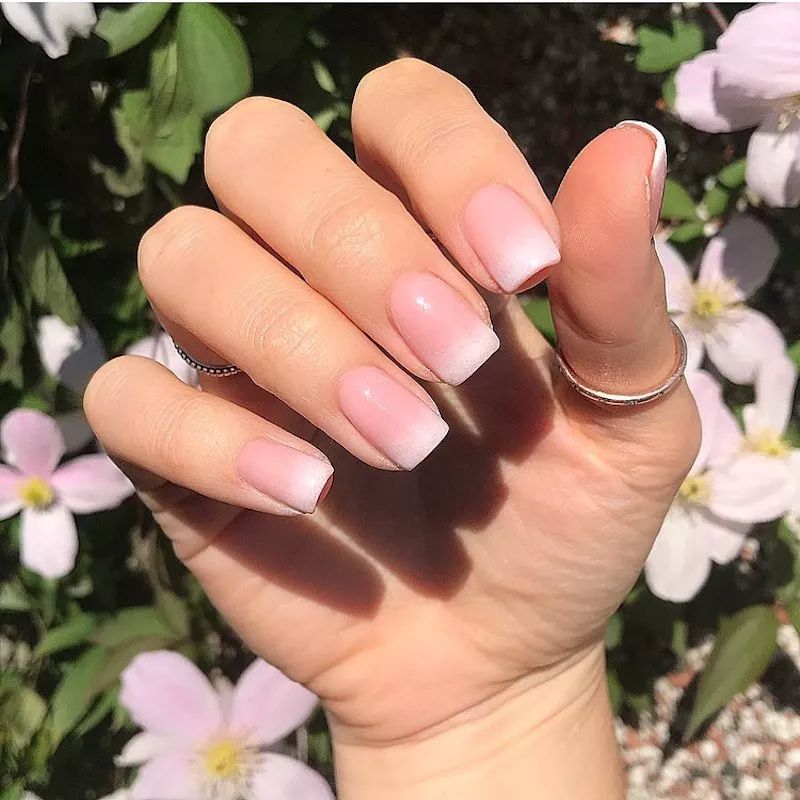
The cuticle work on this set is the real flex. You can tell because there is zero flooding, zero lifting at the base, and the high gloss finish would expose any imperfection immediately. The long almond french ombre uses a crisp white tip that fades into a sheer pink base, but the transition is so tight it looks like the white was airbrushed on. The downside: this level of precision shows every chip. One nick at the tip and the whole illusion breaks. I had a set like this last exactly 11 days before I caught the edge on a sweater and the white started lifting. Book a tech who does three-bead gradients, not two. Worth the 90 minutes in the chair.
Long Coffin French Ombre
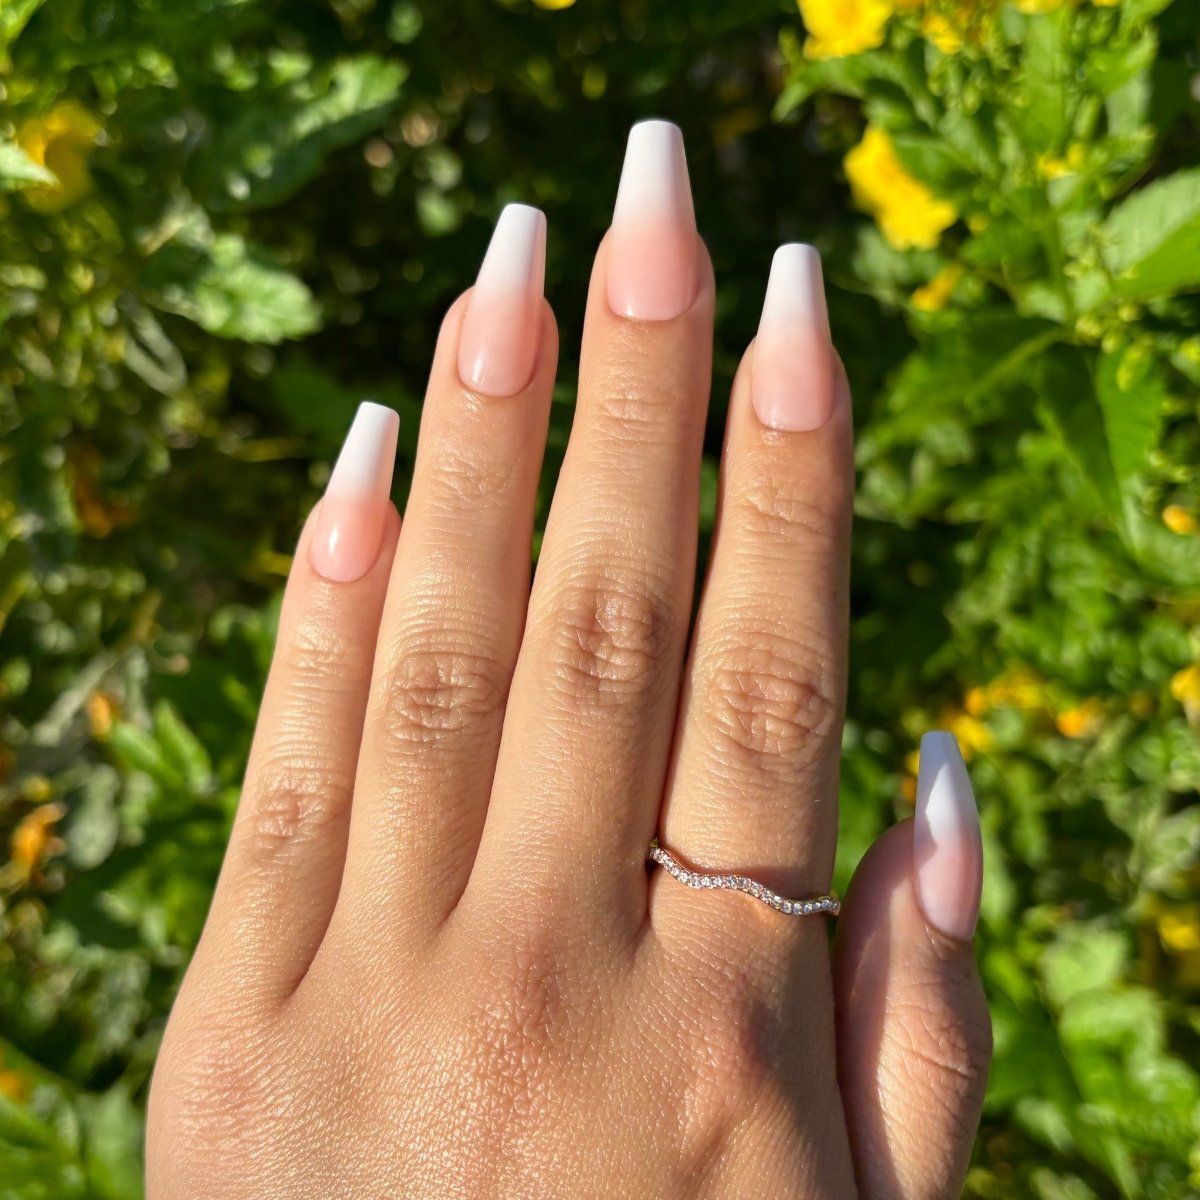
Do you have the patience for a shape that demands attention every time you reach for your phone? The long coffin french ombre works best on wide nail beds that can carry the squared-off taper. If your nail beds are narrow, the coffin can look pinched, like the nail is trying too hard. The sheer nude base keeps it wearable, but the length is the real statement. This is not a shape for typing all day or digging in your bag for keys. It is a shape for sitting at a dinner table and having someone ask, are those real?
Medium Stiletto Classic French Ombre
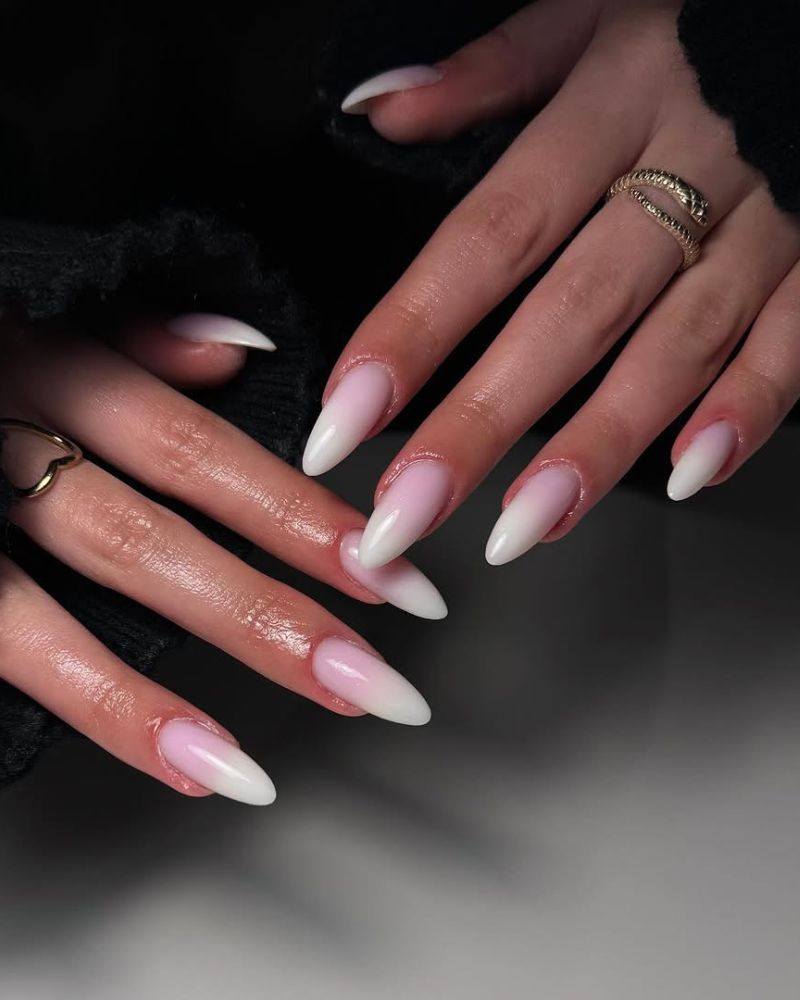
I will admit I was skeptical about stilettos for everyday wear. The points catch on everything, right? The medium stiletto french ombre actually holds up better than I expected because the length is moderate, not dramatic. The sheer pink base hides small chips better than a stark white tip would. I wore these through a week of typing and cooking, and the only casualty was one tip that snagged on a kitchen towel on day six. The ombre fade means regrowth is less obvious than a solid color. By day 12, the cuticle gap was visible but not glaring. A quick top coat refresh on day 7 keeps the gloss alive.
Pearlescent Stiletto French Tip
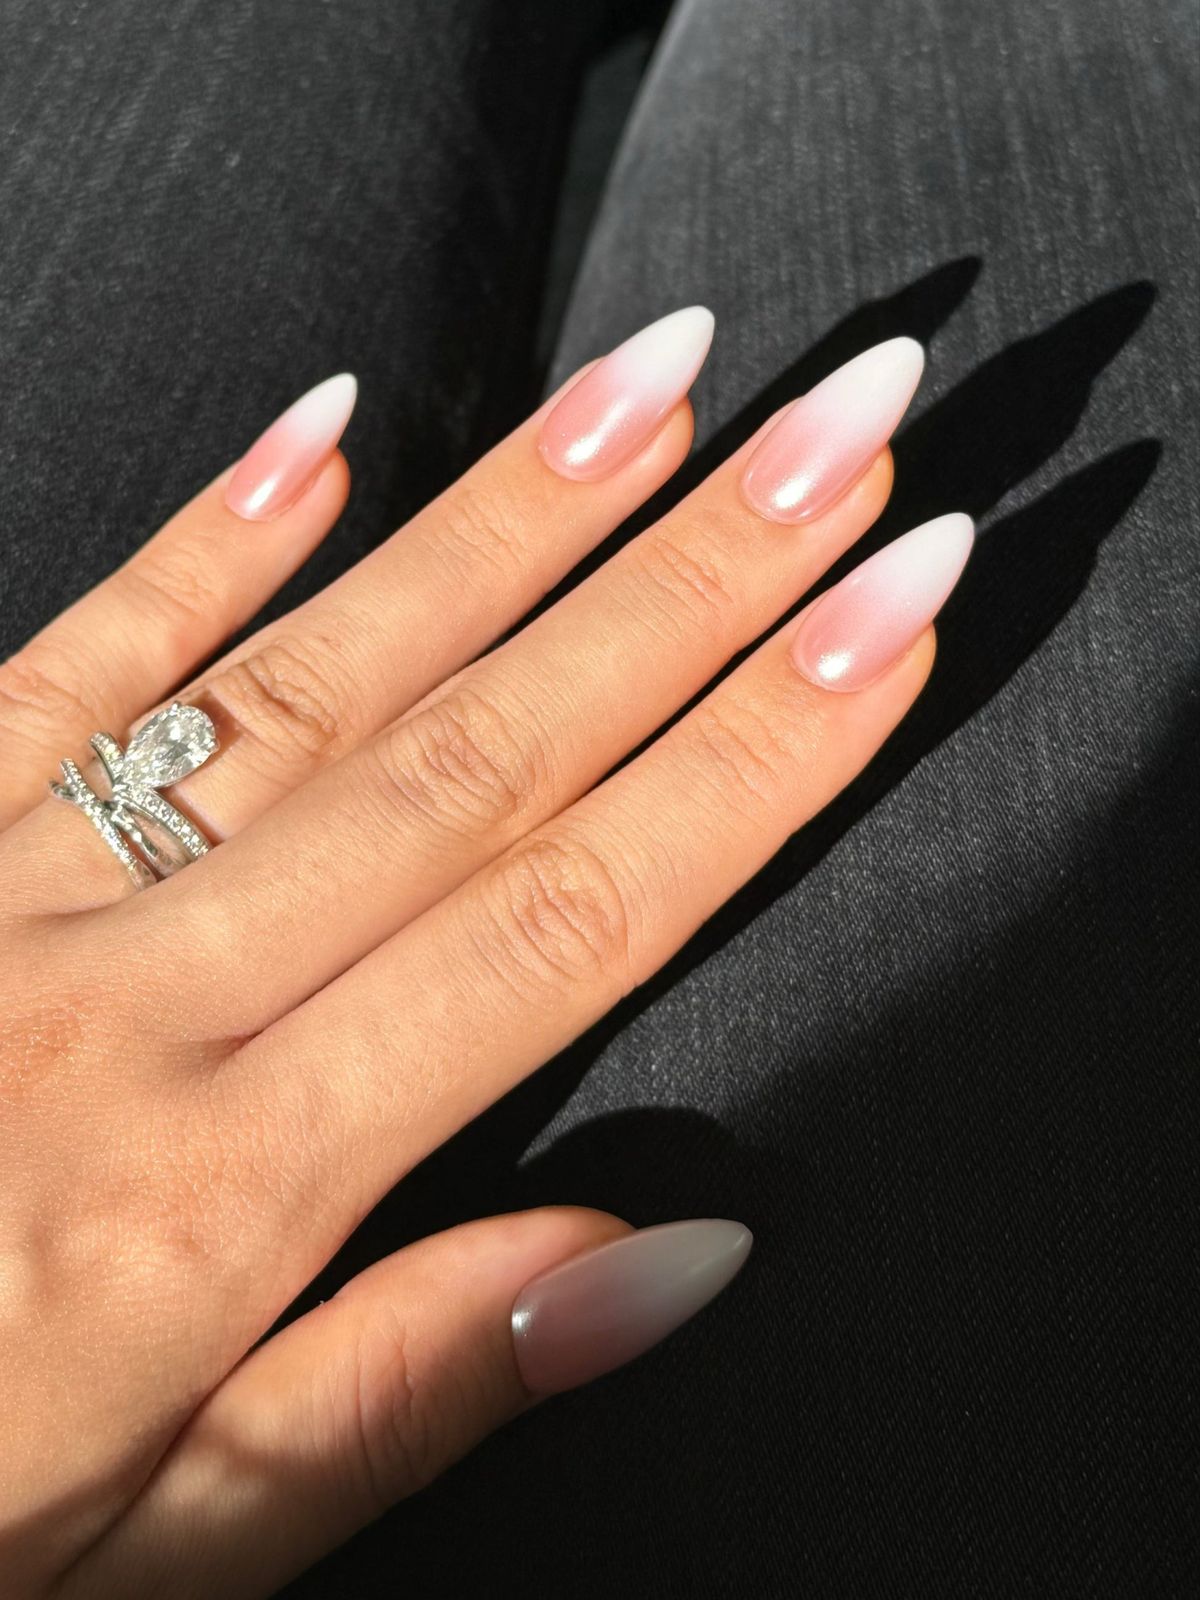
Picture a stiletto that catches light like a seashell at low tide. The pearlescent french tip on stiletto nails is not a subtle shimmer, it is a deliberate glow that shifts from cool white to faint pink depending on the angle. This is the set you book for a holiday party or a date where you want the candlelight to do the work. The pearlescent layer sits over the white tip, so the ombre still reads clean, just with an iridescent veil. One thing: the shimmer can dull slightly by day 5 if you skip a top coat refresh. A no-wipe top coat on day 3 keeps the pearl alive.
Glossy Pearlescent French Tip Almonds
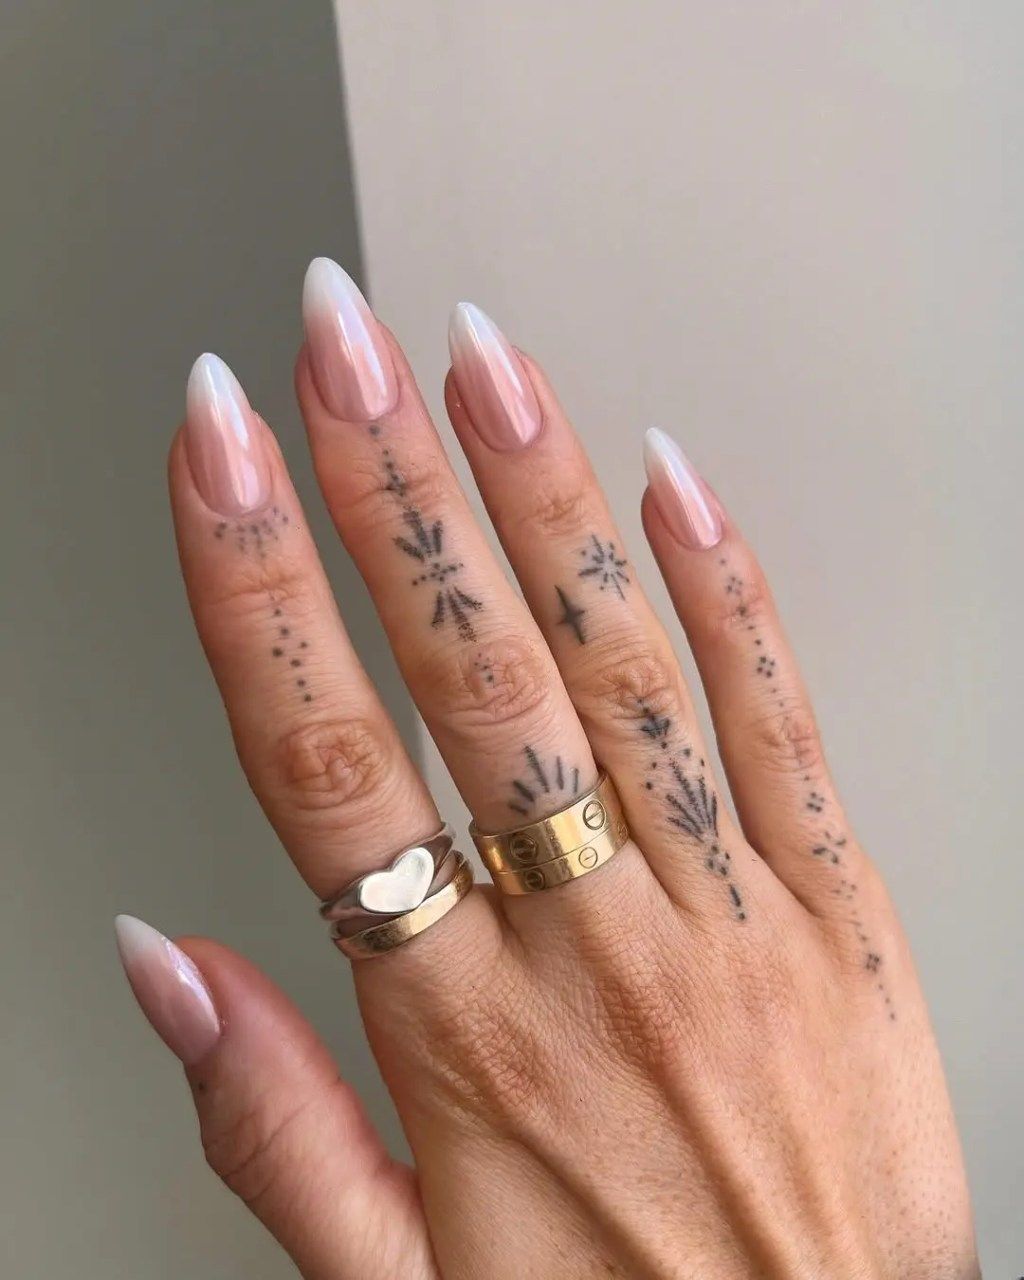
That pearlescent french ombre takes a steady hand and a lot of chair time. I clocked 90 minutes for this set, and the tech still charged a premium for the multi-layer sheen. The payoff is a finish that shifts from cool white to warm nude depending on the light. On medium almond nails, the pearlescence reads expensive rather than bridal. If you want this look without the salon bill, expect to invest in a quality pearl powder and a patient afternoon. The DIY version never quite lands the same depth.
Soft Pink Pearlescent Ombre
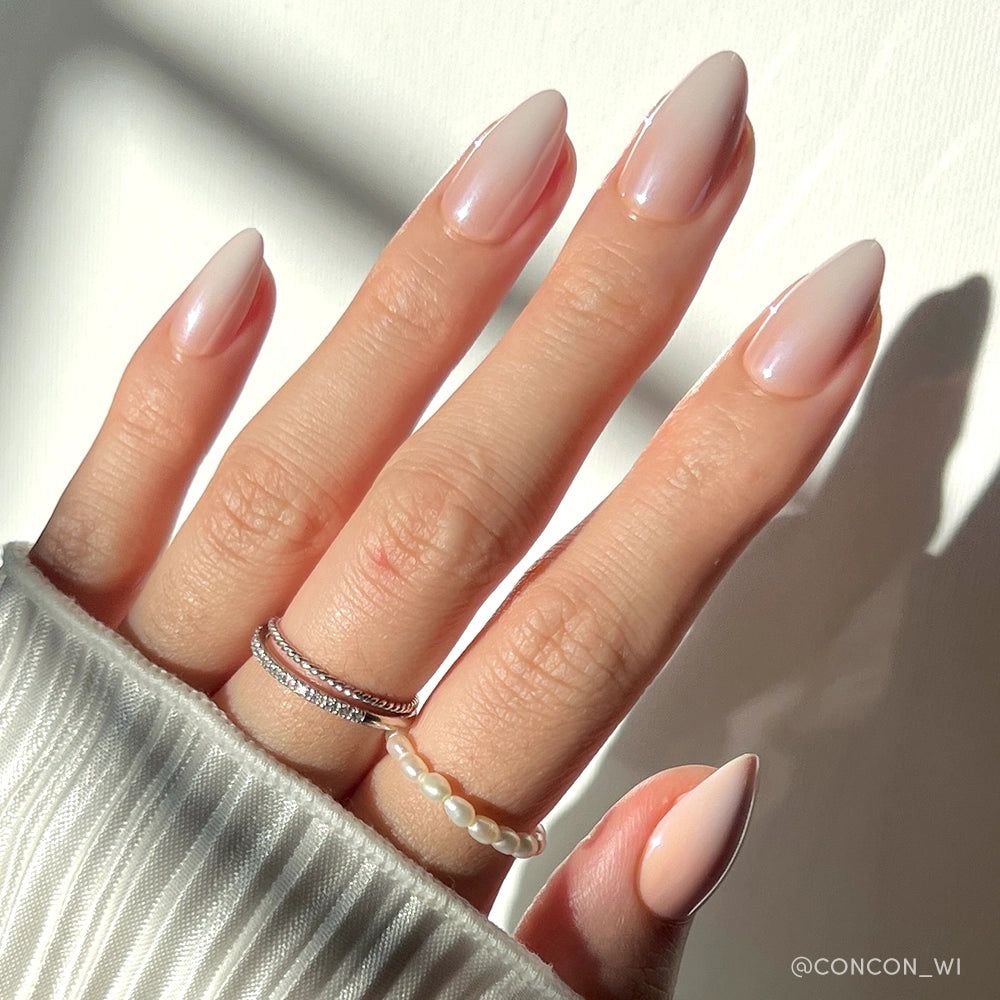
How do you get that ethereal shimmer without it veering into unicorn territory? The trick is a sheer pink base layered with a fine pearl pigment, then a matte top coat to ground the shine. On medium stiletto, the soft pink pearlescent ombre catches light on the taper, which is exactly where you want it. The upkeep is minimal: a swipe of cuticle oil morning and night, and a fresh top coat around day five to revive the glisten. Standard removal, nothing fussy.
The Single Detail A Reader Notices First Short Square Pink to White Pearlescent
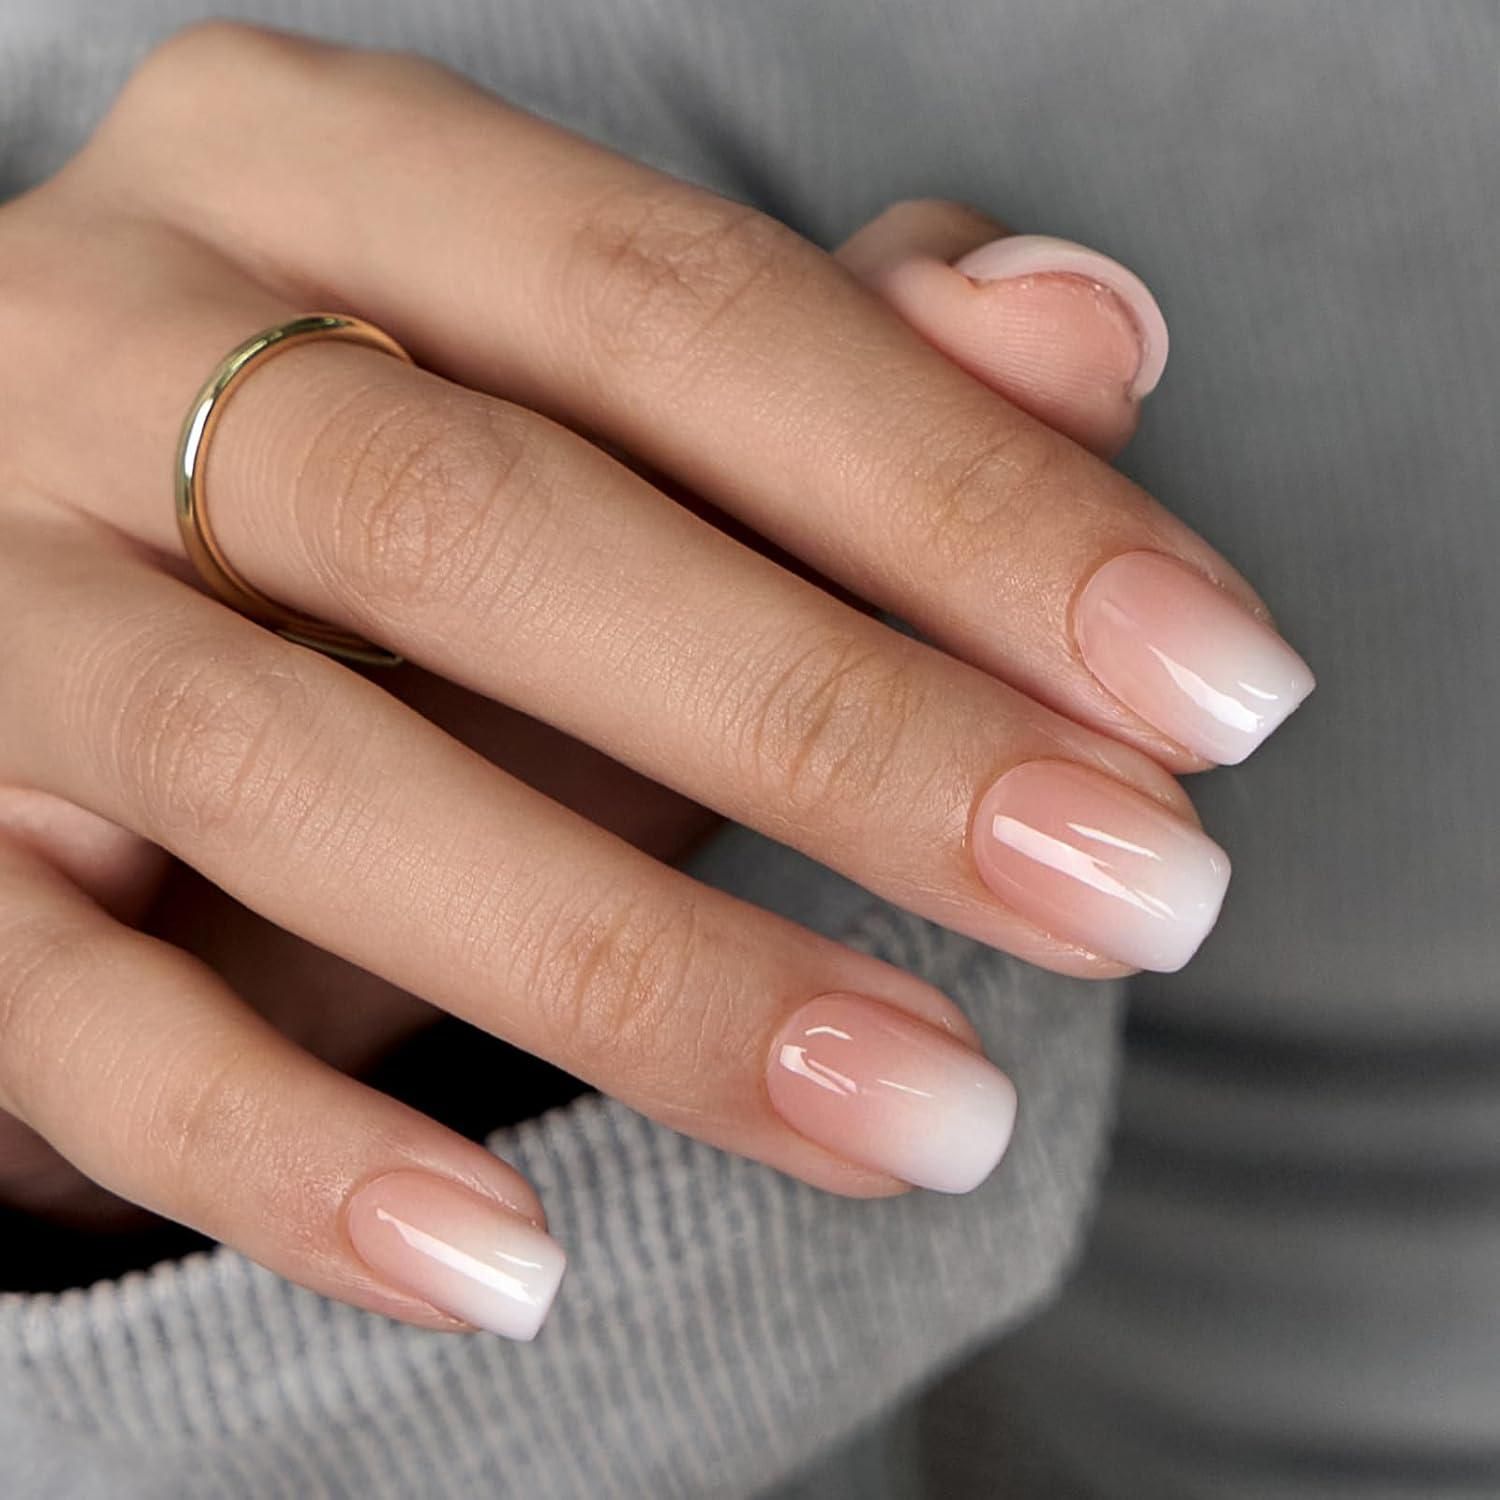
What grabs me first is the cuticle line. On short square nails, that clean, unbroken crescent of bare skin makes the pink to white pearlescent nails look intentional, not like a rushed gradient. The downside: that crisp edge is the first thing to chip. I saw a tiny nick on my index finger by day three, and the whole look lost its polish. It is a design that demands a perfect application and a careful week.
Silver Glitter Gradient French Tips
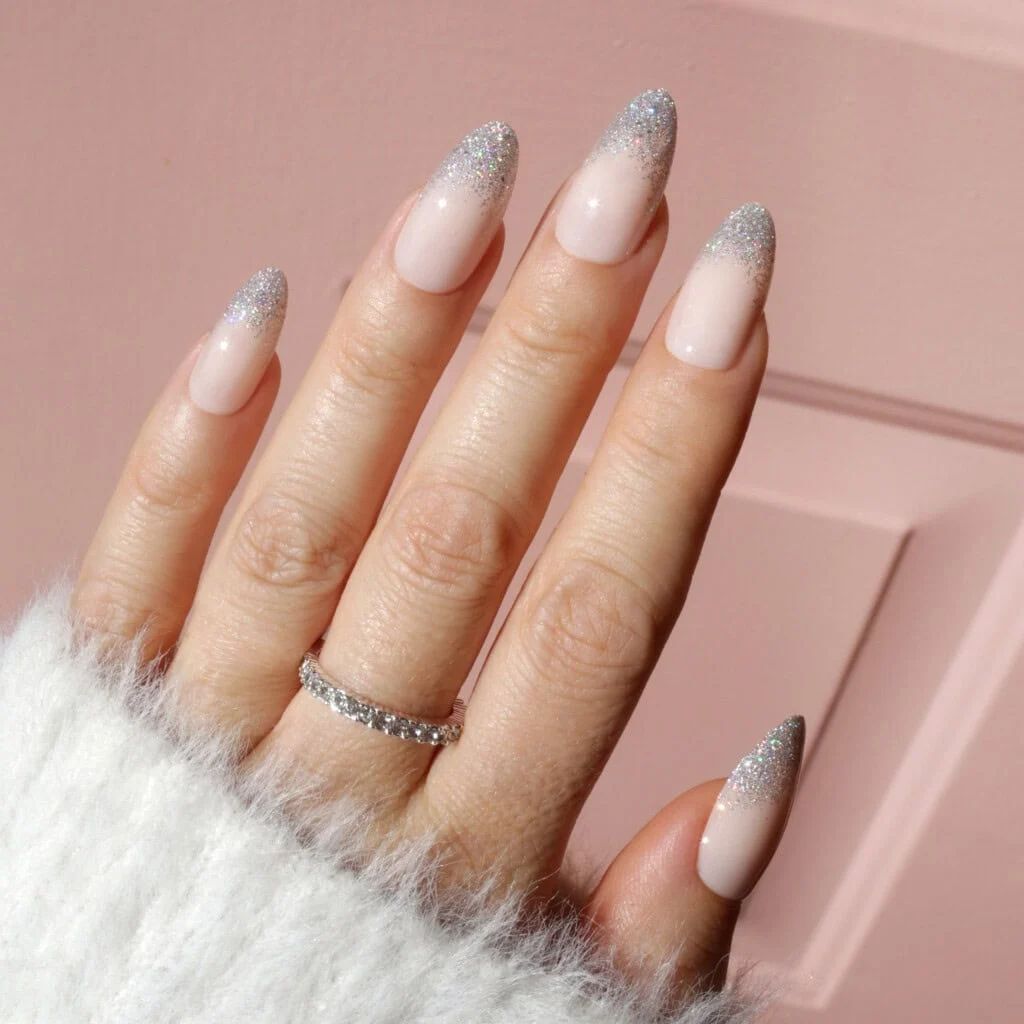
Silver glitter french tips are for the person who wants a party on their nails without the full disco ball commitment. The gradient placement means the dense silver glitter sits heavy at the free edge and fades to a whisper at the cuticle, which reads as festive but not overdone. This is the design for holiday parties, New Year’s Eve, or any event where you want your hands to do the talking. Skip it if your week involves typing or digging in a bag, because the glitter catches on everything.
Gold Glitter French Tips
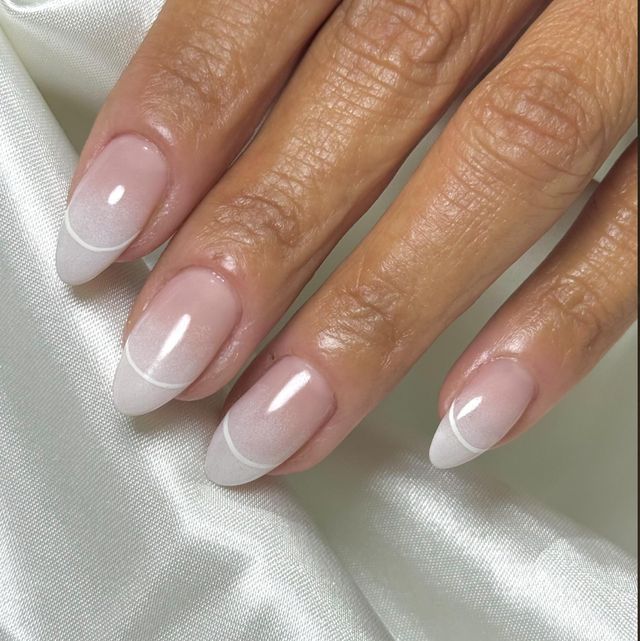
Every nail account has a gold glitter french tips post, and honestly, they all look the same. The difference is in the density: a sparse layer reads as a shimmer, while dense gold glitter reads as a statement. This one is the latter, and it is hard to ignore. It is also hard to remove, so if you change your nails every week, this is not your friend. But for a one-off event where you want maximum impact, it delivers.
Blue Glitter French Tip Ombre
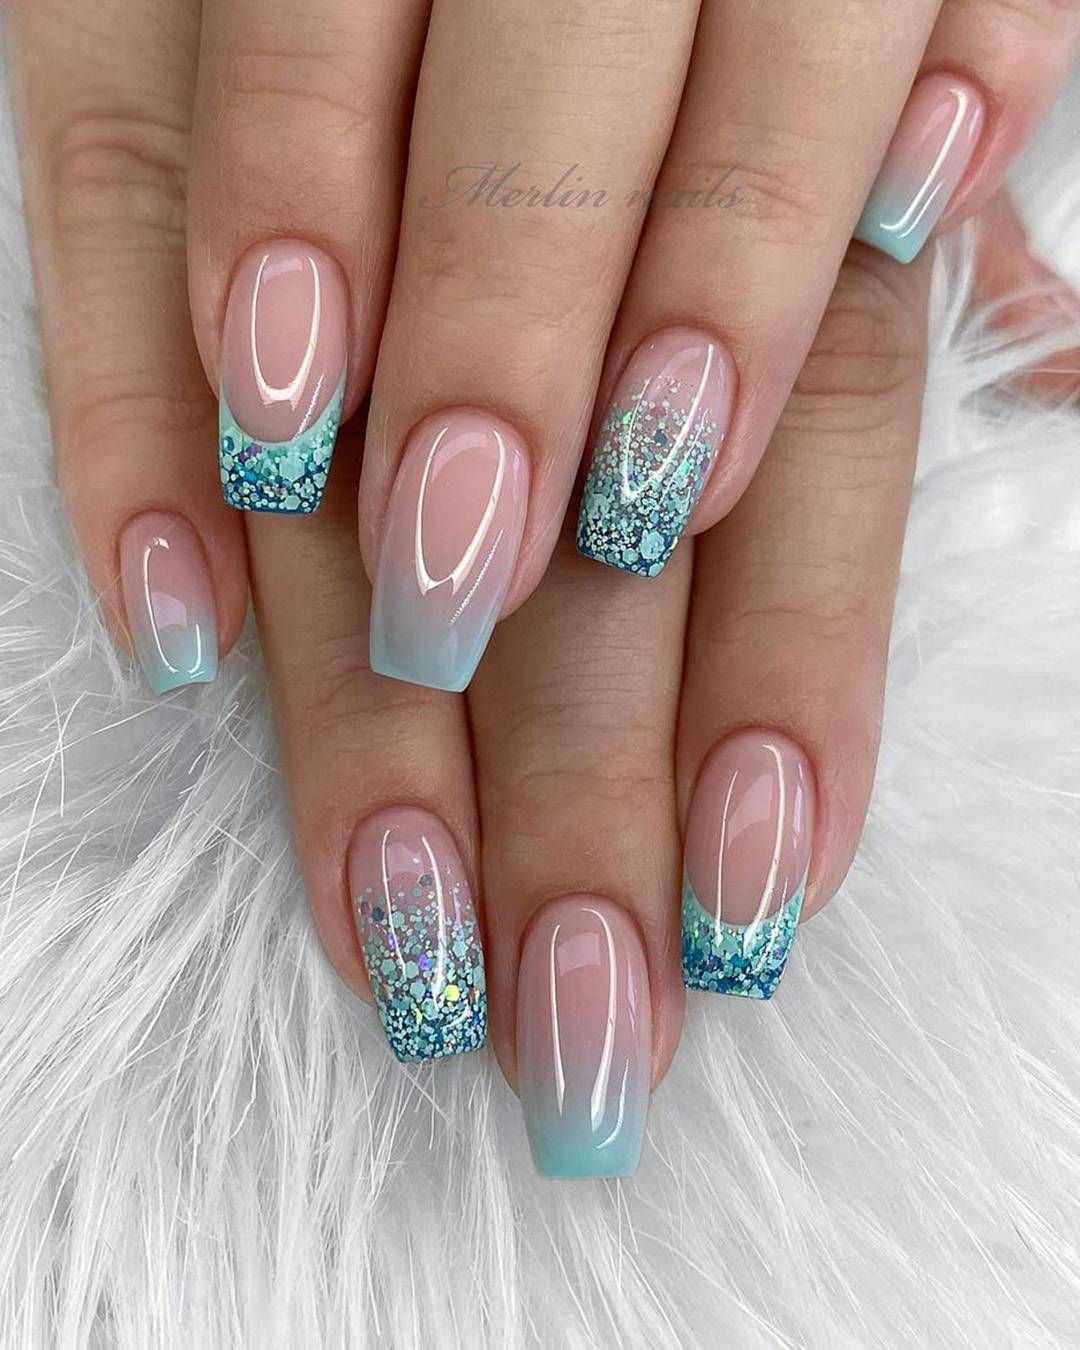
Can a blue glitter french tip ombre actually survive a week of typing and sunscreen? Yes, but it demands a little respect. The fine glitter sits on a nude base with a light blue ombre transition, and the glossy top coat seals everything flat so nothing snags. I wore these through a long weekend and the only casualty was one accent nail where I forgot to wrap the tip. Standard removal means soaking, not prying. The payoff is two weeks of shimmer that catches spring light without screaming for attention.
Iridescent Shimmer Pink Ombre French
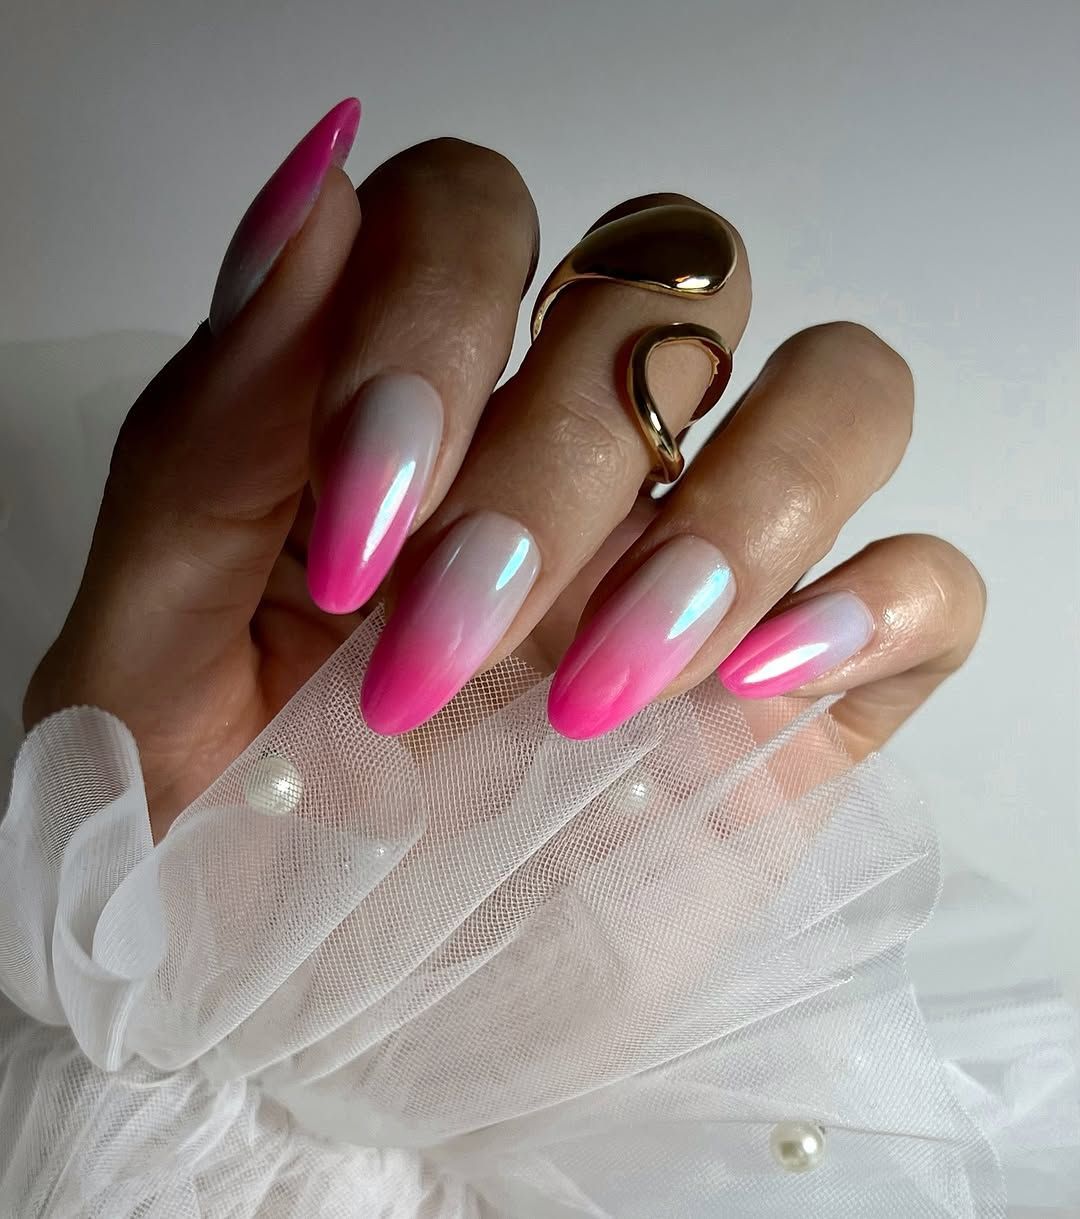
Picture a pink that shifts when you move. The iridescent pink ombre nails here layer a vibrant pink shimmer over a soft white tip, and the finish is glossy enough to catch a flicker of lavender and gold in certain light. It reads like a sunset on your fingertips. The line is crisp, the cuticles are clean, and the shimmer density sits in that sweet spot between subtle and disco. This one works for brunch and for a night out where you want your hands to do the talking. No rhinestones, no foil, just the pigment doing its job.
Soft Shimmer Pink to White Ombre
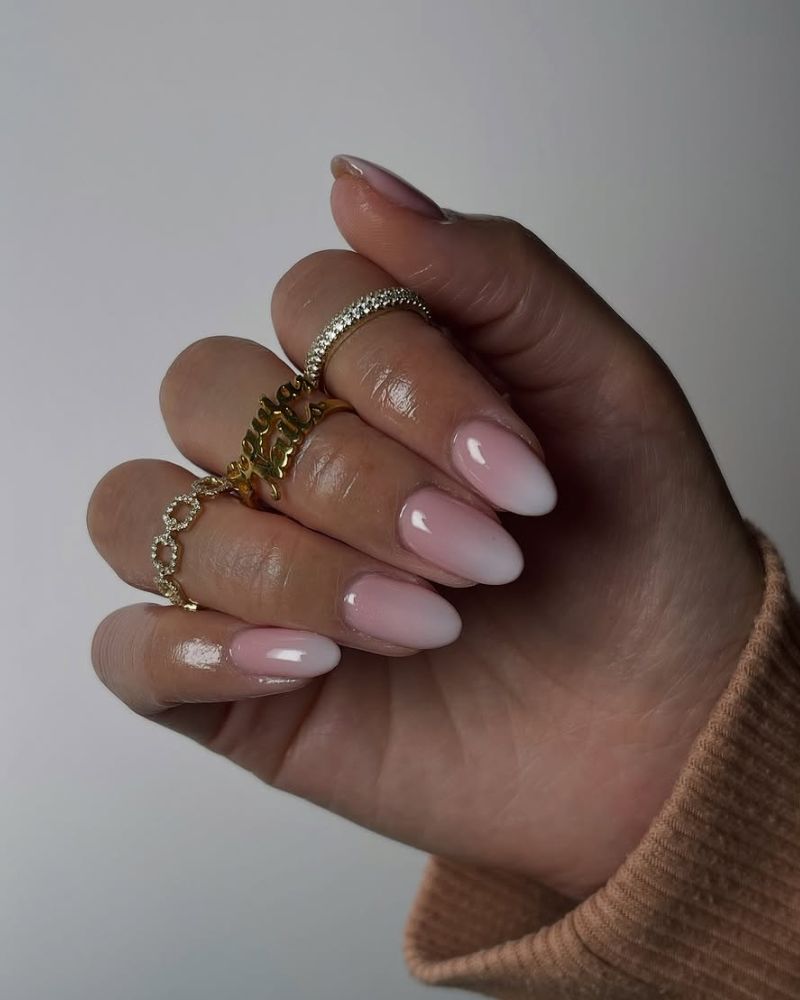
The soft pink shimmer ombre is the design that makes you wonder if you can do it yourself. You can, but only if you have a sponge and patience. The subtle shimmer fades from a milky pink base to a white tip, and the trick is asking for a sheer builder in pink and a white that isn’t chalky. Sponge three thin layers, not two thick ones. Salon version will have a smoother gradient and zero patchiness. DIY version will be charmingly imperfect. Both will make you look at your nails for three days straight.
Pastel Ombre French Tips
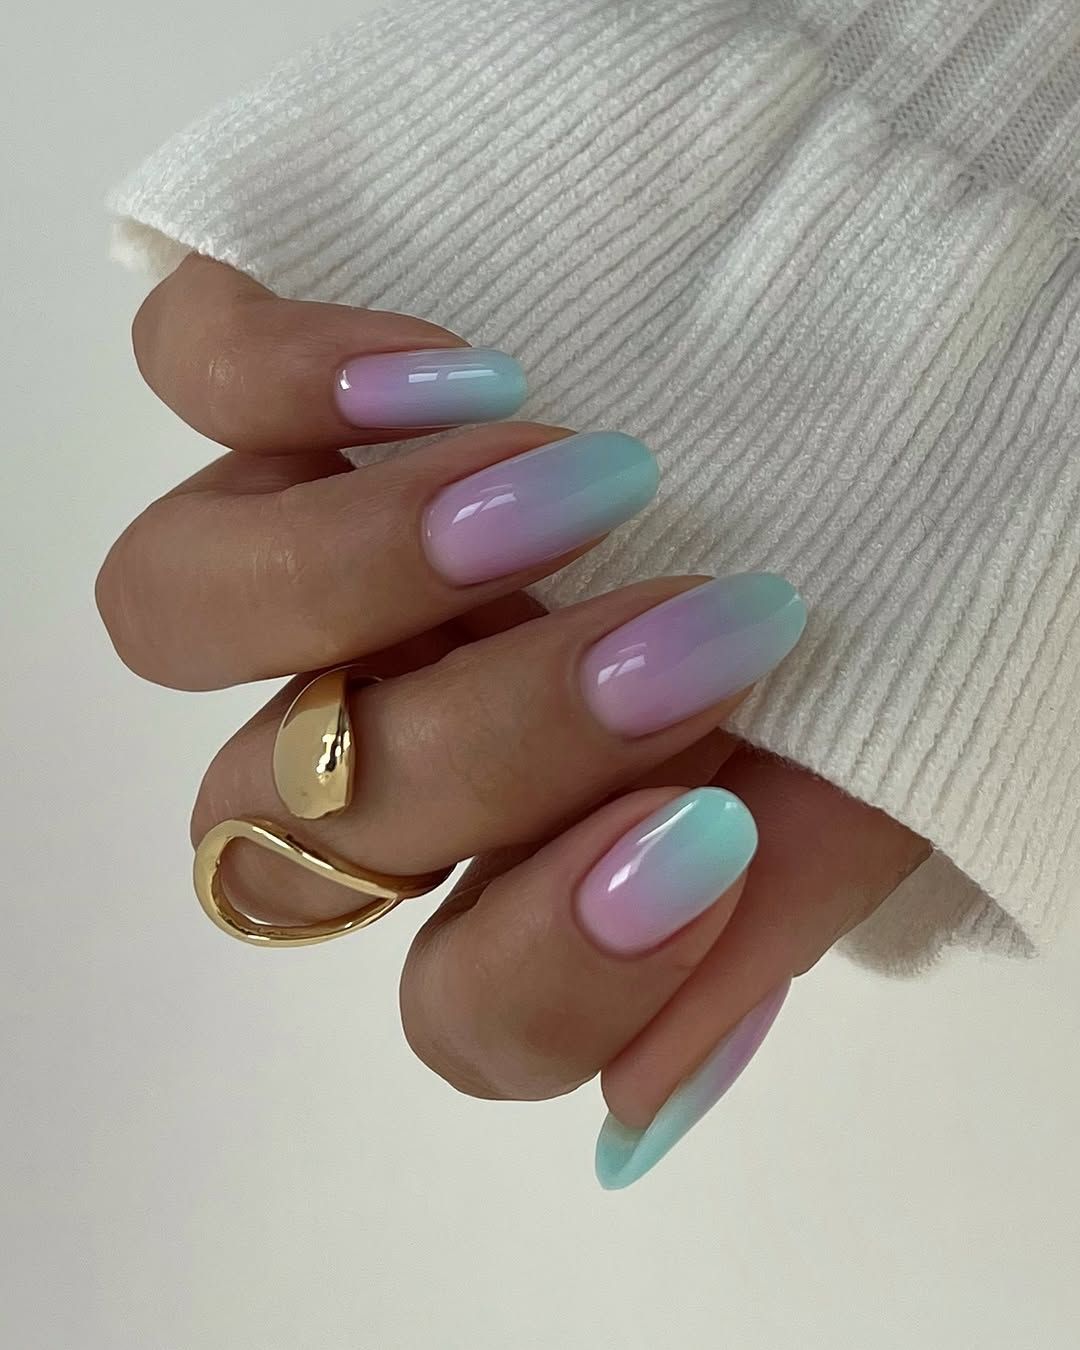
How clean does the line need to be for a pastel ombre french tips to work? Very. The pastel blue fades into a soft lavender and then into white, and any unevenness in the blend shows immediately. The honest downside: multi-toned ombres reveal wear faster than a single gradient. A protective top coat is non-negotiable, and you will need to reapply it around day five. The execution quality is what separates a dreamy set from a muddy one. Your tech needs a steady hand and a light touch with the sponge.
Lavender French Ombre
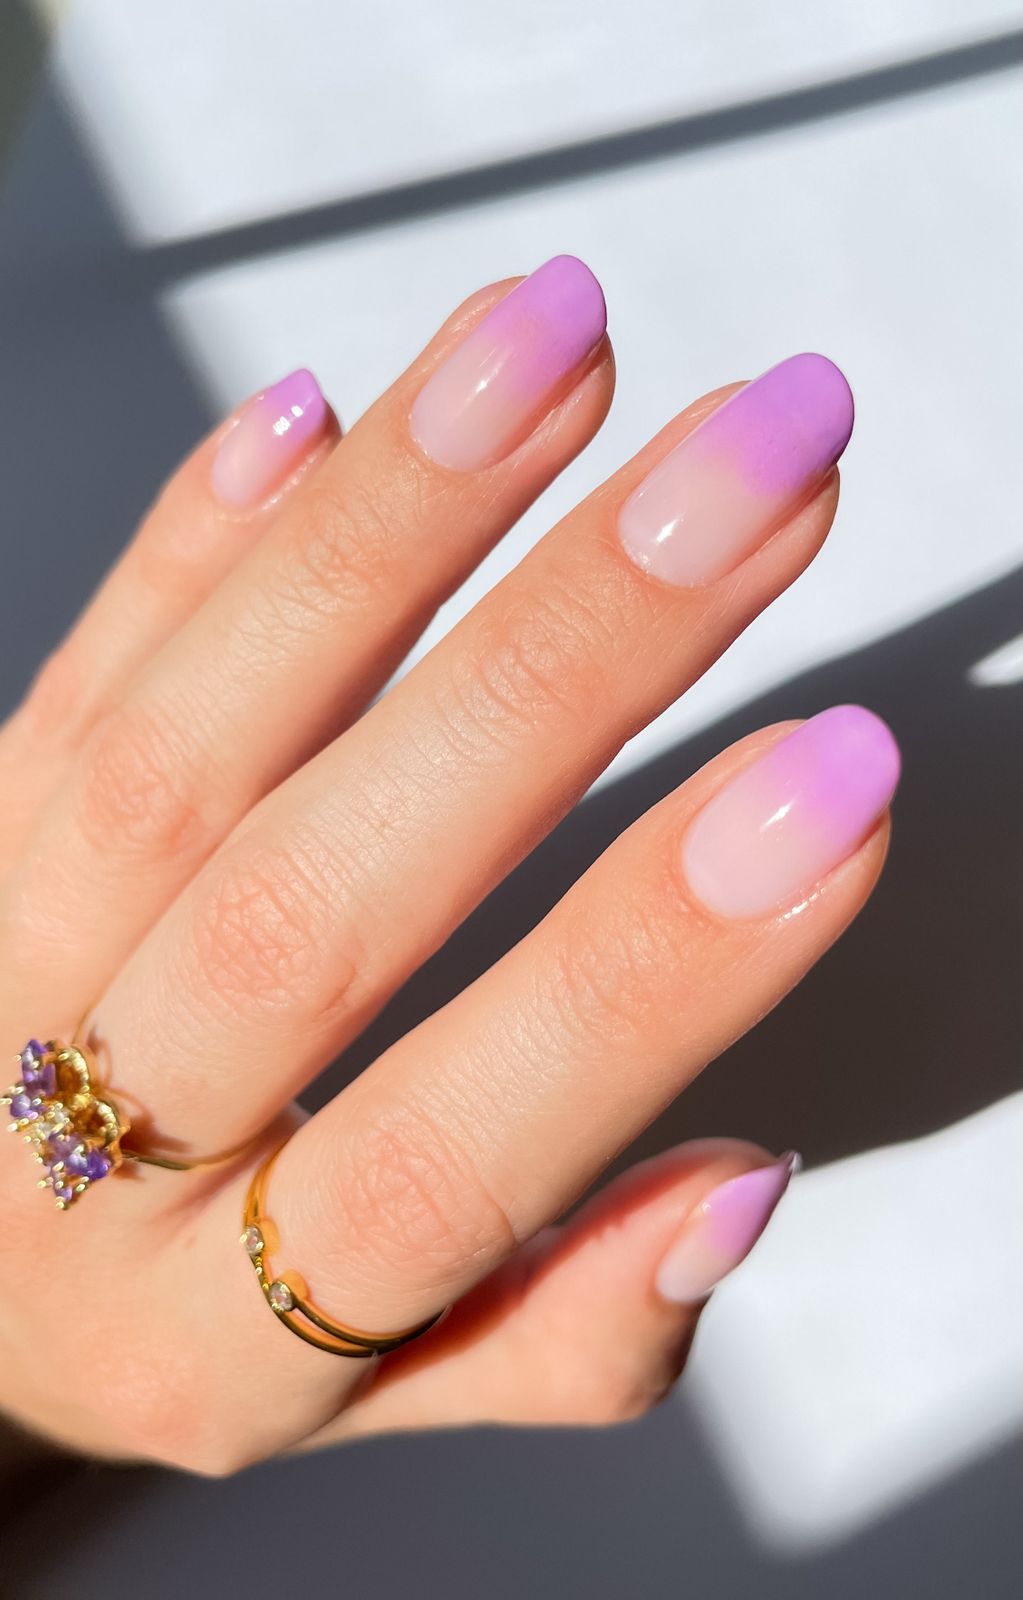
The lavender french ombre on medium square nails is a specific kind of quiet confidence. The soft lavender hue sits close to the cuticle and fades into a white tip, and the shape keeps it from feeling too dainty. It flatters cool undertones best, especially if your skin has a pink or rosy base. If you run warm, the lavender can pull a little ashy. The square shape gives it structure, so it reads as intentional rather than accidental. Not for someone who wants a bold statement. Perfect for someone who wants a color that asks to be noticed slowly.
Visual Idea
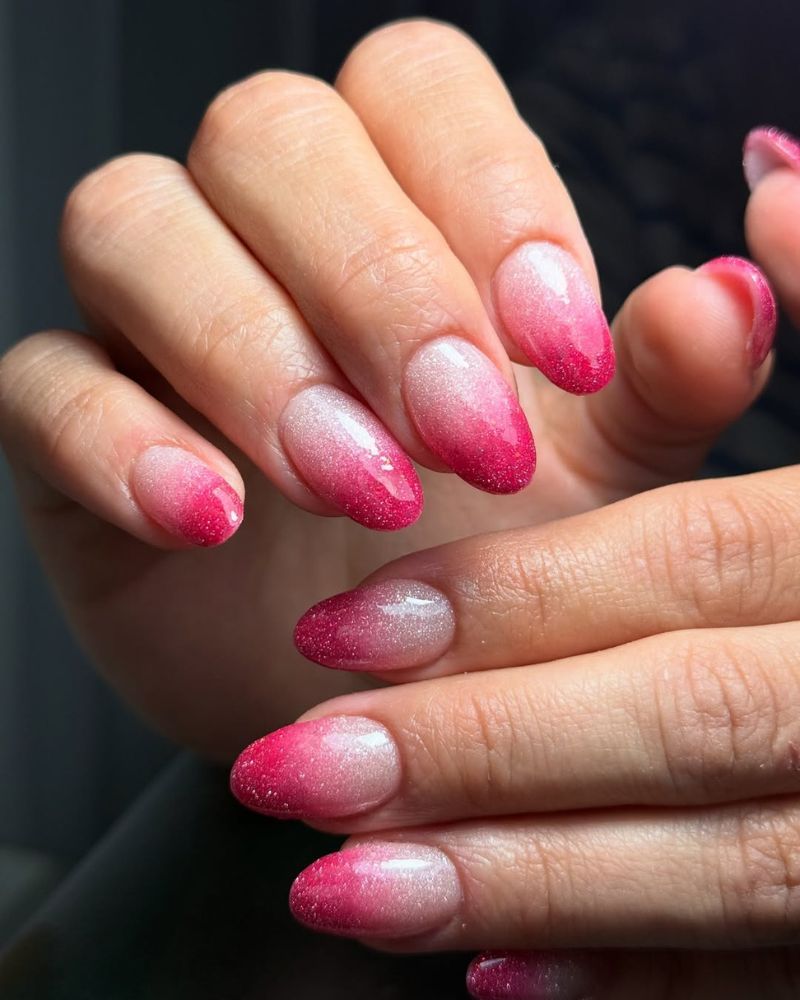
What gets me every time is the line work, that clean, even edge where the white meets the nude, no wobble, no bleeding. On short oval nails, this design reads as tidy and deliberate, the kind of French ombre that survives a full week of typing and dishwater without looking tired. The upkeep is minimal, a quick buff and a fresh top coat around day five, and you are good for another week. It is the rare everyday manicure that does not demand constant attention, just a steady hand and a patient tech.
Glossy Visual Idea
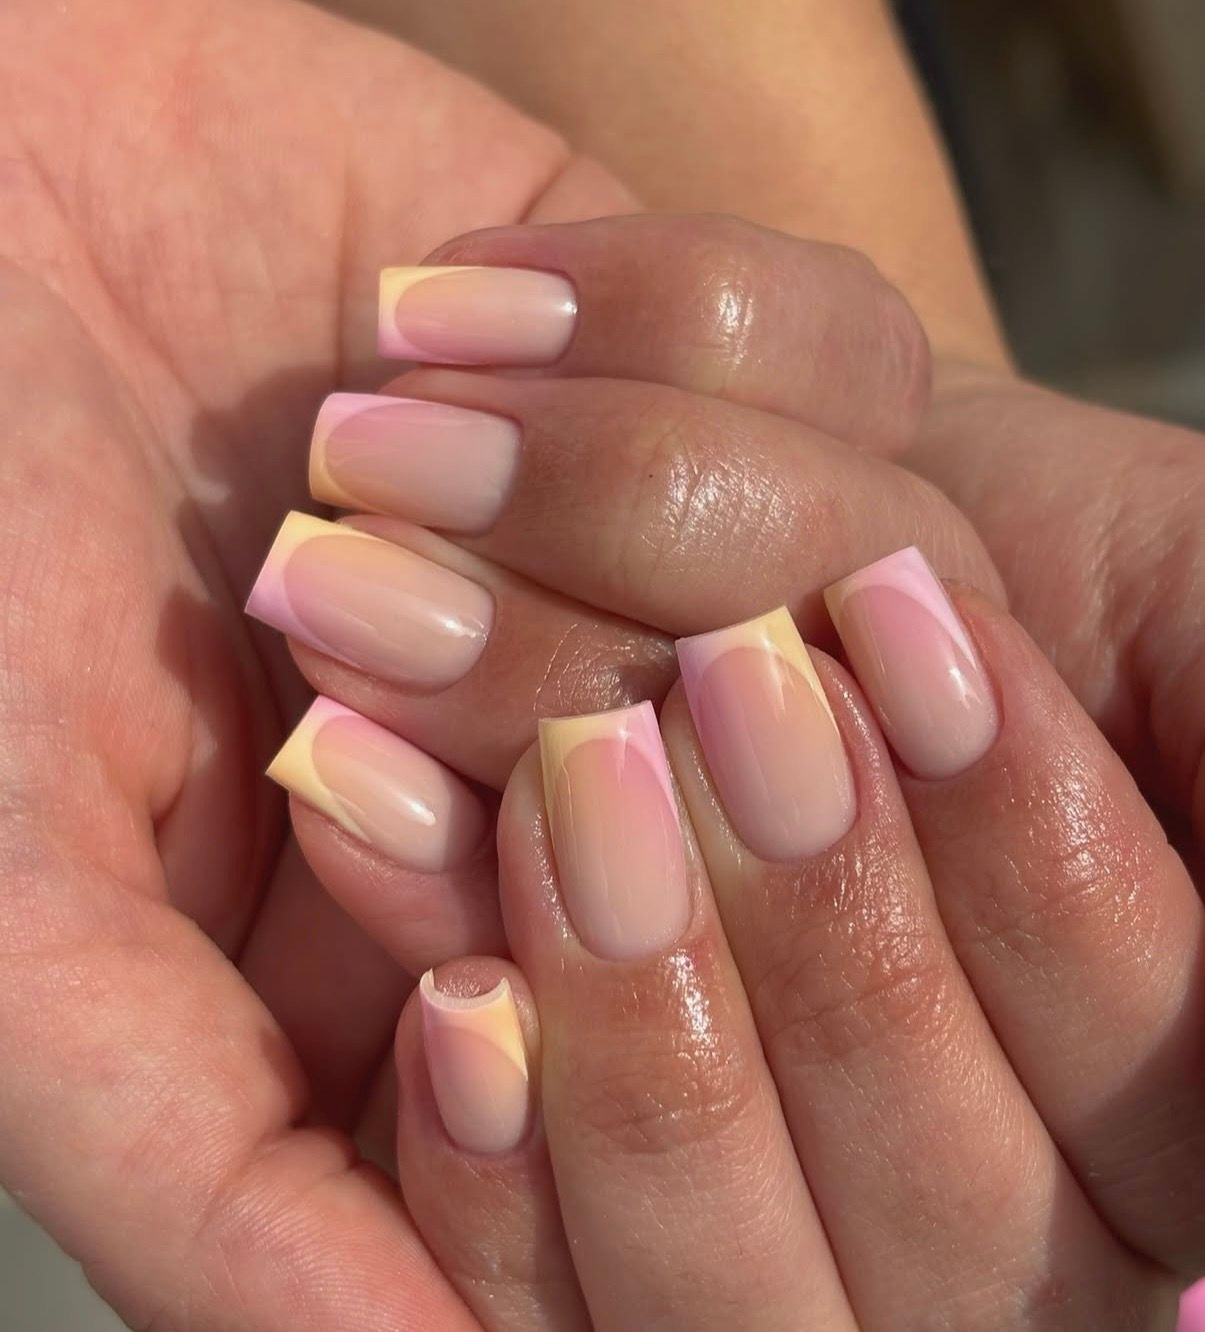
I am a sucker for a pastel tip, and this glossy short square set with pink and yellow accents on a nude base is pure spring. The glossy finish catches the light just enough to make the colors pop without going full candy. This is the manicure you wear to brunch, to a garden party, to the first warm weekend where you actually leave the house without a jacket. It reads as playful but polished, and the short square shape keeps it practical for real life. If you are tired of the same white tip, this is your gentle rebellion.
French Tips Ombre Gradient Visual Idea
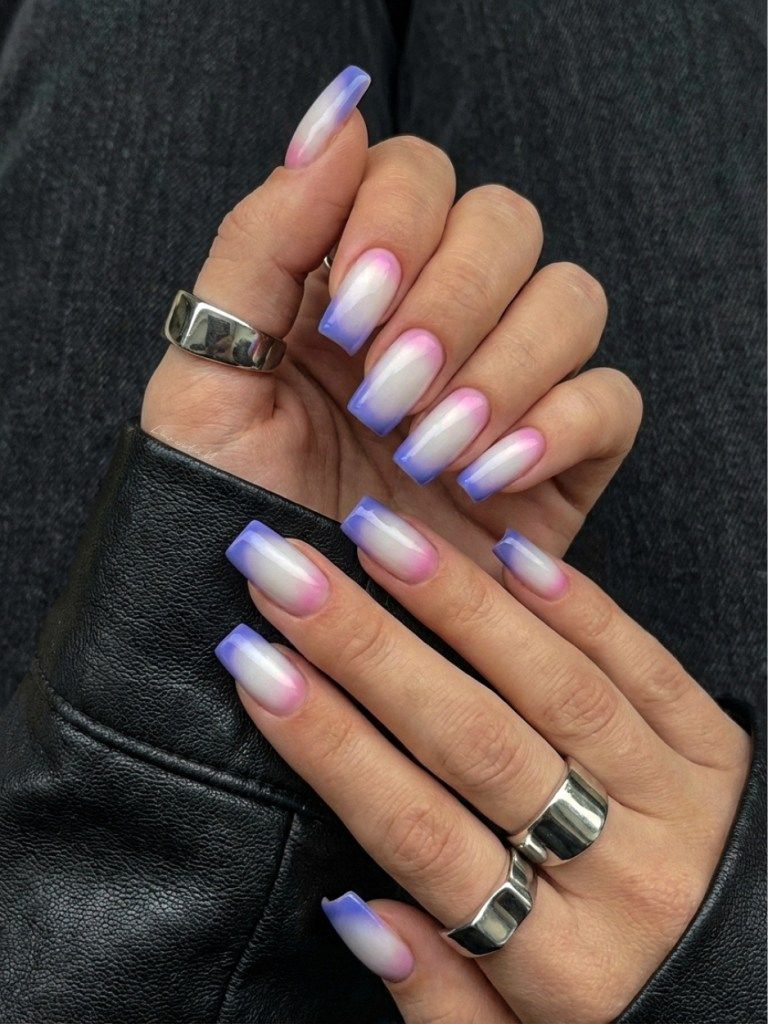
Getting a white to pink to purple gradient to sit smoothly on medium square nails is not a Sunday DIY. It is a salon appointment, and a long one, because each color needs its own layer and a careful blend before it cures. You are looking at a solid 90 minutes in the chair, maybe more if your tech is a perfectionist, which you want them to be.
The payoff is a gradient that looks airbrushed, no visible lines, no muddy middle. I have tried this at home with a sponge and a prayer, and it came out streaky. Book the appointment, bring a book, and let someone with a lamp and a steady hand do the blending.
None Visual Idea
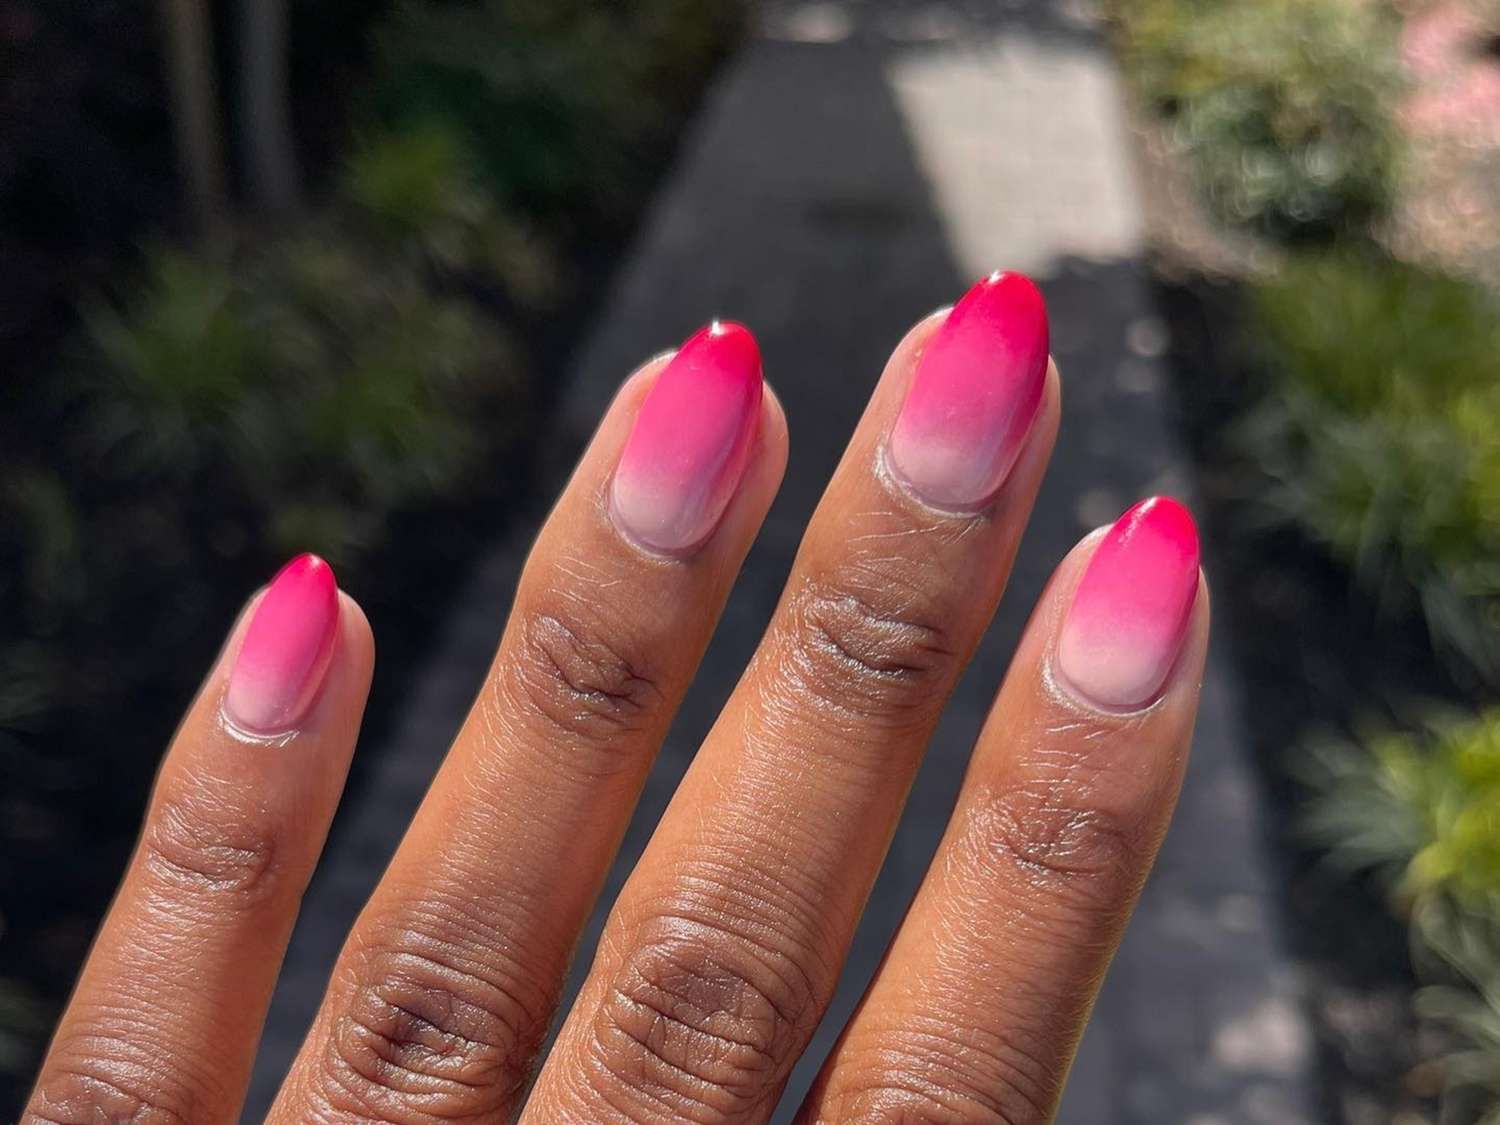
Have you ever seen a transition so bold it looks like the color is melting? That is this vibrant pink to sheer white gradient on short oval nails, glossy and unapologetic. The technique is unforgiving, your tech needs to feather the pigment in thin layers, or you get a hard line instead of a fade. And here is the honest minus, if the base is not fully cured, the pink can bleed into the white, leaving a ghost of a stain. It is a summer statement that demands a steady hand, but when it lands, it lands hard.
French Tips On WHICH Nails It Sits Visual Idea
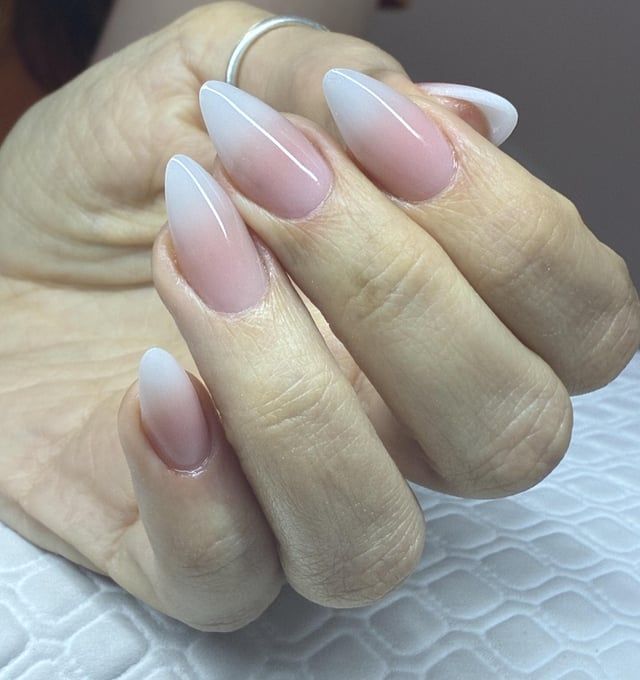
There is a reason this perfectly blended French ombre works best on medium almond nails, and it is not just aesthetics. The tapered shape gives the gradient room to breathe, so the white tip does not feel chopped off, it melts into the nude and pink base like it was always meant to be there. On shorter, squarer nails, the same design can look busy, but here, with both hands showing, it reads as elegant and intentional. This is the manicure for someone who wants a French tip but finds the classic line too harsh. It softens the whole look, and it flatters a wide range of skin tones because the pink base warms up cool undertones without fighting them.
French Tips On All Nails Visual Idea
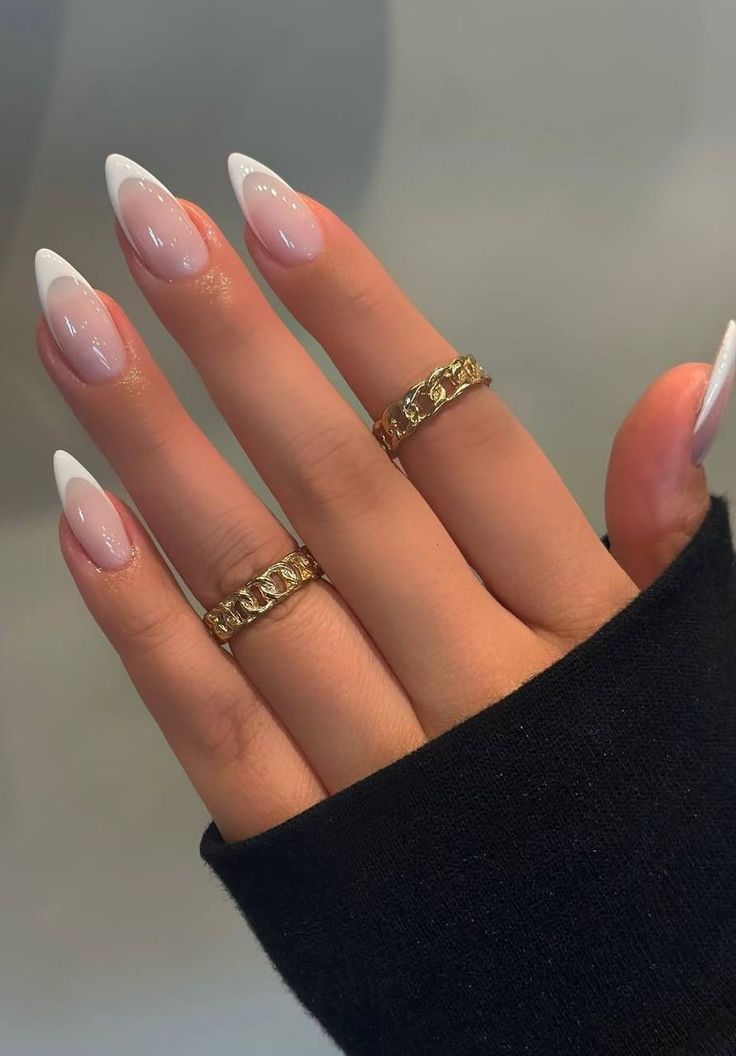
I will admit I do not always commit to white tips on every finger. But when I do, the payoff is this: a crisp, glossy line on a sheer pink base, medium almond, and suddenly my whole hand looks intentional. The reality of maintaining that crispness through a week of typing and washing my face? I touch up the tips on my index and middle by day four. That is not a complaint, it is a confession.
The Single Detail A Reader Notices First Visual Idea
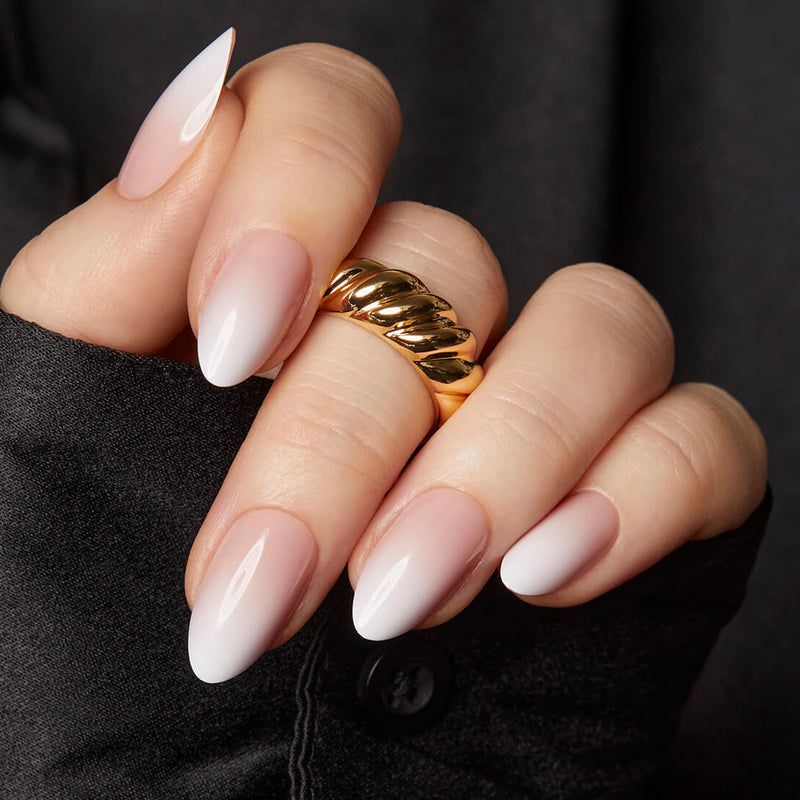
You walk into a coffee shop and the barista says, “Your nails, wow.” They do not say the shape or the length. They say the white line — how clean it is, how it sits right at the edge of the tip. That is the single detail. The finish is glossy, the base is a soft pink, and the white is opaque but not chalky. The honest downside: that clean line lifts faster than the rest of the polish. By day six I am filing a tiny edge on my thumb. Worth it for the moment in the coffee shop.
Nail Shape And Length E G Medium Almond Visual Idea
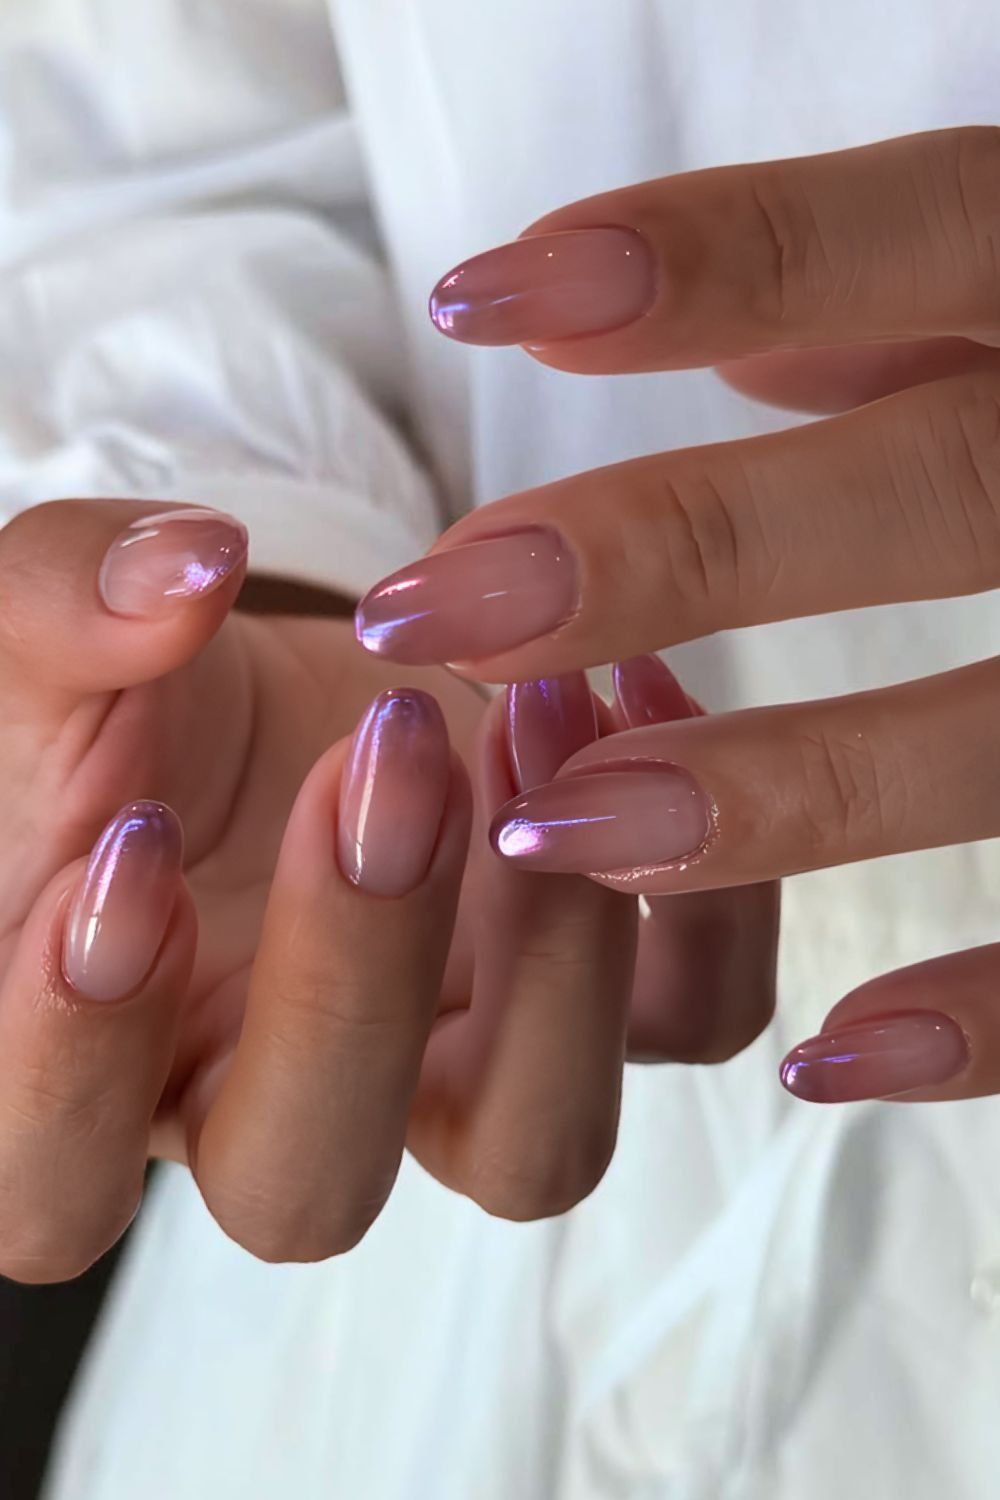
Everyone has an opinion on the exact shape and length for French ombre. Medium almond, they say, is the only way. I am skeptical. A medium almond is tapered, yes, and it elongates the finger bed. It also catches on sweater knits and requires a precise sidewall file that most DIY kits do not give you. I have seen beautiful French ombre on a squoval and on a short round. The shape is not the secret.
The secret is the blend. If the gradient from sheer pink to white is smooth, the shape fades into the background. If the blend is patchy, no almond in the world saves it. So pick a shape you can maintain without cursing, and let the tech focus on the airbrush work.
Visual Idea — The Finish Is High Gloss
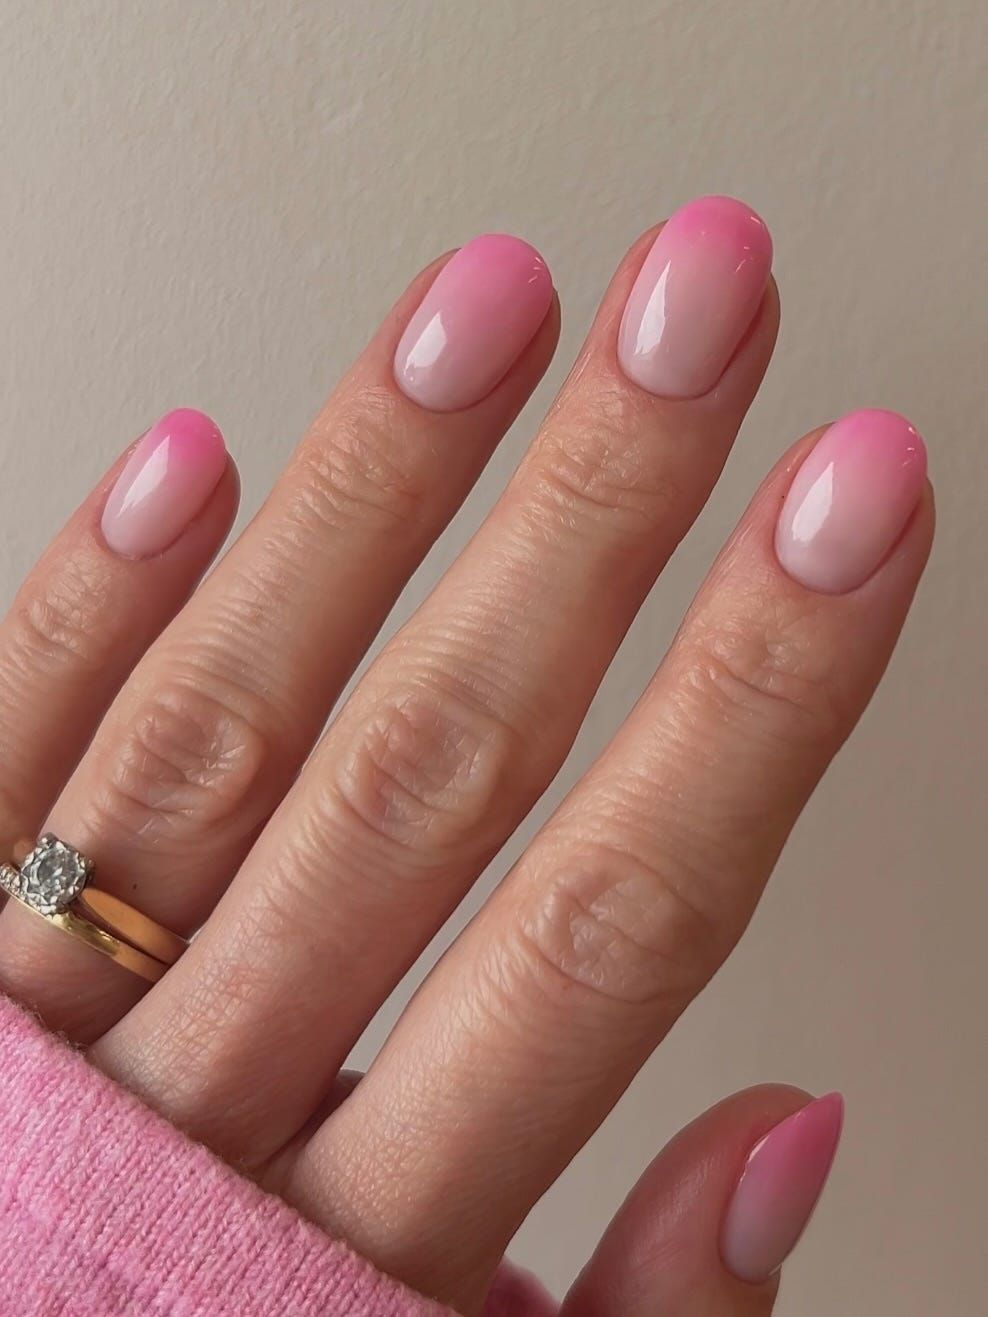
A high gloss finish on French ombre is not a passive choice. It is a deliberate extra layer of time. The base coat, the sheer pink, the white gradient, then a no-wipe top coat that you cure for the full 60 seconds, not 30. That gloss is what makes the white tip look wet and fresh rather than flat and chalky. Doing this at home means buying a top coat that self-levels and being patient between layers. At the salon, you pay for the tech who knows to cap the free edge with that final gloss layer. Either way, the gloss costs extra effort or extra chair time. I budget for it.
Classic French Tips Subtle Ombre Blend Visual Idea
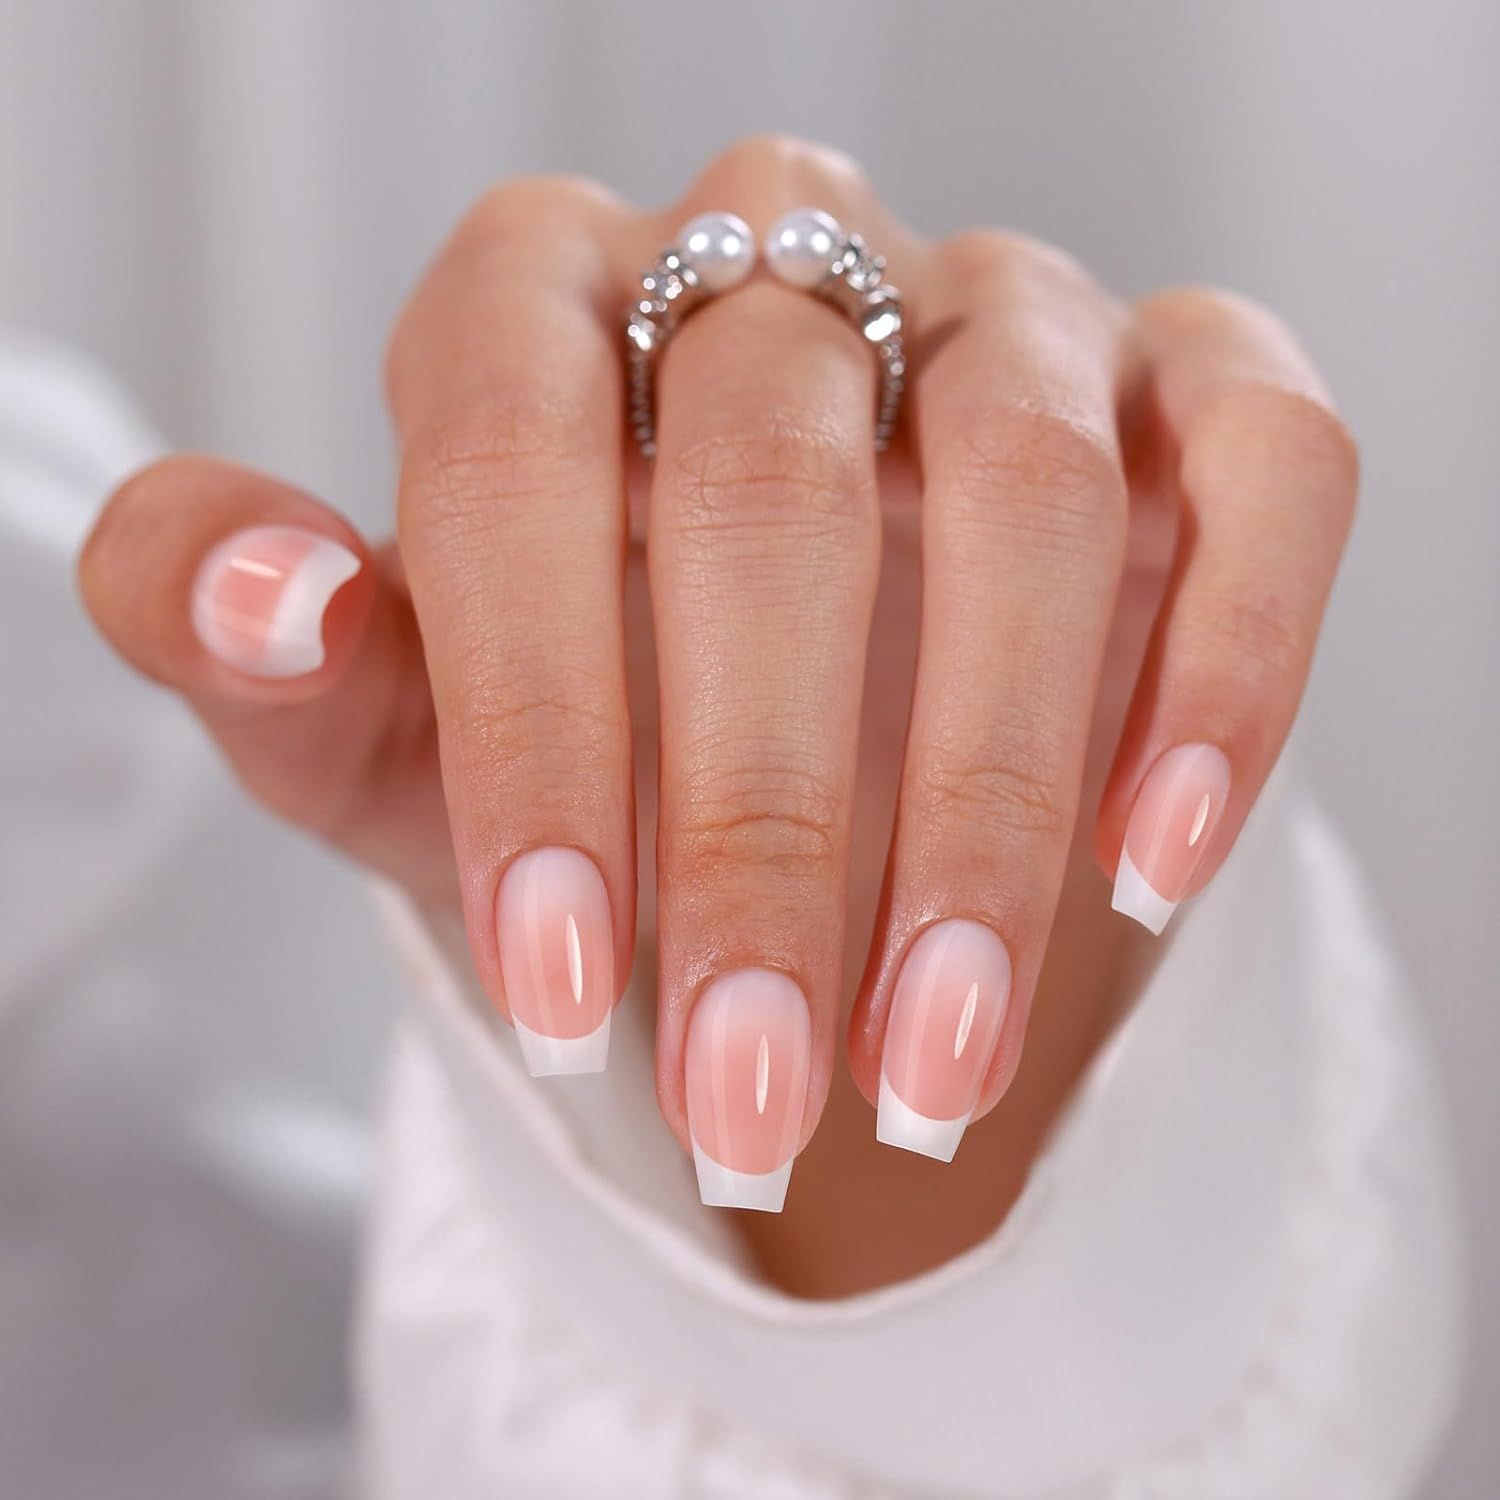
You see both hands in the shot, close-up, and the first thought is not “trendy.” It is “timeless.” The milky pink base, the white tip that does not start at a hard line but fades upward in a subtle ombre blend, the medium coffin shape that feels neither aggressive nor timid. This is the design that works for a wedding, a job interview, a Tuesday. The blend is the reason it reads as classic rather than dated — the gradient softens the contrast, so the white never looks painted on. That is the enduring appeal.
Final Thoughts
I was wrong about one thing. I thought French ombre was just a prettier grow-out. After writing all of these, I see it differently — the gradient is the point, not a workaround. The fade softens the line, which means the tip can be bolder or subtler without looking unfinished.
The one I’m booking? The pearlescent stiletto. I stared at that finish for three days.
- Cuticle oil twice a day
- Top coat refresh on day 5
- Gloves for dishes and cleaning
- Fill at week 3, not week 4